Esta versión puede contener ediciones incorrectas. Cambie a la última instantánea verificada.
Qué necesitas
-
Este paso está sin traducir. Ayuda a traducirlo
-
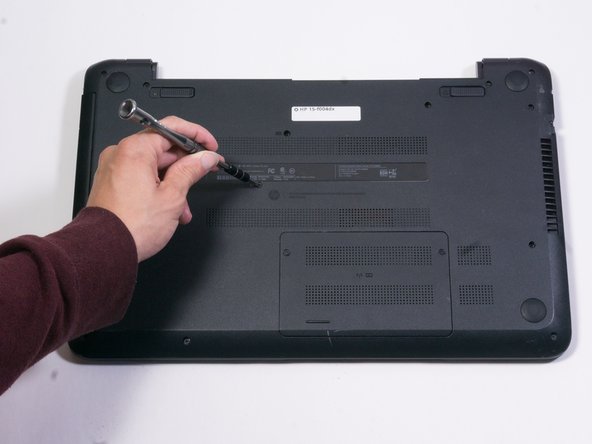
After testing the battery and discovering that it needs to be replaced, you will begin by placing the computer upside-down on a flat surface.
-
-
Este paso está sin traducir. Ayuda a traducirlo
-
Locate a switch in the upper left corner with a lock symbol next to it.
-
Slide the switch to the right until you see an unlocked symbol on the opposite side.
-
-
-
Este paso está sin traducir. Ayuda a traducirlo
-
There is another switch on the opposite side of the computer with a battery symbol next to it.
-
Slide this switch to the left and the battery should detach from the computer.
-
To completely remove the battery, simply pull the battery away from the computer.
-
-
Este paso está sin traducir. Ayuda a traducirlo
-
Use a J1 or PH1 screwdriver to remove the 6.5mm screw that secures the optical drive.
-
-
Este paso está sin traducir. Ayuda a traducirlo
-
Once the optical drive screw has been removed, use a plastic opening tool to loosen the optical drive.
-
-
Este paso está sin traducir. Ayuda a traducirlo
-
Gently remove the optical drive once it has been loosened.
-


Equipo

Appalachian State University, Team S1-G1, Menagarishvili Fall 2018 Miembro de Appalachian State University, Team S1-G1, Menagarishvili Fall 2018
APSU-MENAGARISHVILI-F18S1G1
5 Miembros
5 Guías creadas