Introducción
Since the display acts as a barrier to the hardware, it is important to remove it before replacing other components. Due to its simplicity, this guide only requires a few steps and tools to remove the display.
Qué necesitas
-
-
Heat up the iOpener in the microwave for 30 seconds.
-
Place the iOpener clear-side down on each edge of the phone for approximately 30 seconds.
-
Place the iOpener on top of the screen for an additional 30 seconds.
 Pregunta a FixBot
-
-
-
Attach the suction cup to the display by placing it on top of the display and pushing down on the top of the cup until it is flat.
-
Separate the display and the device by inserting the plastic opening tool between them and sliding the plastic opening tool along the perimeter of the display.
-
Remove the display from the device by grabbing the ring of the suction cup and pulling up.
-
-
-
Herramienta utilizada en este paso:Tweezers$4.99
-
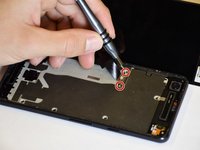
Remove the T4 4.0-mm screws from the latch under the display by turning the screwdriver counterclockwise.
-
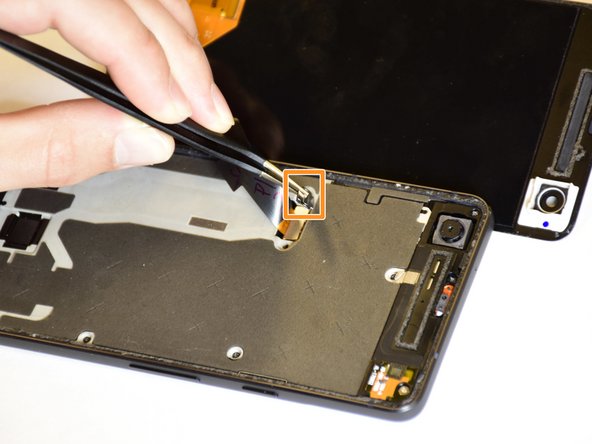
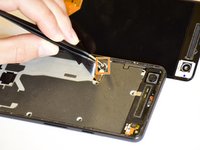
Pull the latch off of the device by grabbing it with the tweezers and pulling up.
-
-
-
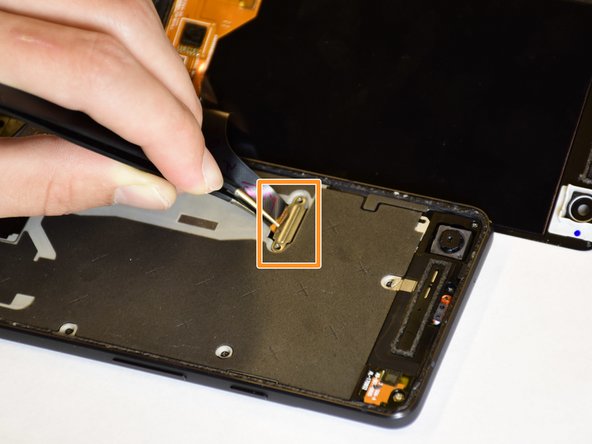
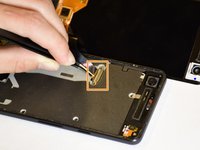
Remove the connector underneath the latch by grabbing it with the tweezers and lifting up.
-




To reassemble your device, follow these instructions in reverse order.
Cancelar: No complete esta guía.
Una persona más ha completado esta guía.

Equipo

Cal Poly, Team S18-G5, Livingston Winter 2018 Miembro de Cal Poly, Team S18-G5, Livingston Winter 2018
CPSU-LIVINGSTON-W18S18G5
Miembros de 4
12 Guías creadas
