Saltar al contenido principal

Genesis II CSS-315 Ignitor Replacement

Qué necesitas

  1. Genesis II CSS-315 Ignitor Replacement, Ignitor: paso 1, imagen 1 de 2 Genesis II CSS-315 Ignitor Replacement, Ignitor: paso 1, imagen 2 de 2
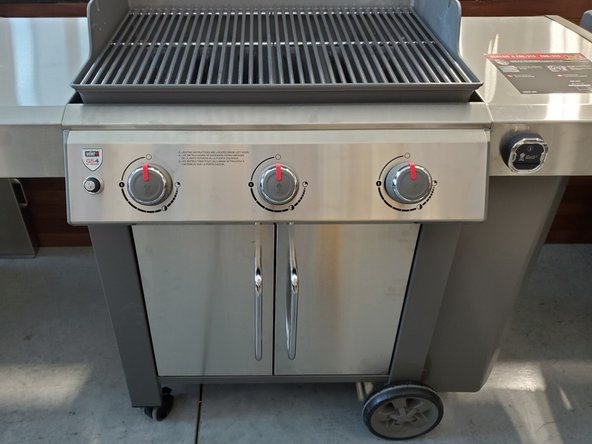
    • Be sure the grill is turned off before beginning this guide.

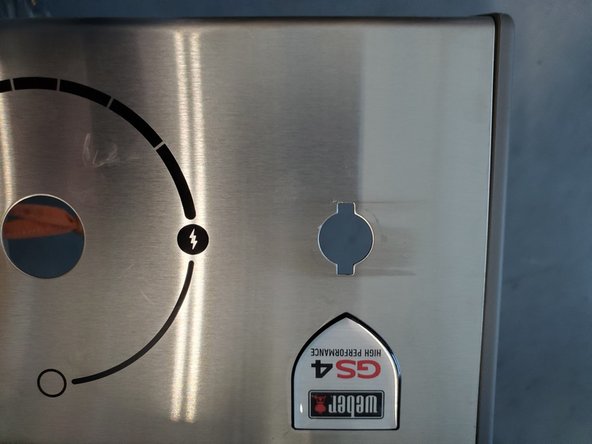
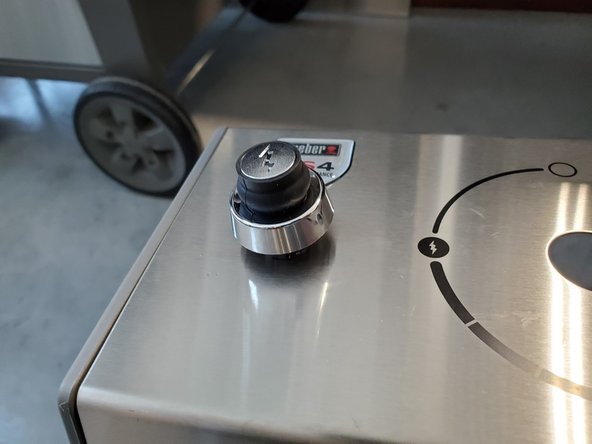
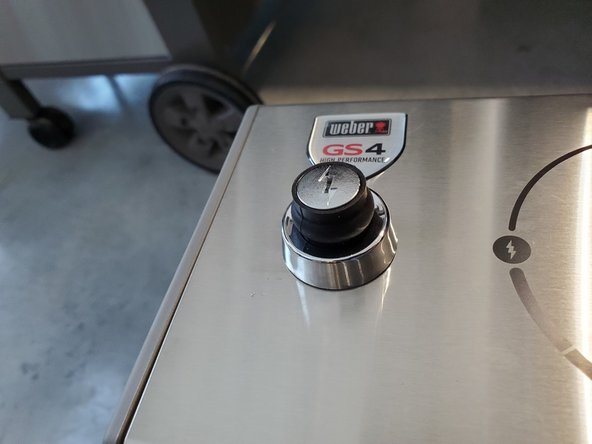
    • Remove all of the control knobs.

    • The amount of knobs may vary depending on the grill.

  2. Genesis II CSS-315 Ignitor Replacement: paso 2, imagen 1 de 2 Genesis II CSS-315 Ignitor Replacement: paso 2, imagen 2 de 2
    • Remove the two 19 mm screws below the control knob panel using a Phillips #3 screwdriver.

  3. Genesis II CSS-315 Ignitor Replacement: paso 3, imagen 1 de 2 Genesis II CSS-315 Ignitor Replacement: paso 3, imagen 2 de 2
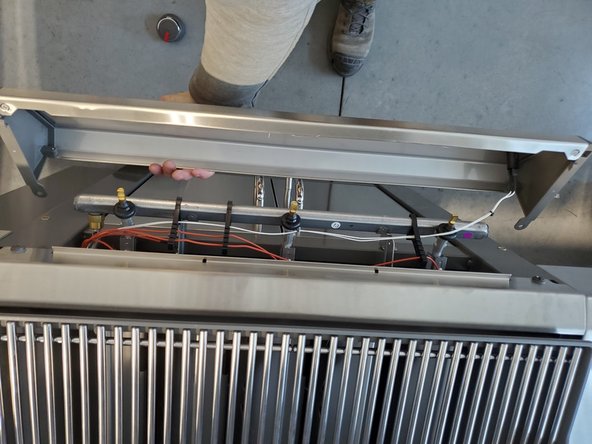
    • Push up on the front panel, and pull it up above the grill.

    • Potential for device damage: The ignitor is connected to the front panel, so do not pull too hard.

  4. Genesis II CSS-315 Ignitor Replacement: paso 4, imagen 1 de 2 Genesis II CSS-315 Ignitor Replacement: paso 4, imagen 2 de 2
    • Disconnect the cables from the ignitor.

  5. Genesis II CSS-315 Ignitor Replacement: paso 5, imagen 1 de 1
    • Pinch the two ends of the ignitor and remove the ignitor from the front panel.

  6. Genesis II CSS-315 Ignitor Replacement: paso 6, imagen 1 de 1
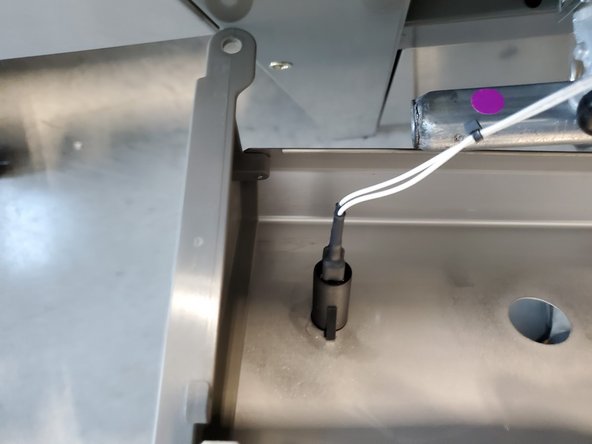
    • Have the new ignitor on hand, and make sure that the clips on the side are in good condition.

    • Ensure that the pins at the end are straight and not bent.

  7. Genesis II CSS-315 Ignitor Replacement: paso 7, imagen 1 de 3 Genesis II CSS-315 Ignitor Replacement: paso 7, imagen 2 de 3 Genesis II CSS-315 Ignitor Replacement: paso 7, imagen 3 de 3
    • Put the new ignitor into the socket.

    • Press down evenly until it is secure.

  8. Genesis II CSS-315 Ignitor Replacement: paso 8, imagen 1 de 1
    • Connect the white cables to the ignitor.

  9. Genesis II CSS-315 Ignitor Replacement: paso 9, imagen 1 de 2 Genesis II CSS-315 Ignitor Replacement: paso 9, imagen 2 de 2
    • Make sure any and all cables are separated from the fire box (the bottom of the grill).

    • Slot the panel back on the grill and then push downward.

    • The fire box is the part of the grill that gets really hot, and this can damage the cables.

  10. Genesis II CSS-315 Ignitor Replacement: paso 10, imagen 1 de 1
    • Make sure the holes match and reinsert the screws from Step 2 using a Phillips #3 screwdriver.

    • If the holes do not match up, you may have to gently push or pull the front plastic panel.

  11. Genesis II CSS-315 Ignitor Replacement: paso 11, imagen 1 de 2 Genesis II CSS-315 Ignitor Replacement: paso 11, imagen 2 de 2
    • Add the control knobs, and slot them into place.

Linea de Meta

Una persona más ha completado esta guía.

Carlos Castro Paguaga

Miembro Desde 01/18/21

253 Reputación

1 Guía escrita

0 comentarios

Agregar Comentario

Ver Estadísticas:

Ultimas 24 horas: 1

Ultimos 7 días: 7

Ultimos 30 días: 14

Todo El Tiempo: 549