Esta guía ha sufrido modificaciones. Revisa la última versión sin revisar.
Introducción
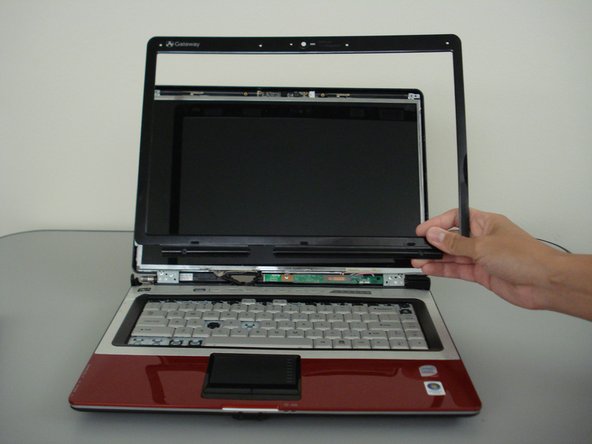
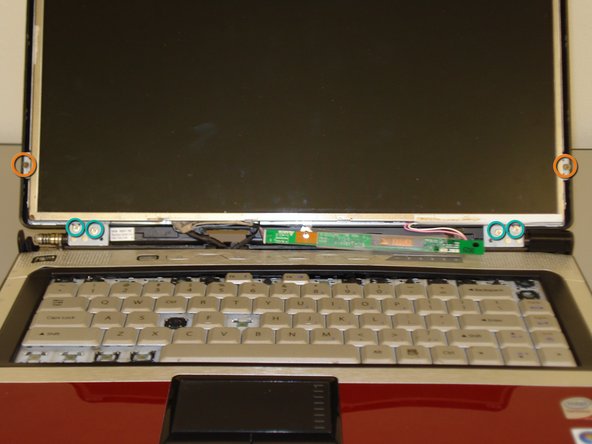
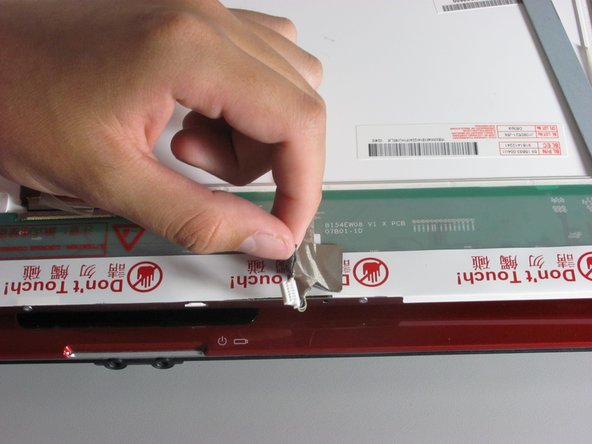
Replace a broken screen in your Gateway SA1 laptop.
Qué necesitas


Casi Terminas!
To reassemble your device, follow these instructions in reverse order.
Conclusión
To reassemble your device, follow these instructions in reverse order.
Cancelar: No complete esta guía.
2 personas más completaron esta guía.
Equipo

Cal Poly, Team 24-20, Regan Spring 2010 Miembro de Cal Poly, Team 24-20, Regan Spring 2010
CPSU-REGAN-S10S24G20
4 Miembros
14 Guías creadas