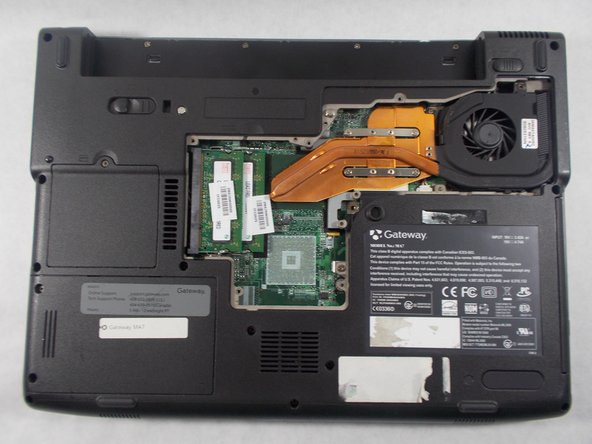
Saltar al contenido principal

Gateway MA7 RAM Replacement

Qué necesitas

  1. Gateway MA7 RAM Replacement, RAM: paso 1, imagen 1 de 1
    • To prevent injury, make sure the laptop is unplugged before removing the battery.

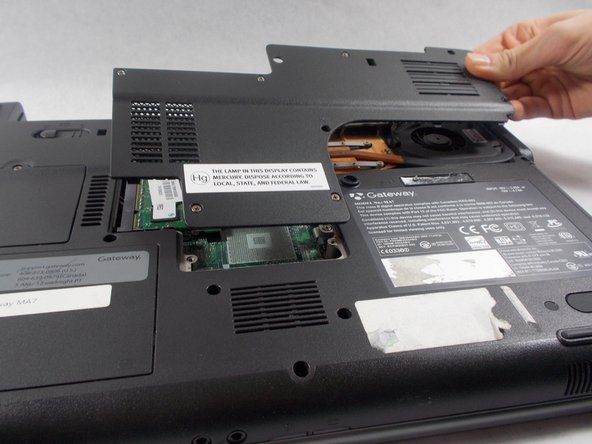
    • Push the locking tab over to the right away from the battery to unlock it from the laptop.

    • Hold the additional locking tab to the left while pulling out the battery.

  2. Gateway MA7 RAM Replacement: paso 2, imagen 1 de 2 Gateway MA7 RAM Replacement: paso 2, imagen 2 de 2
    • Remove the following screws securing the plastic panel from the bottom of the laptop:

    • Seven 6 mm Phillips #0

  3. Gateway MA7 RAM Replacement: paso 3, imagen 1 de 3 Gateway MA7 RAM Replacement: paso 3, imagen 2 de 3 Gateway MA7 RAM Replacement: paso 3, imagen 3 de 3
    • Pull upwards on the top of the plastic panel to remove it.

    • With the exception of the screw marked "K", all of the screws will remain connected to the plastic piece.

  4. Gateway MA7 RAM Replacement: paso 4, imagen 1 de 2 Gateway MA7 RAM Replacement: paso 4, imagen 2 de 2
    • Push the two metal tabs (holding the module in place) apart in order to release it.

  5. Gateway MA7 RAM Replacement: paso 5, imagen 1 de 2 Gateway MA7 RAM Replacement: paso 5, imagen 2 de 2
    • Pull the ram out of the motherboard at a 45 degree angle.

  6. Gateway MA7 RAM Replacement: paso 6, imagen 1 de 3 Gateway MA7 RAM Replacement: paso 6, imagen 2 de 3 Gateway MA7 RAM Replacement: paso 6, imagen 3 de 3
    • Repeat steps 4 & 5 for the other memory module.

Conclusión

To reassemble your device, follow these instructions in reverse order.

2 personas más completaron esta guía.

Tim Rose

Miembro Desde 03/05/18

392 Reputación

2 Guías creadas

Equipo

0 comentarios

Agregar Comentario

Ver Estadísticas:

Ultimas 24 horas: 1

Ultimos 7 días: 9

Ultimos 30 días: 13

Todo El Tiempo: 1,411