Saltar al contenido principal

Gateway KAV60 LT2016U Netbook Hard Drive Replacement

Guía Archivada
Esta guía se mantiene únicamente para fines históricos. Utiliza la última versión de la guía para llevar a cabo tu reparación.

Qué necesitas

  1. Gateway KAV60 LT2016U Netbook Hard Drive Replacement, Hard Drive: paso 1, imagen 1 de 1
    • The hard drive is located on the bottom of the laptop on the left hand side.

  2. Gateway KAV60 LT2016U Netbook Hard Drive Replacement: paso 2, imagen 1 de 1
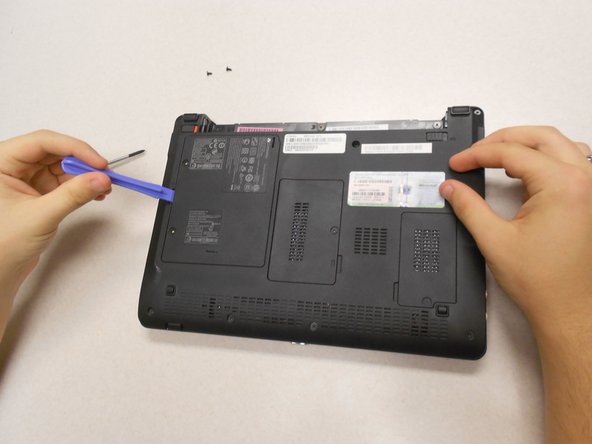
    • Remove the two screws on the cover with the specified screwdriver.

  3. Gateway KAV60 LT2016U Netbook Hard Drive Replacement: paso 3, imagen 1 de 1
    • Lift off the cover with the plastic opener.

  4. Gateway KAV60 LT2016U Netbook Hard Drive Replacement: paso 4, imagen 1 de 1
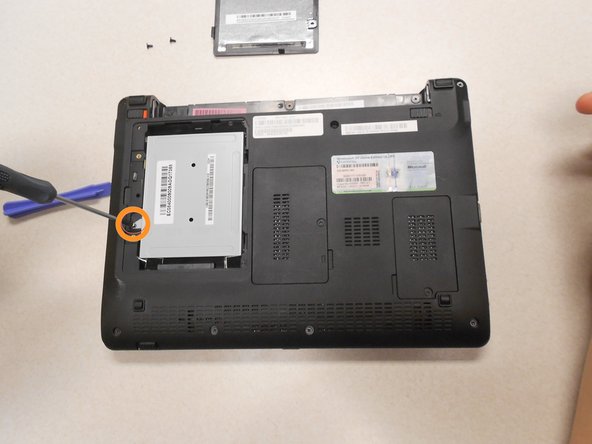
    • Remove the one screw holding the hard drive in place with the same screw driver.

  5. Gateway KAV60 LT2016U Netbook Hard Drive Replacement: paso 5, imagen 1 de 1
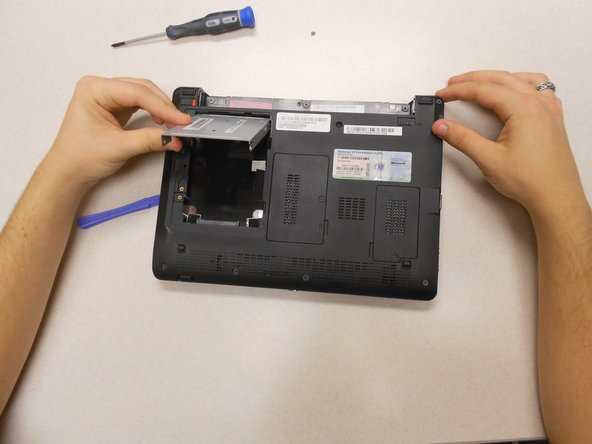
    • Slide the hard drive up and remove it from the laptop.

Conclusión

To reassemble your device, follow these instructions in reverse order.

Una persona más ha completado esta guía.

Kyle

Miembro Desde 03/11/14

622 Reputación

3 Guías creadas

Equipo

0 comentarios

Agregar Comentario

Ver Estadísticas:

Ultimas 24 horas: 0

Ultimos 7 días: 0

Ultimos 30 días: 1

Todo El Tiempo: 176