Esta versión puede contener ediciones incorrectas. Cambie a la última instantánea verificada.
Qué necesitas
-
Este paso está sin traducir. Ayuda a traducirlo
-
Flip the device to the backside, and locate the metal tab at the center of the back cover.
-
-
Este paso está sin traducir. Ayuda a traducirlo
-
Lift the metal tab up, and rotate it counterclockwise. This will unlock the back case cover.
-
-
Este paso está sin traducir. Ayuda a traducirlo
-
Lift the battery plate off to either insert or remove 2 AA batteries.
-
-
Este paso está sin traducir. Ayuda a traducirlo
-
With the wedge side of a spudger (or a small, flat head screwdriver), remove the black rubber case support from the device body.
-
-
-
Este paso está sin traducir. Ayuda a traducirlo
-
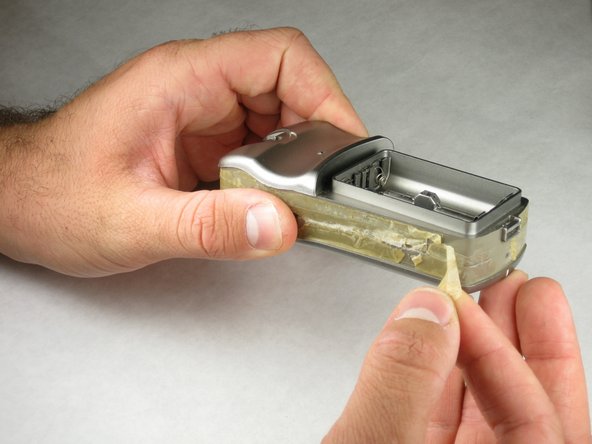
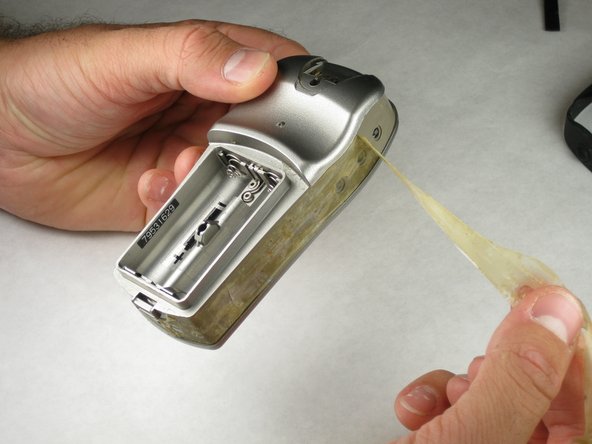
With the pick side of a spudger (or tweezers), peel the sticky tape from the device.
-
-
Este paso está sin traducir. Ayuda a traducirlo
-
Split the front and rear panels by inserting a small pointed tool (such as a pen point or a screwdriver tip SL1.5) in the 5 plastic tabs along the sides of the device.
-
-
Este paso está sin traducir. Ayuda a traducirlo
-
With tweezers (or your fingernails), carefully disconnect the wires between the PC input and the motherboard.
-
-
Este paso está sin traducir. Ayuda a traducirlo
-
The motherboard should look like this. If it is dirty, gently use a small paintbrush to clean it of dust.
-
-
Este paso está sin traducir. Ayuda a traducirlo
-
With the pointed end of a spudger (or the small end of a Philips #00 screwdriver), gently unhook the small black tabs by pressing into the interlocking hooks that are sunk into the white wire connector.
-
Gently pull the wire ribbon from the white connector.
-


Cancelar: No complete esta guía.
Una persona más ha completado esta guía.
Equipo

Cal Poly, Team 21-30, Regan Fall 2010 Miembro de Cal Poly, Team 21-30, Regan Fall 2010
CPSU-REGAN-F10S21G30
3 Miembros
5 Guías creadas