Saltar al contenido principal

GameSir G7 SE Button Gaskets Replacement

Qué necesitas

  1. GameSir G7 SE Button Gaskets Replacement, Interior face plate: paso 1, imagen 1 de 1
    • Remove the faceplate by prying upwards with a plastic opening tool.

    • This faceplate is magnetic and will be easy to come off.

  2. GameSir G7 SE Button Gaskets Replacement: paso 2, imagen 1 de 2 GameSir G7 SE Button Gaskets Replacement: paso 2, imagen 2 de 2
    • Use a T6 Torx Screwdriver to remove the six 9 mm screws from the interior face plate.

  3. GameSir G7 SE Button Gaskets Replacement: paso 3, imagen 1 de 2 GameSir G7 SE Button Gaskets Replacement: paso 3, imagen 2 de 2
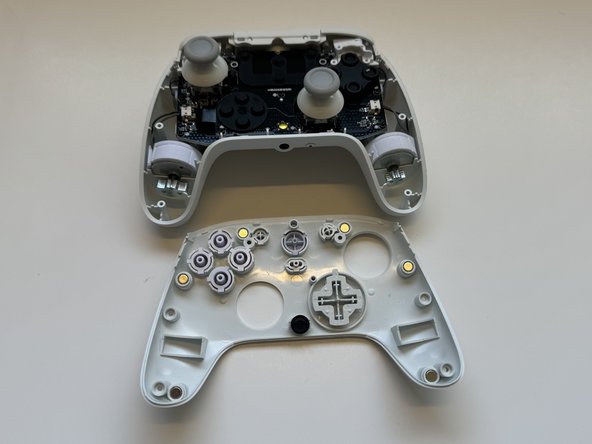
    • Using a plastic spudger tool, remove the interior face plate. Go around all the edges, prying downwards until it's removed.

    • Make sure to hold the controller upside down; otherwise the buttons will fall out.

  4. GameSir G7 SE Button Gaskets Replacement, Button Gaskets: paso 4, imagen 1 de 1
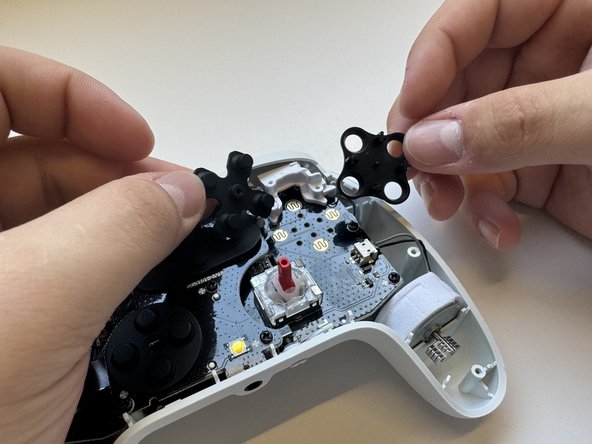
    • Pull up on the conductive rubber button gaskets to remove them.

    • Additionally, clean contacts with 91% isopropyl alcohol if needed.

  5. GameSir G7 SE Button Gaskets Replacement: paso 5, imagen 1 de 2 GameSir G7 SE Button Gaskets Replacement: paso 5, imagen 2 de 2
    • Make sure that the longer prongs on the button shroud/guide are facing you when reassembling.

Conclusión

To reassemble your device, follow these instructions in reverse order.

Nicolai

Miembro Desde 01/23/24

85 Reputación

1 Guía escrita

0 comentarios

Agregar Comentario

Ver Estadísticas:

Ultimas 24 horas: 1

Ultimos 7 días: 18

Ultimos 30 días: 119

Todo El Tiempo: 198