Saltar al contenido principal

Game Boy Cartridge Battery Replacement

Qué necesitas

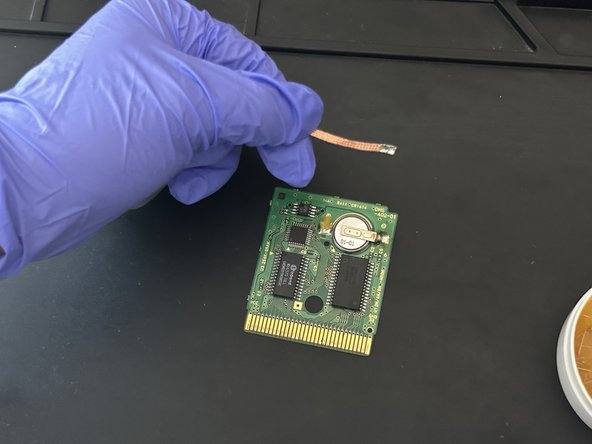
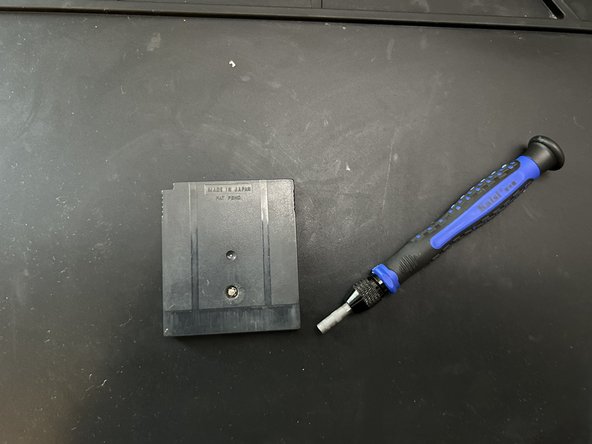
  1. Game Boy Cartridge Battery Replacement, Battery: paso 1, imagen 1 de 2 Game Boy Cartridge Battery Replacement, Battery: paso 1, imagen 2 de 2
    • Use the screwdriver to loosen the screw on the cartridge.

  2. Game Boy Cartridge Battery Replacement: paso 2, imagen 1 de 1
    • Switch on your multimeter and select the Voltage (V) mode. Then, test the voltage of the battery in the cartridge.

  3. Game Boy Cartridge Battery Replacement: paso 3, imagen 1 de 1
    • Apply some of the flux paste to help desolder the soldered areas on the battery.

  4. Game Boy Cartridge Battery Replacement: paso 4, imagen 1 de 1
    • Be careful when handling a fully heated soldering iron, as it can burn you.

    • Use the soldering iron once it heats up fully. Then, heat up the soldered areas with the iron.

  5. Game Boy Cartridge Battery Replacement: paso 5, imagen 1 de 2 Game Boy Cartridge Battery Replacement: paso 5, imagen 2 de 2
    • Pick up the solder with the desoldering braid.

  6. Game Boy Cartridge Battery Replacement: paso 6, imagen 1 de 1
    • Wipe off any excess flux paste.

    • The flux paste can damage the circuit board if not removed completely or spread to other areas on the circuit board.

  7. Game Boy Cartridge Battery Replacement: paso 7, imagen 1 de 2 Game Boy Cartridge Battery Replacement: paso 7, imagen 2 de 2
    • Make sure to align the battery's positive side where the positive indicator is and the negative side where the negative indicator is.

    • Use the soldering iron and soldering wire to solder both sides of the battery into place.

  8. Game Boy Cartridge Battery Replacement: paso 8, imagen 1 de 1
    • Switch on your multimeter and select the Voltage (V) mode. Then, test the voltage of the battery in the cartridge.

    • The battery has to have at least 1.5V. If the multimeter reads a negative value, then most likely, the terminals are placed opposite, so switch them around and check the resulting value once more.

  9. Game Boy Cartridge Battery Replacement: paso 9, imagen 1 de 2 Game Boy Cartridge Battery Replacement: paso 9, imagen 2 de 2
    • Align the cartridge and the circuit board.

    • Then tighten the screw to secure the cartridge into place.

Conclusión

To reassemble your game cartridge, follow step 9.

Una persona más ha completado esta guía.

Jose Ayala

Miembro Desde 12/06/23

220 Reputación

1 Guía escrita

Equipo

0 comentarios

Agregar Comentario

Ver Estadísticas:

Ultimas 24 horas: 6

Ultimos 7 días: 54

Ultimos 30 días: 204

Todo El Tiempo: 800