Introducción
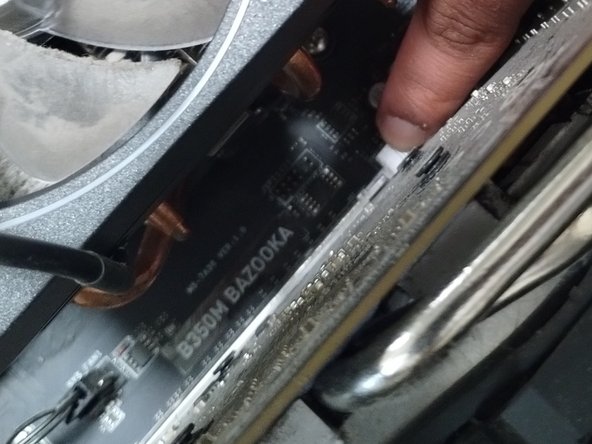
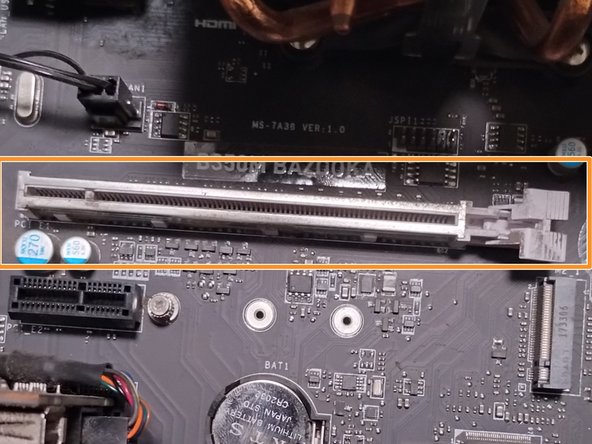
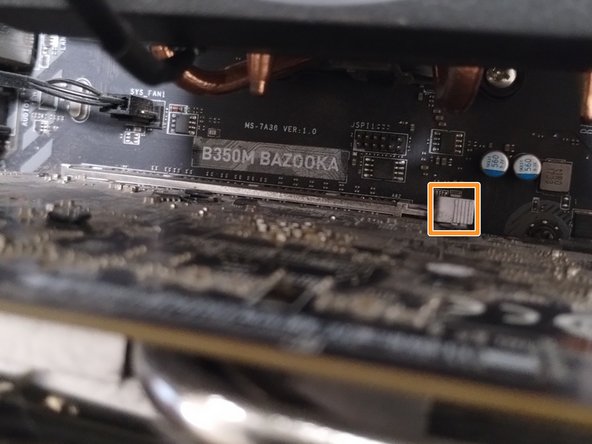
This guide details the replacement of a graphics processing unit using the B350M BAZOOKA Motherboard. This guide requires no prior knowledge or special skills to complete. However, there are a few things to be cautious of:
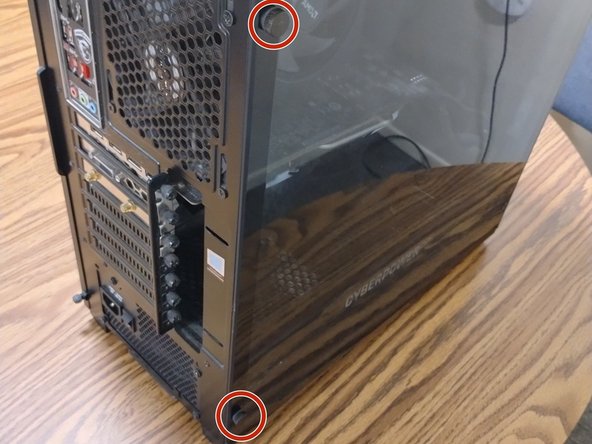
- The possibility of shattering a glass front panel.
- The possibility of static build-up.
- Turn off the desktop before starting, and handle all parts with care.
Qué necesitas


Casi Terminas!
Linea de Meta
Cancelar: No complete esta guía.
2 personas más completaron esta guía.
Equipo

CSU Los Angeles, Team 2-16, Briggs Fall 2022 Miembro de CSU Los Angeles, Team 2-16, Briggs Fall 2022
CSULA-BRIGGS-F22S2G16
1 Miembro
2 Guías creadas