Saltar al contenido principal

GBC Creative Laminator Motor Replacement

Qué necesitas

  1. GBC Creative Laminator Motor Replacement, Motor: paso 1, imagen 1 de 2 GBC Creative Laminator Motor Replacement, Motor: paso 1, imagen 2 de 2
    • Using the Phillips #2 screwdriver, remove ten 12 mm long screws on the bottom of the device.

  2. GBC Creative Laminator Motor Replacement: paso 2, imagen 1 de 1
    • Open the top of the device, and the inside of the Laminator will be exposed as shown.

  3. GBC Creative Laminator Motor Replacement: paso 3, imagen 1 de 2 GBC Creative Laminator Motor Replacement: paso 3, imagen 2 de 2
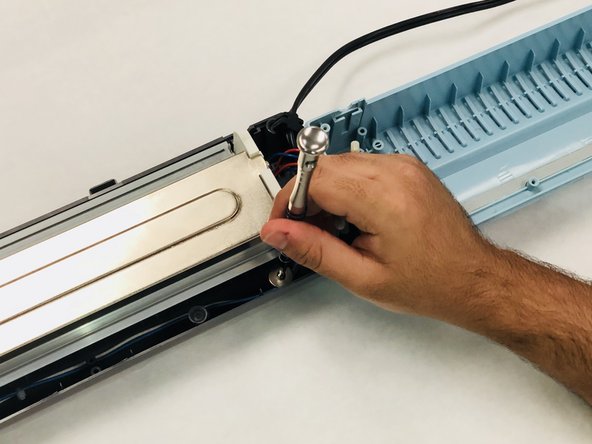
    • Using the Phillips #2 screwdriver, remove two 9 mm long screws on the side of the main component that keep the motor in place.

  4. GBC Creative Laminator Motor Replacement: paso 4, imagen 1 de 2 GBC Creative Laminator Motor Replacement: paso 4, imagen 2 de 2
    • Using the Phillips #2 screwdriver, remove three 8.5 mm long screws and washers on the front edge of the plastic casing.

  5. GBC Creative Laminator Motor Replacement: paso 5, imagen 1 de 1
    • Lift the motor out of the plastic casing.

Conclusión

To reassemble your device, follow these instructions in reverse order.

Una persona más ha completado esta guía.

Yujia Tang

Miembro Desde 07/11/18

384 Reputación

2 Guías creadas

Equipo

IUPUI, Team S1-G1, Wilson Summer 2018 Miembro de IUPUI, Team S1-G1, Wilson Summer 2018

IUPUI-WILSON-SU18S1G1

5 Miembros

4 Guías creadas

0 comentarios

Agregar Comentario

Ver Estadísticas:

Ultimas 24 horas: 1

Ultimos 7 días: 2

Ultimos 30 días: 16

Todo El Tiempo: 816