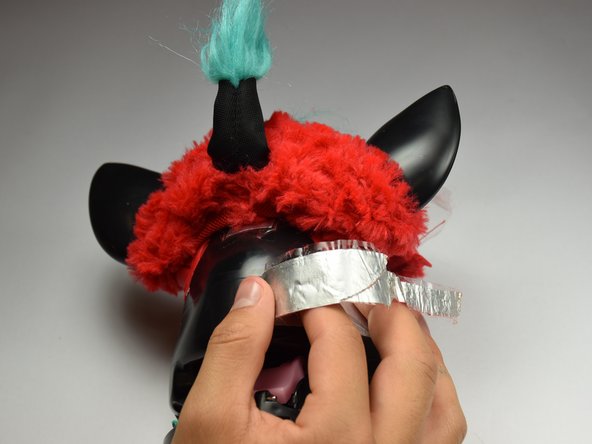
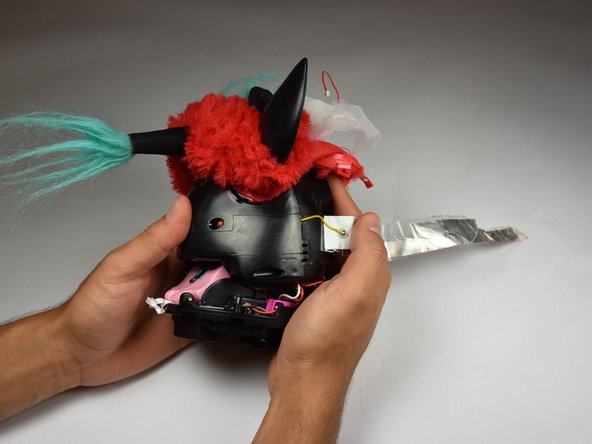
The device has fabric and an outer shell that needs to be removed. Removing the connector tabs are the hardest part of this guide.
Use a Phillips #0 driver to unscrew the eight 10mm screws.
Remove the base ring after unscrewing all the screws.
Be careful when lifting the base ring from the Furby. There are sharp edges that hold the base ring in place.
Locate the two middle clips first.
Locate the two remaining clips on Furby's sides, they are opposite each other.
Orient the Furby upside down with the tail facing away from you.
Insert a metal prying tool directly into the clip opening.
Press upward into the clip. At the same time, use your other hand to pull away the plastic seam from the Furby's body.
Repeat the previous step to remove the remaining three clips.
Orient the Furby on its side to where the beak is facing left and locate the edge of the aluminum tape.
Lift tape gently and peel back until the tape is nearly removed.
Do not pull on the yellow wire located on the opposite end of the tape.
Locate the four 10mm screws. Two on either side of body, and two on top of back plate, around the tape.
Remove the 10mm screws with the Phillips#0 screwdriver.
Peel the tape gently, grabbing it from the bottom edge and folding the tape upward.
Peel the tape up until it is nearly detached from the black case.
Orient the Furby face down, with the base facing away from you.
Locate the clips below the ears.
Repeat the technique used in Step 6. Create leverage using a metal prying tool to press upward into the clip, while also pulling back on the clip itself.
Incrustar esta guía
Elige un tamaño y copea el siguiente código para incrustar esta guía como un pequeño widget en tu sitio / foro.
Paso Individual
Guía Completa
Pequeño - 600px
Mediano - 800px
Grande - 1200px
Vista previa