Introducción
My X20's on-/off-switch mechanism, integrated in the manual zoom lens, stopped working after the camera got hit on the lens. Here is how I repaired it.
Qué necesitas
-
-
I removed the rubber covering completely to find all screws, but if you know the positions you can leave most rubber on and just remove it at the edges to access the screws. The rubber will stick well again after the repair but is very difficult to reattach after complete removal.
-
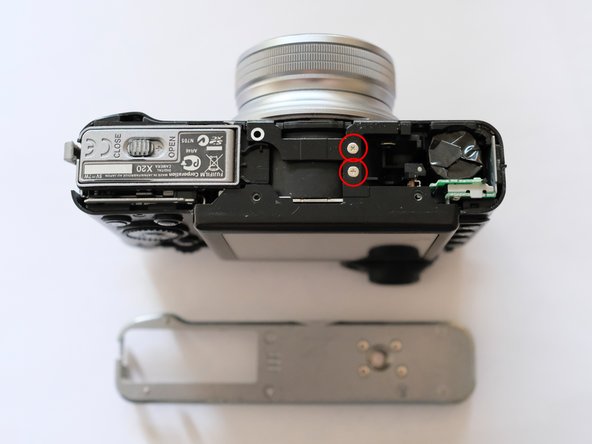
Remove all screws marked red, the screws with green marks can stay in for now.
-
Almost all screws are cross headed, except for one T2 size torx screw.
-
-
-
Remove all screws marked red, the screws with green marks can stay in for now.
-
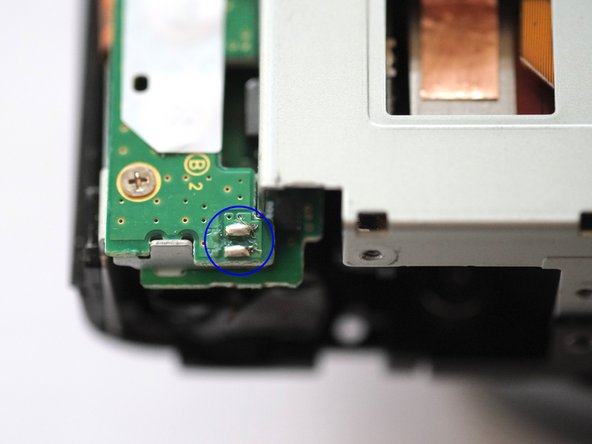
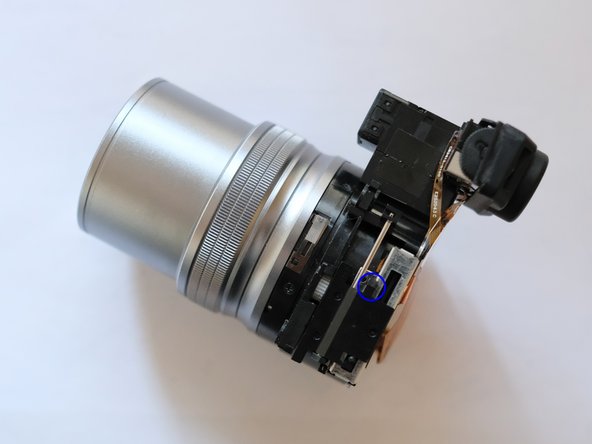
After opening the bottom plate you will see the speaker on the position marked with a blue circle. In my case the cable detached trying to remove it, but since I never used the speaker I didn't care. You will need to find another way around it if you want to keep the speaker, shouldn't be to difficult now that you know how the next steps look like.
-
-
-
Detach cable marked red opening a little bar on the switch to detach the backplate with screen.
-
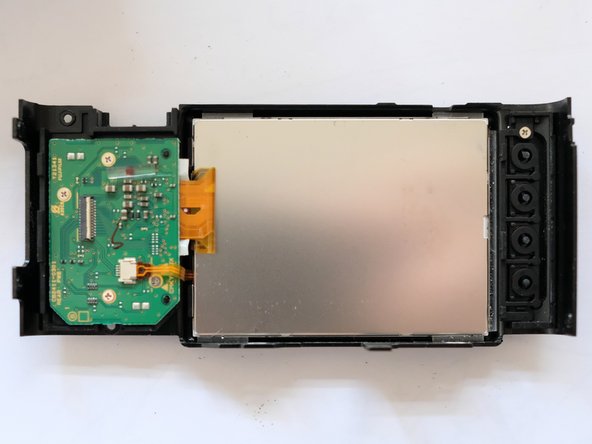
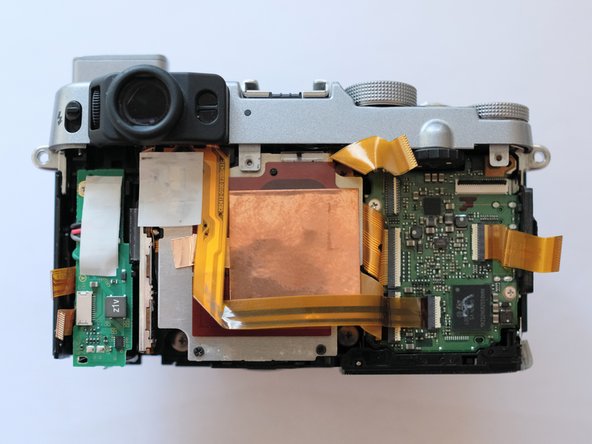
Remove cables and screws on left side to remove the little PCB, that will enable to remove the metal cover.
-
In third image the blue circle marks the solder points the little speaker is attached to, shouldn't need to desolder I think.
-
-
-
-
The little PCB can be taken of the cable, also screws to be removed to detach the metal cover. The metal cover is attached to another cable on it's back.
-
-
-
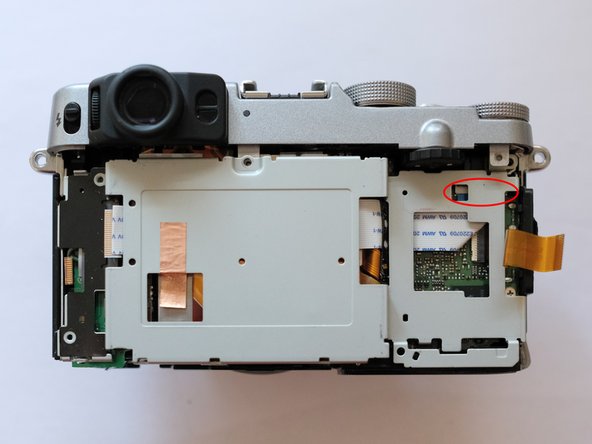
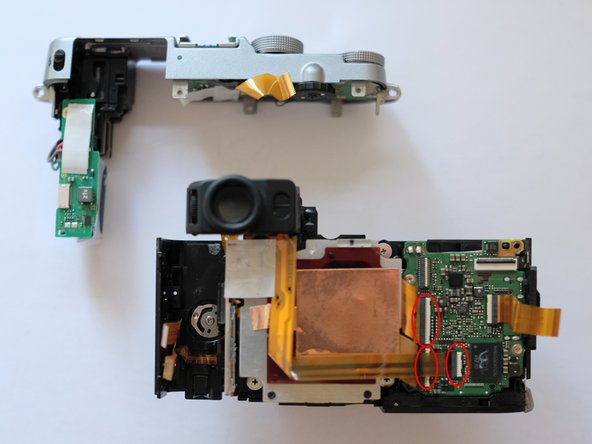
To cables to be removed to detach the top bit of the camera, the flash unit including the capacitor can remain attached to the top section.
-
-
-
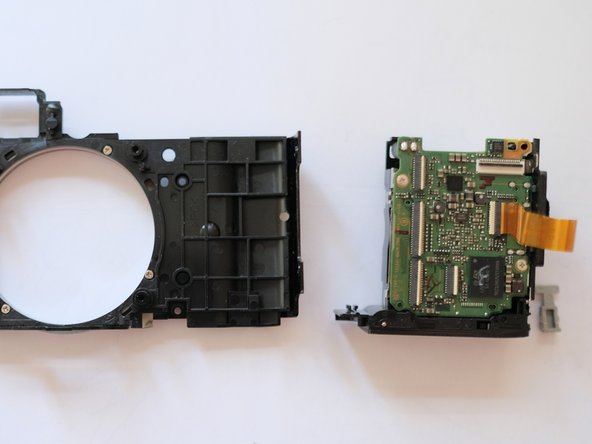
For the full teardown remove the two screws marked in red to take of the battery compartment.
-
-
-
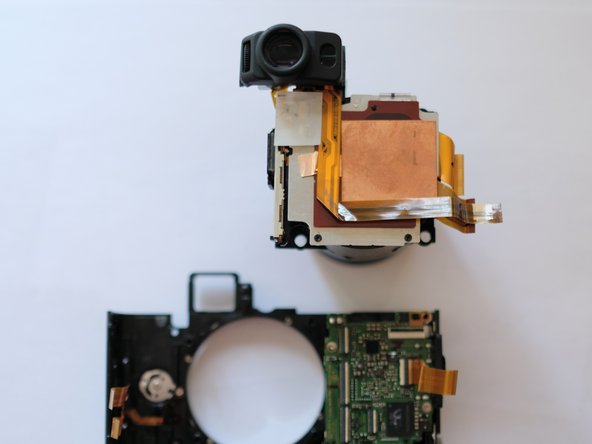
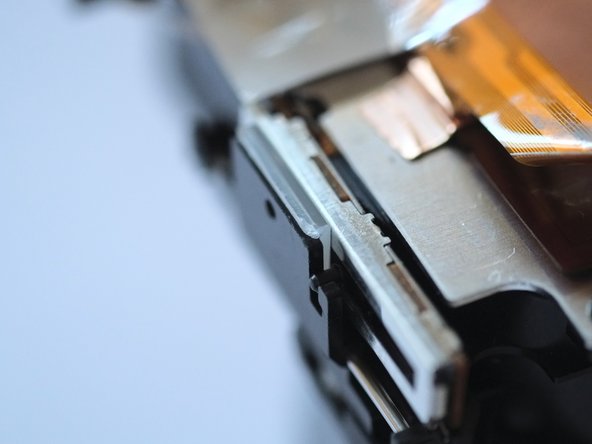
Showing the mechanism that moves during zooming the lens and switching the camera on as well. Zooming the lens moves the black slider along the metal rail and activates the on-switch sitting inside. That works via a small white gearwheel that is connected to the black slider. The wheel also tells the camera electronics the current zoom position.
-
-
-
In my case the black slider could tilt towards the rails, disconnecting the white gearwheel and therefore all electronic functions of the zoom mechanism.
-
To fix that I glued the bit of plastic onto the backside of the black slider, preventing it from tilting towards the rail. Before fixing the slider position make sure it’s in the right position to show the exact focal range later in camera.
-
-
-
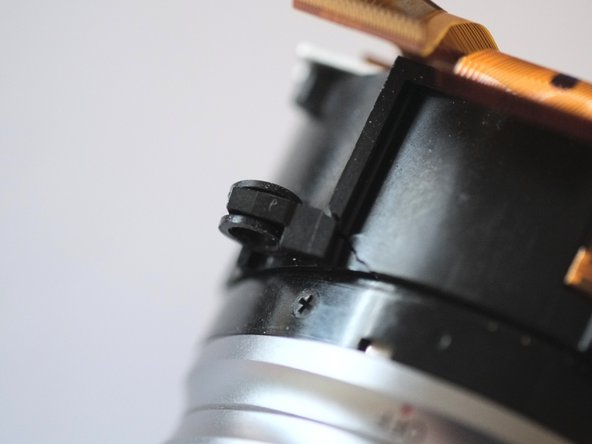
I found that the lens must have been knocked at some point since one of the lens fixing points were broken off (I assuming that must have broken the switch as well, maybe at the position marked blue in step 9 image 2).
-
To fix this I reattached the fixing point using superglue.
-
-
-
Re-assembled the camera working my way backwards through the steps, it is working fine now. Good luck!
-


To reassemble your device, follow these instructions in reverse order.
To reassemble your device, follow these instructions in reverse order.
Cancelar: No complete esta guía.
2 personas más completaron esta guía.

12 comentarios
Hello, i’ve try to repair my X20 who seemed to have the same probleme of on/off switch: the camera start in play mode but when i turn the on/off switch everything go’s to black and i can’t anymore go to the play mode. A disassembly the camera with your guide but i didn’t understand how exactly your repair it. What about the small plexiglass part you insert and why did it fix the pb ? Should i do exactly the same action to make my camera ready for some more pictures ?
Tank you for the disassembly guide which work perfectly.
I’m glad the pictures helped you so far. The plan was to add more text at some point, especially the part with the actual fix isn’t very clear. So let me explain a bit more detailed how I fixed the on/off switch in my X20:
In the first picture of step 10 you see the metal rail and the black slider sitting on top. If you turn the lens the slider should move along the rail and activate the on switch sitting inside. That works via a small white gearwheel that is connected to the black slider. In my case (and I hope you find the same situation in your camera) the black slider could tilt towards the rails, disconnecting the white gearwheel and therefore all electronic functions of the zoom mechanism.
To fix that I glued the bit of plastic onto the backside of the black slider, preventing it from tilting towards the rail. Before you fix the slider position you need to make sure it’s in the right position to show the exact focal range later in camera.
If you should have more questions you are welcome to write me again.
I’m looking forward to when you add more description to these photos. I have the same issue with my X20 since last week. I turn the lens, there is sign of power, then its off. I know that the battery is good and fully charged. I can turn on the playback function no problem. I am reluctant to rip into the camera before I understand better what I need to do.
Hello,
It is difficult to say what the usual reason for this on/off-switch issue is. I think my case was special because I found that the lens must have been knocked at some point, in step 11 you can see that one of the lens fixing points were broken off and that must have broken the switch as well.
The on/off-switch problem appears more often but I think it can have different sources. The only way to find out, without sending it to service, would be do open it and have a look. I found a video of someone opening his X10 (which is a very similar design) and explaining how he fixed his camera having also trouble with the switch but with a different cause, maybe that helps: https://www.youtube.com/watch?v=dKn16FJT...
If you have any questions in particular please let me know.
Best wishes,
Manuel
Added some descriptions now as well, hope that helps.