Frigidare FFLG1011MW0 Lid Lock Switch Assembly Replacement
Introducción
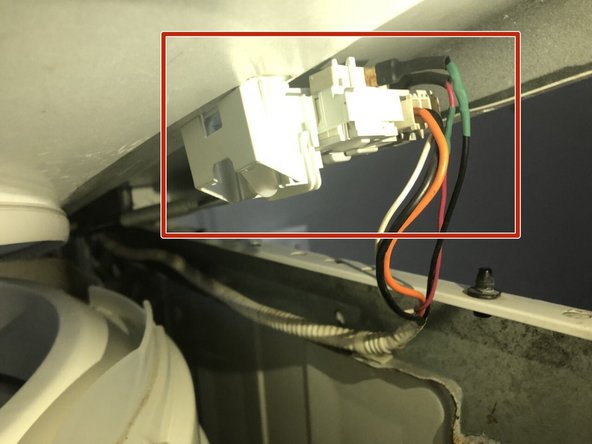
This guide will show you how to fix a washer that has stopped working on your Frigidaire Laundry Center. If your washer has stopped working and won’t turn on, but your dryer is functional, then perhaps your washer has a faulty lid lock switch assembly. A faulty lid lock assembly will prevent your washer from locking up the lid/door and therefore prevent it from starting the washing cycle. If your washer won’t start and you hear a constant clicking coming from the lid/door, then it’s likely that the lid lock switch assembly is malfunctioning and therefore it must be replaced. Let me help you with this guide!
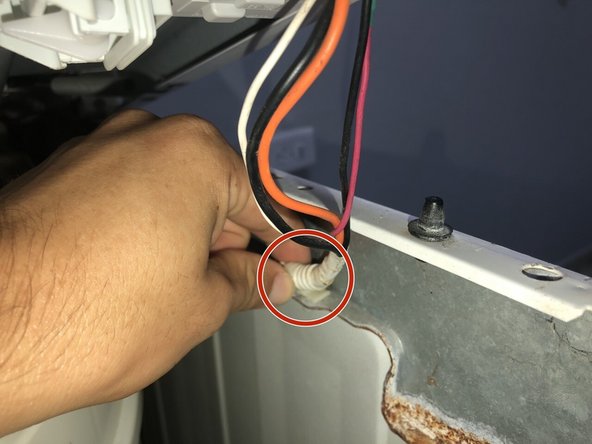
As you lift the top panel you will notice that there isn't much space. To solve this, remove the plastic clip holding the wiring harness in place with your fingers.
Using pliers to remove the clip could end up breaking it.
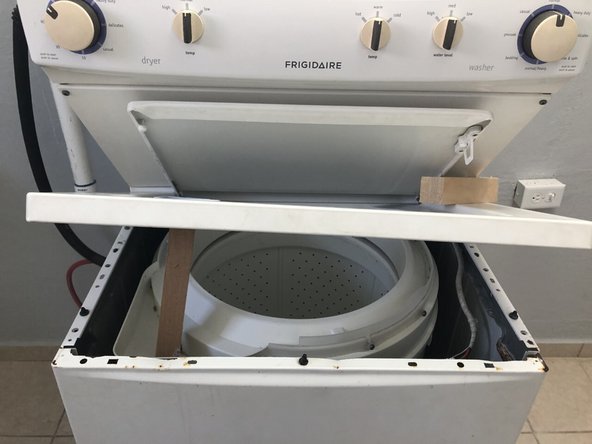
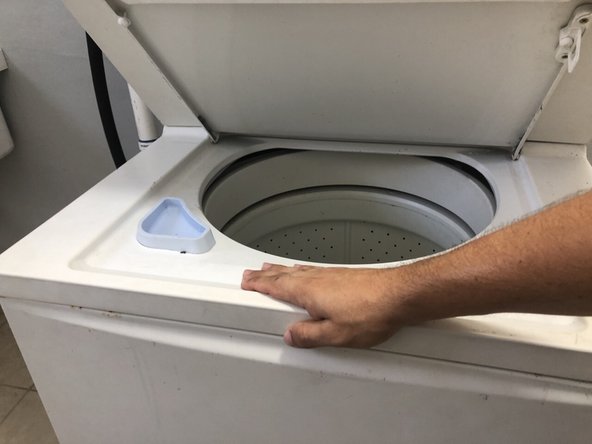
Lift the top panel completely and prop it open using something sturdy like a piece of wood.
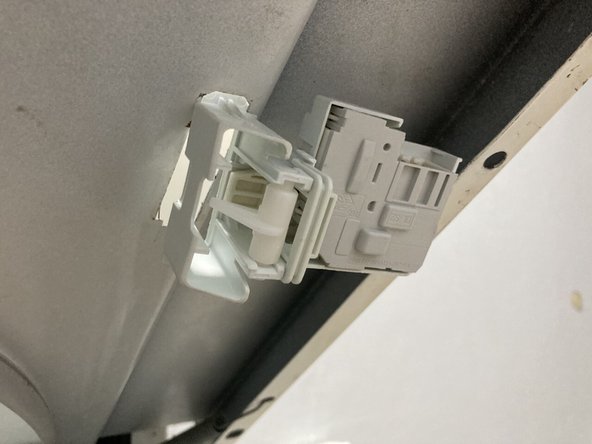
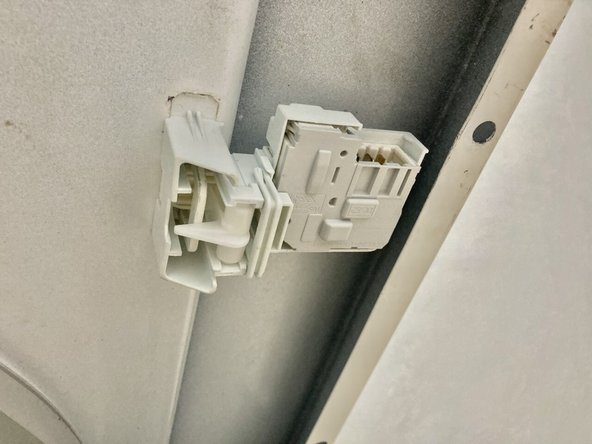
Purchase your new part and make sure it's the same as the old one. Pay attention to the metal pins where the connectors go as those tend to change from brand to brand.
Position the switch assembly in the slotted hole and then slide it in place until your hear a click.
Do not use a rubber hammer in this step; doing so may damage the switch assembly.
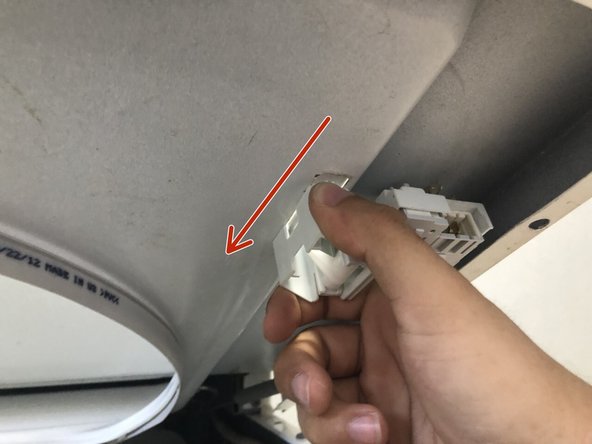
Remove the piece of wood holding the top panel in place and begin lowering it.
As you lower the top panel, reinstall the plastic clip that holds the wiring harness in place.
You must reinstall the clip after removing the piece of wood. If you try doing it before removing the piece of wood, the plastic clip will not reach the hole.
Do you have a step to step for Frigidaire quiet pack lid lock replacement they look similar to this video but mines has another part on the bottom that is not in this step?.