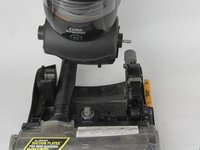
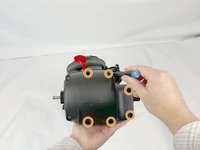
Saltar al contenido principal

Eureka SuctionSeal Pet Drive Motor Replacement

Qué necesitas

  1. Eureka SuctionSeal Pet Drive Motor Replacement, S Belt: paso 1, imagen 1 de 3 Eureka SuctionSeal Pet Drive Motor Replacement, S Belt: paso 1, imagen 2 de 3 Eureka SuctionSeal Pet Drive Motor Replacement, S Belt: paso 1, imagen 3 de 3
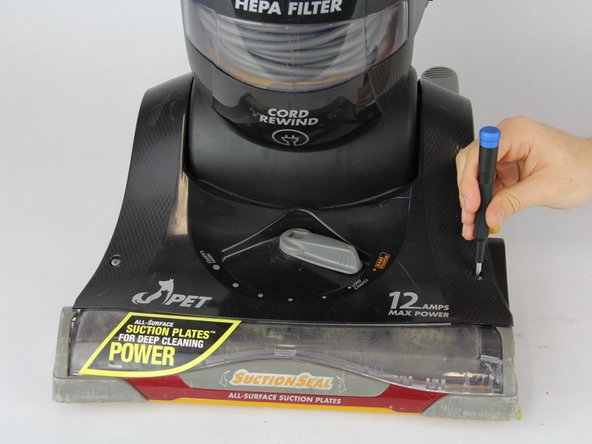
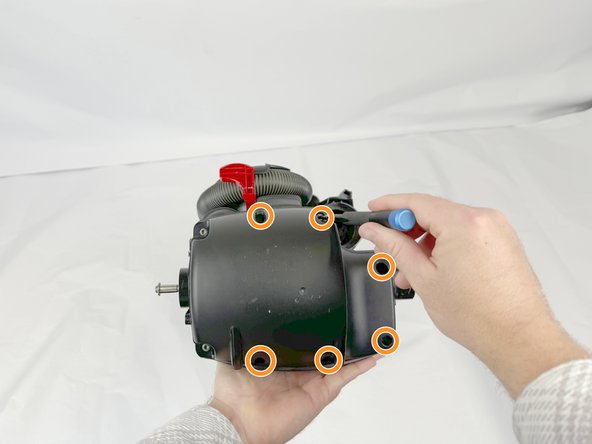
    • Remove the four 19 mm screws using a Phillips #2 screwdriver.

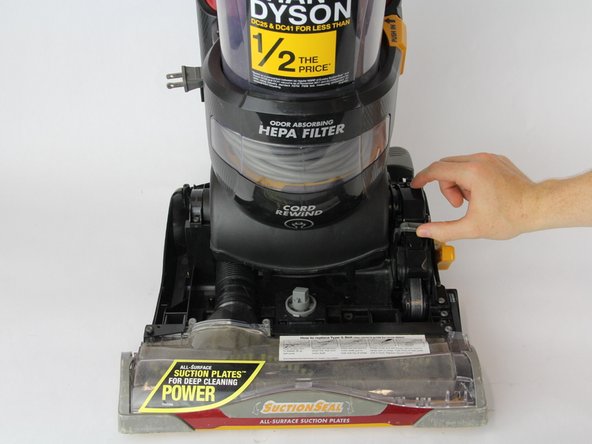
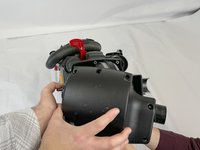
    • Remove the vacuum head cover by lifting away from the vacuum head.

  2. Eureka SuctionSeal Pet Drive Motor Replacement: paso 2, imagen 1 de 3 Eureka SuctionSeal Pet Drive Motor Replacement: paso 2, imagen 2 de 3 Eureka SuctionSeal Pet Drive Motor Replacement: paso 2, imagen 3 de 3
    • Lift up the tab on the S Belt cover.

  3. Eureka SuctionSeal Pet Drive Motor Replacement: paso 3, imagen 1 de 2 Eureka SuctionSeal Pet Drive Motor Replacement: paso 3, imagen 2 de 2
    • Starting from the bottom of the S belt, rotate the S belt away from the wheel.

    • Lift the S belt away from the bottom roller and remove from the motor shaft by sliding the S belt between the motor shaft and the vacuum head wall.

  4. Eureka SuctionSeal Pet Drive Motor Replacement, Drive Motor: paso 4, imagen 1 de 3 Eureka SuctionSeal Pet Drive Motor Replacement, Drive Motor: paso 4, imagen 2 de 3 Eureka SuctionSeal Pet Drive Motor Replacement, Drive Motor: paso 4, imagen 3 de 3
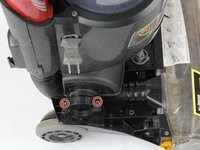
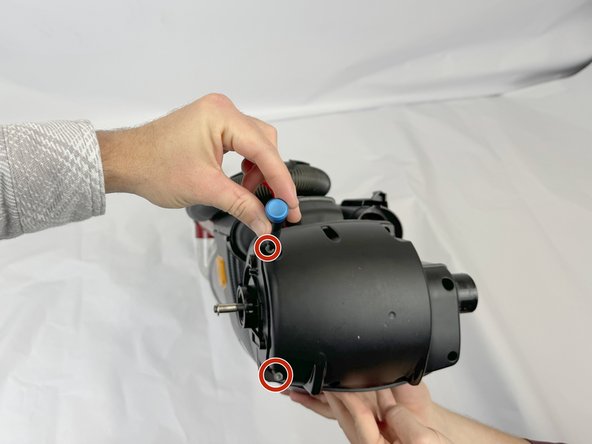
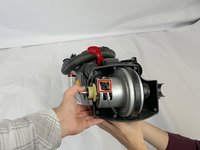
    • Remove two 19 mm screws using a Torx T20 screwdriver.

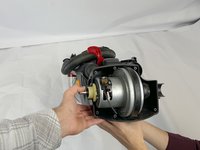
    • Remove the vacuum head retaining bracket.

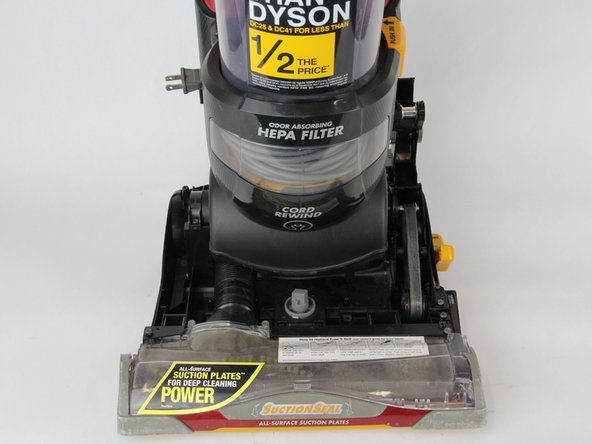
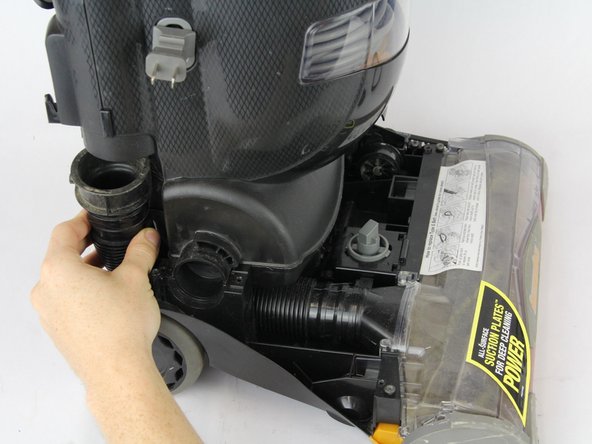
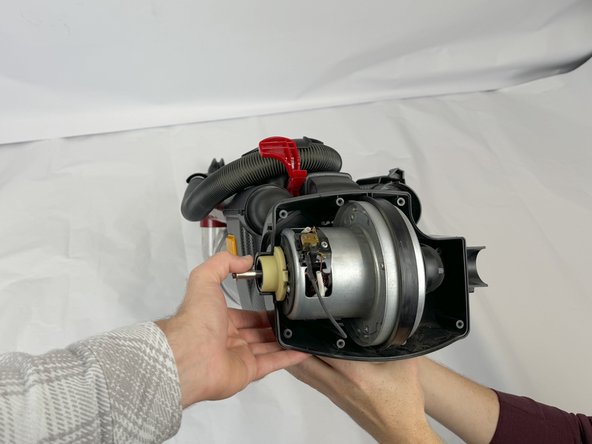
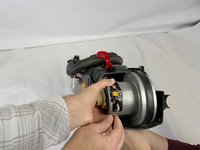
    • Pull down on the vacuum hose to remove the hose from the body.

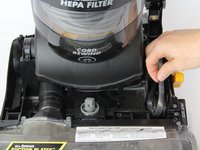
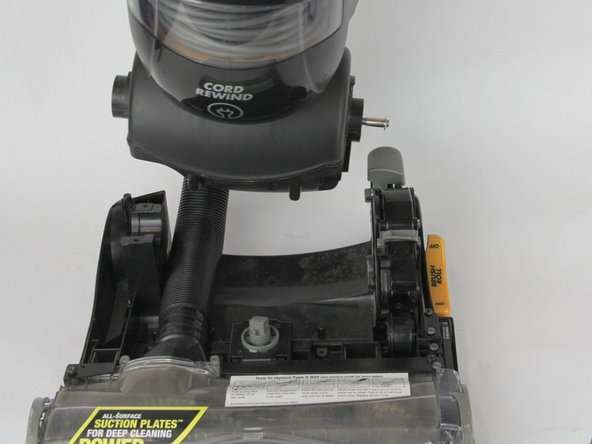
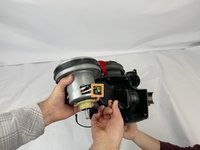
    • Lift the vacuum body away from the vacuum head to separate.

  5. Eureka SuctionSeal Pet Drive Motor Replacement: paso 5, imagen 1 de 3 Eureka SuctionSeal Pet Drive Motor Replacement: paso 5, imagen 2 de 3 Eureka SuctionSeal Pet Drive Motor Replacement: paso 5, imagen 3 de 3
    • Remove two 28 mm screws holding the motor cover retaining bracket using a Torx T20 screwdriver.

    • Remove the remaining six 19 mm screws using a Torx T20 screwdriver.

    • The two outer 19 mm screws are set deeper in the cover than the rest and may require an extension to remove.

  6. Eureka SuctionSeal Pet Drive Motor Replacement: paso 6, imagen 1 de 2 Eureka SuctionSeal Pet Drive Motor Replacement: paso 6, imagen 2 de 2
    • Remove the motor case cover to expose the drive motor.

  7. Eureka SuctionSeal Pet Drive Motor Replacement: paso 7, imagen 1 de 3 Eureka SuctionSeal Pet Drive Motor Replacement: paso 7, imagen 2 de 3 Eureka SuctionSeal Pet Drive Motor Replacement: paso 7, imagen 3 de 3
    • Make sure the vacuum is unplugged before touching any electric components.

    • Remove the electric clip attaching the power to the motor.

    • Remove a second identical electric clip from the motor on the back side of the motor.

Conclusión

To reassemble your device, follow these instructions in reverse order.

Scott Turnham

Miembro Desde 10/24/24

255 Reputación

2 Guías creadas

Equipo

Cuesta, Team 60-2, Krynen Fall 2024 Miembro de Cuesta, Team 60-2, Krynen Fall 2024

CUESTA-KRYNEN-F24S60G2

Miembros de 4

5 Guías creadas

0 comentarios

Agregar Comentario

Ver Estadísticas:

Ultimas 24 horas: 0

Ultimos 7 días: 0

Ultimos 30 días: 3

Todo El Tiempo: 27