Introducción
The scanner motor powers the physical movement of the scanning mechanism. This mechanism moves across an entire document, copying its contents, so that the printer can scan, fax, and/or print a copy of the original document. This motor may stop working due to a broken fuse or faulty connection and ultimately may need to be replaced.
Qué necesitas


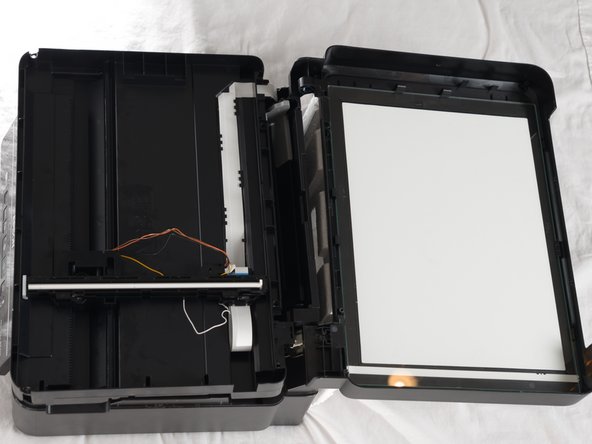


Casi Terminas!
To reassemble your device, follow these instructions in reverse order.
Conclusión
To reassemble your device, follow these instructions in reverse order.
Equipo

Cal Poly, Team 6-1, Forte Spring 2014 Miembro de Cal Poly, Team 6-1, Forte Spring 2014
CPSU-FORTE-S14S6G1
4 Miembros
10 Guías creadas