Introducción
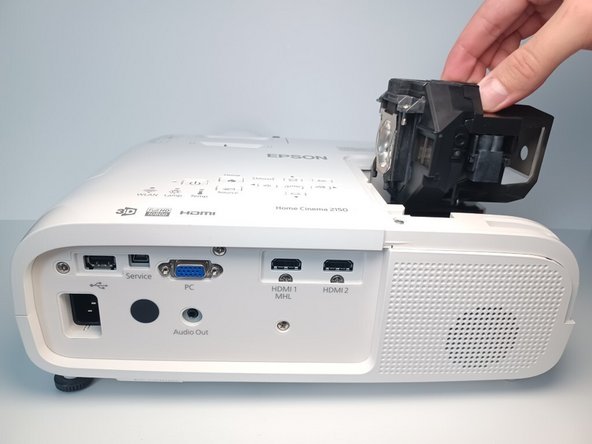
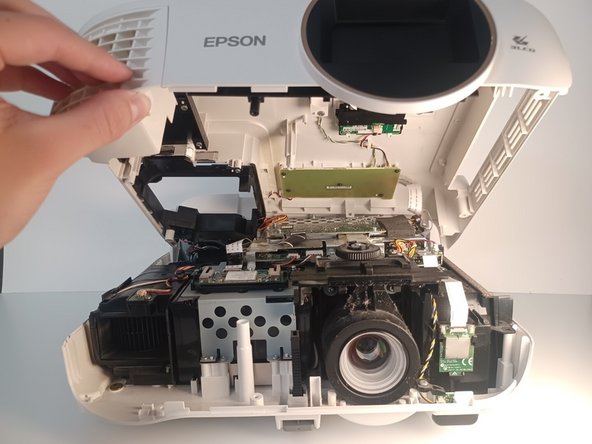
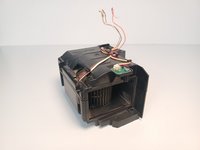
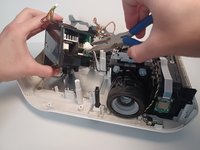
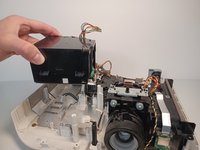
A replacement of the power supply unit is needed if the projector shows no sign of power despite the use of a functional power cable. It is located within the Epson Home Cinema 2150 almost at middle right next to the projector lens. It's a heavy black box.
The power supply is designed to deliver the proper power to the projector.
Qué necesitas
-
-
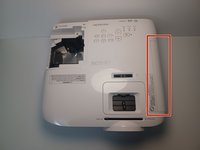
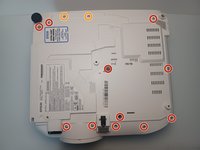
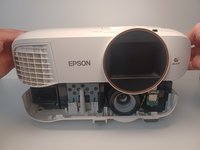
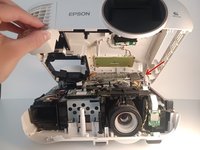
Orient the Epson Home Cinema 2150 so that the large indented panel faces your direction.
-
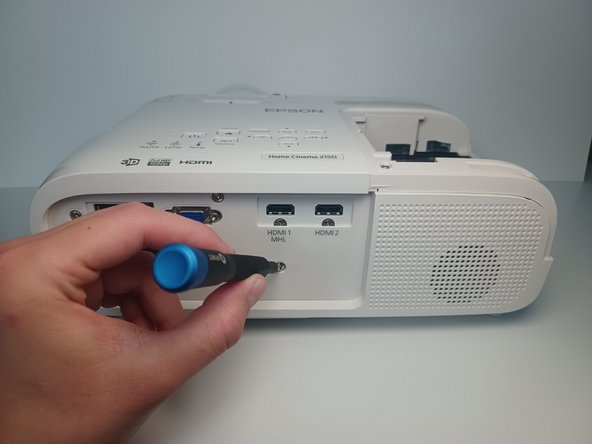
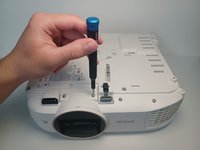
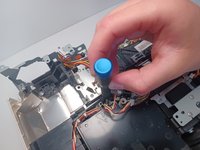
Unscrew the single 6mm Phillips#2 holding screw from the access panel.
-
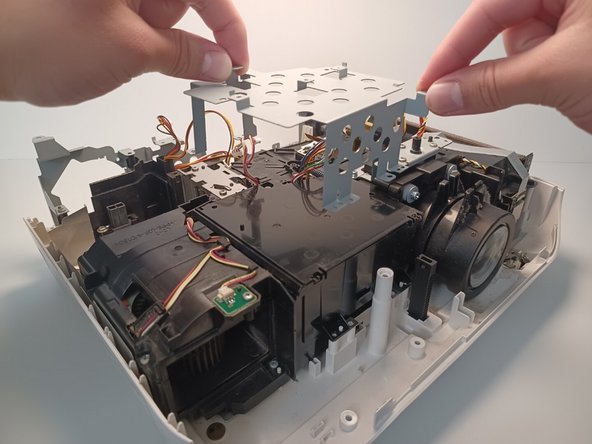
Slide the panel horizontally, then lift up to remove the access panel.
-
-
-
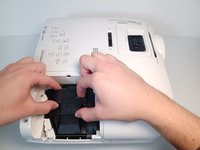
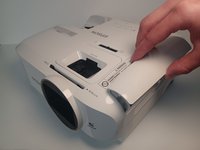
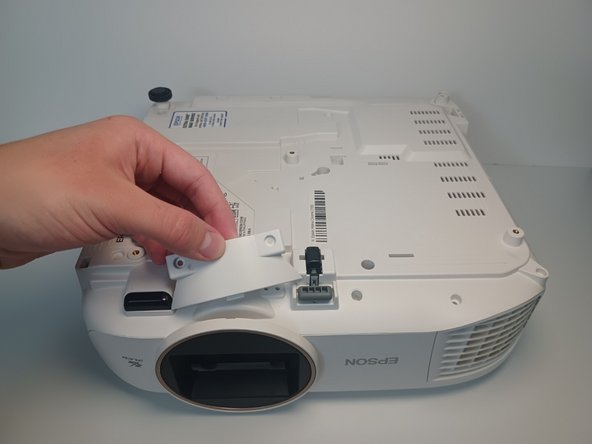
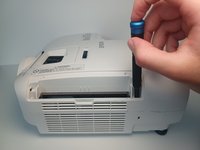
Remove the air filter cover. Grip the piece with two fingers above and below at the center.
-
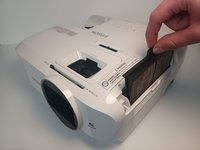
Grab the air filter from the protruding tab and pull the filter out.
-
-
-
-
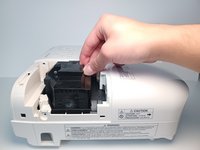
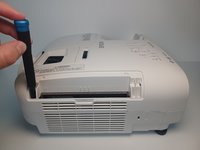
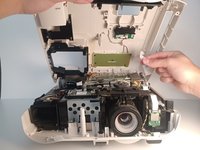
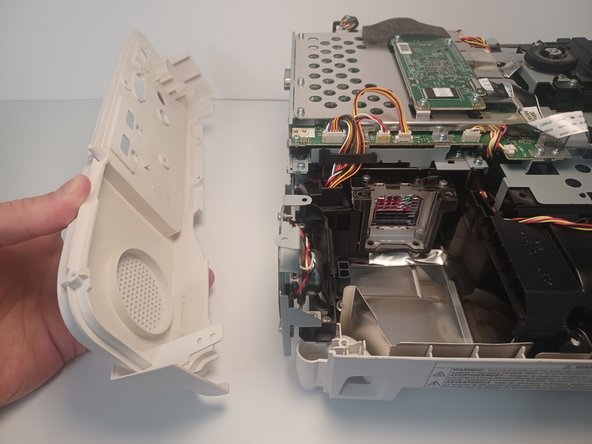
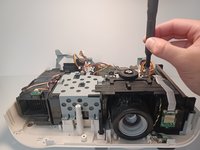
Pull up on the rear panel retaining clip.
-
Pull the rear panel away from the device to remove.
-
-
-
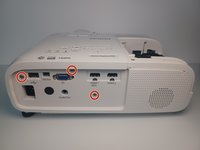
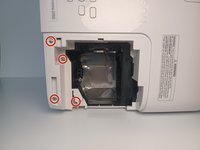
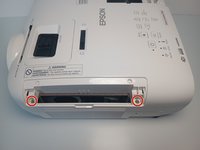
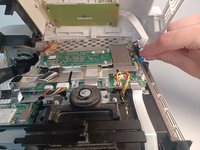
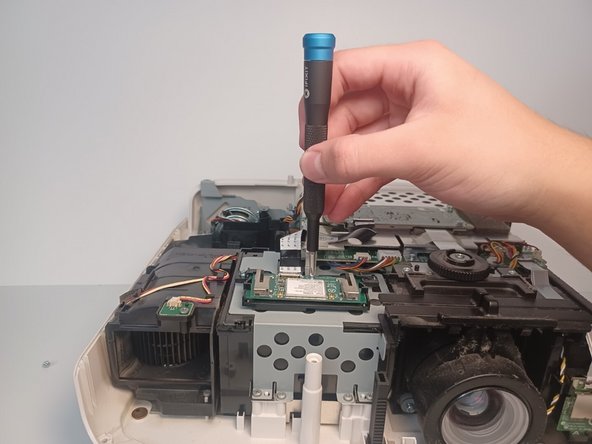
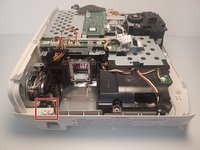
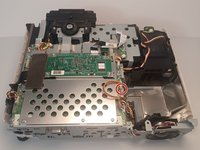
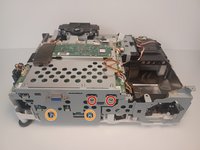
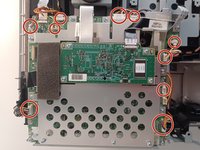
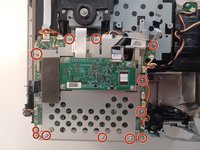
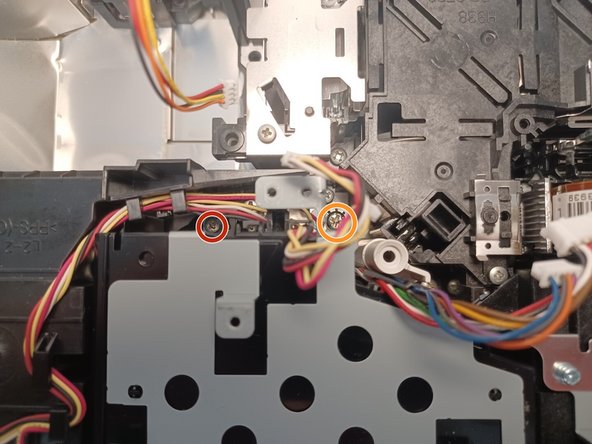
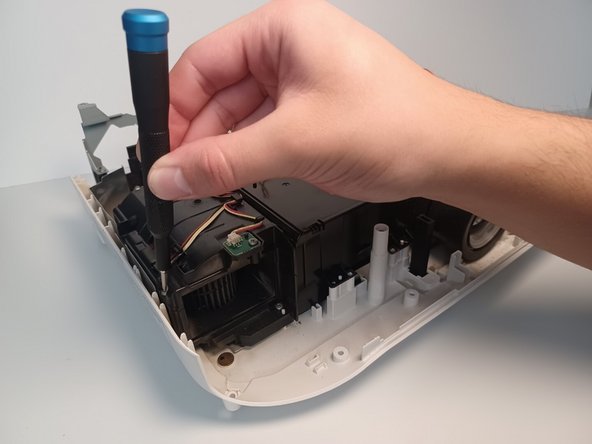
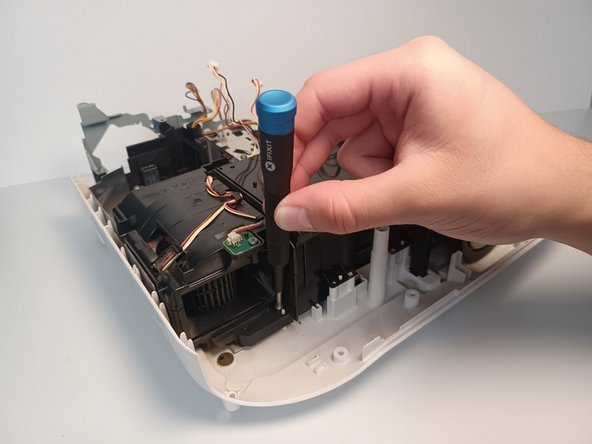
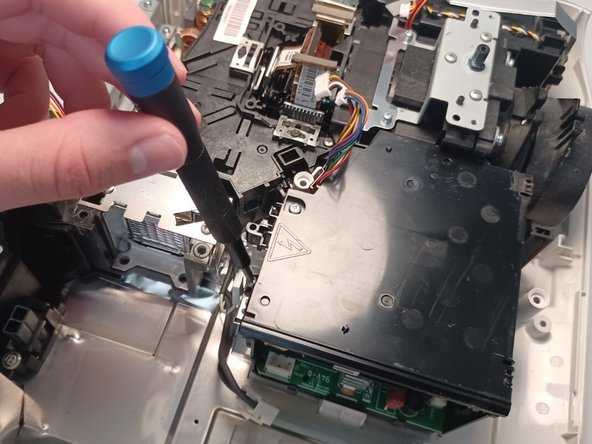
Remove two 6 mm Phillips #1 screws.
-
Remove two 5 mm Phillips #1 screws.
-
-
-
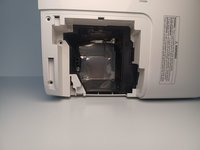
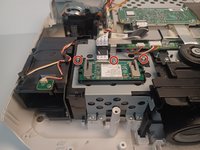
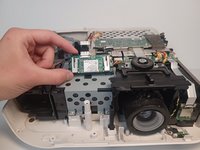
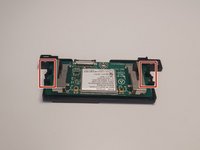
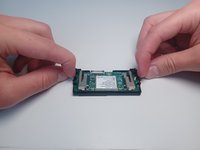
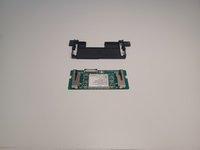
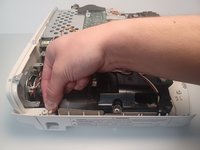
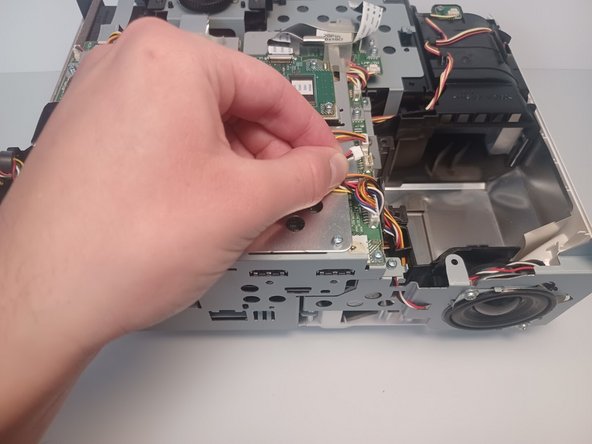
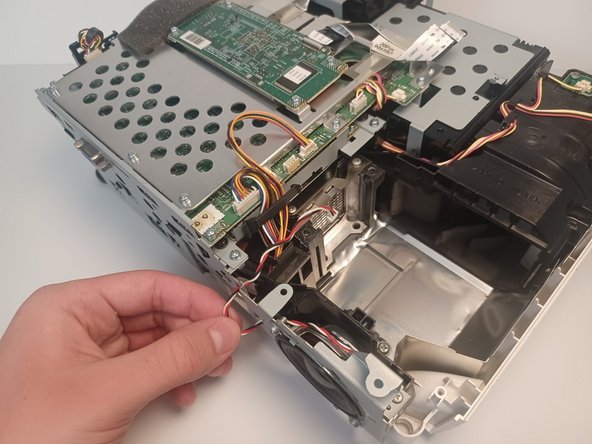
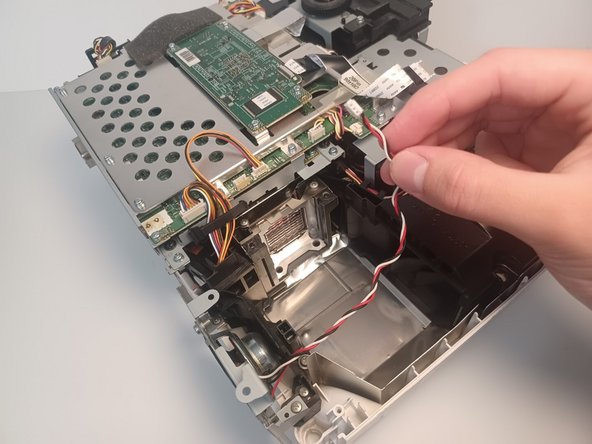
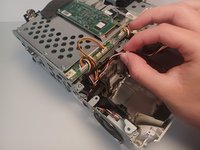
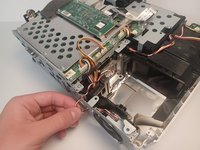
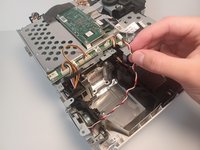
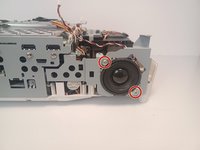
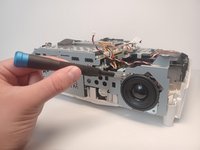
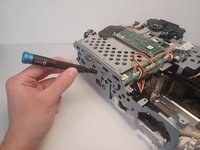
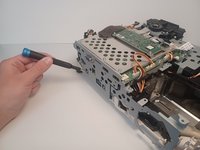
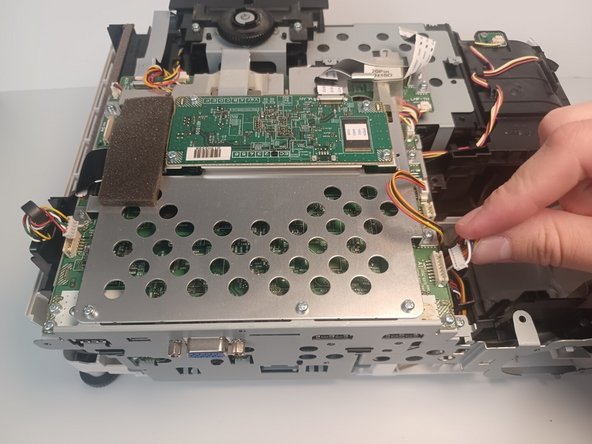
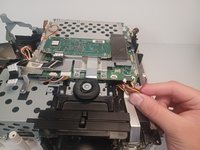
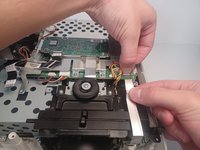
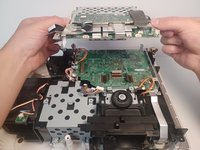
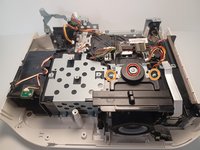
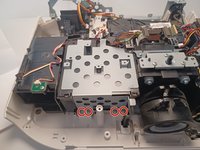
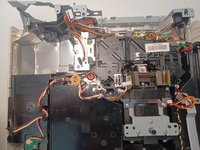
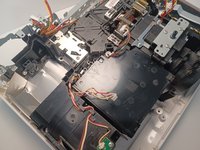
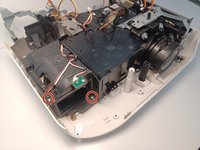
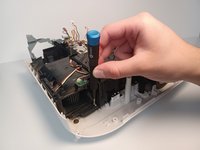
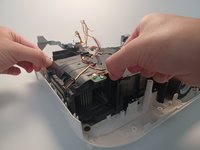
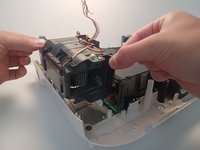
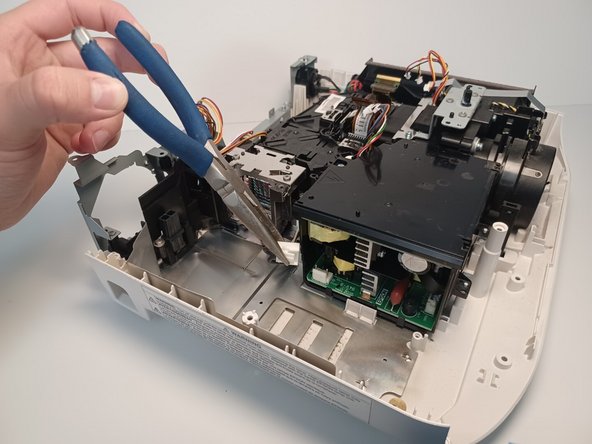
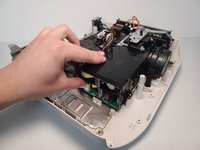
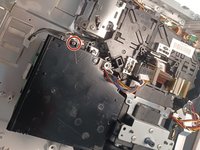
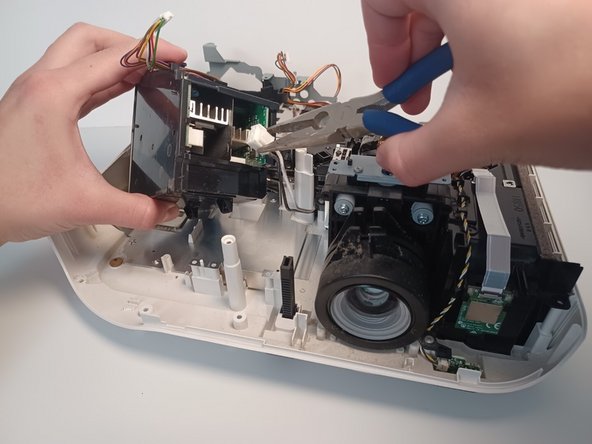
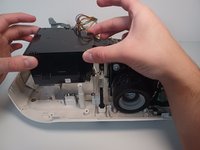
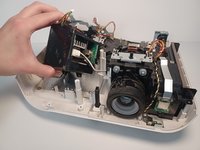
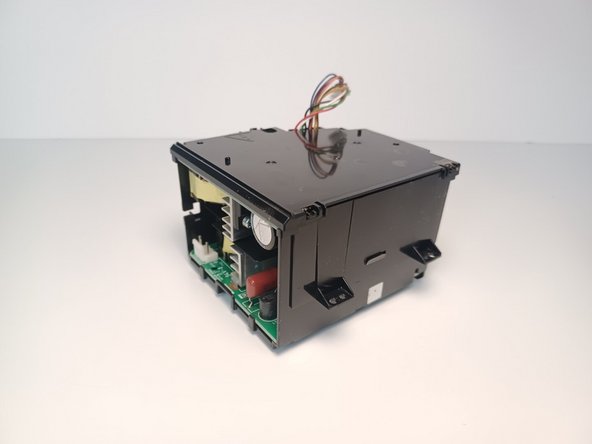
The power supply unit is a black box. Inside, there are two connected circuit boards, each with a single connector.
-
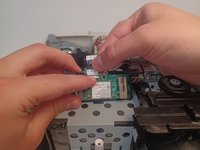
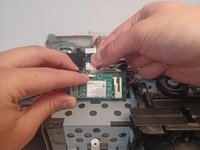
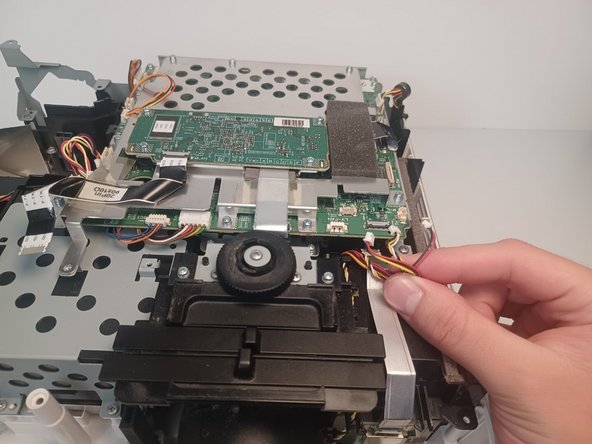
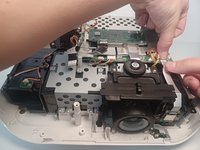
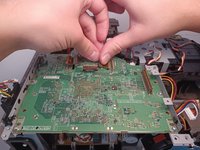
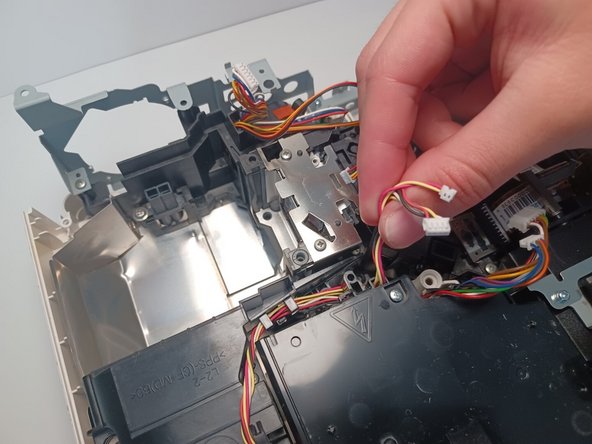
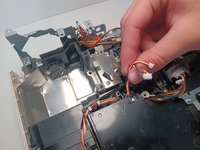
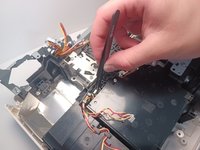
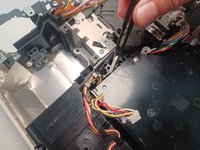
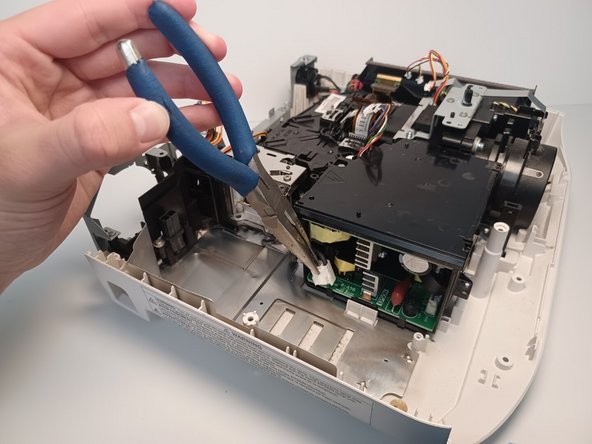
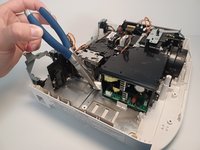
Using needle nose pliers, disconnect the first white connection cable from the circuit board.
-


To reassemble your device, follow these instructions in reverse order.
To reassemble your device, follow these instructions in reverse order.
Cancelar: No complete esta guía.
Una persona más ha completado esta guía.

Equipo

CSU Los Angeles, Team 6-2, Adachi Fall 2022 Miembro de CSU Los Angeles, Team 6-2, Adachi Fall 2022
CSULA-ADACHI-F22S6G2
Miembros de 4
5 Guías creadas