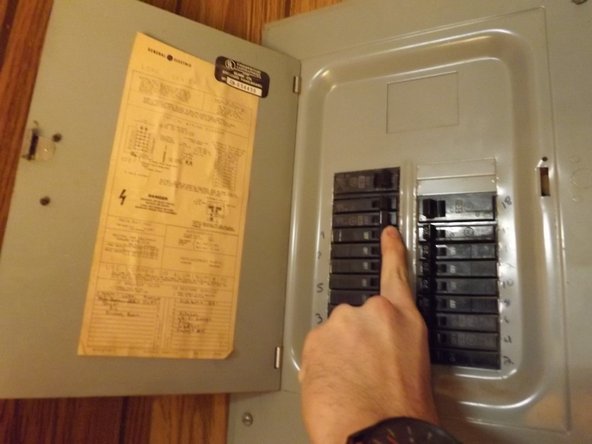
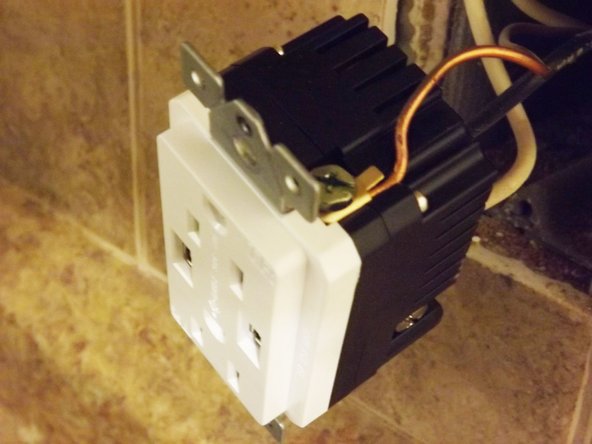
Saltar al contenido principal

Electrical Wall Outlet Replacement

Guía Archivada
Esta guía se mantiene únicamente para fines históricos. Utiliza la última versión de la guía para llevar a cabo tu reparación.

Qué necesitas

  1. Electrical Wall Outlet Replacement, Wall Outlet: paso 1, imagen 1 de 2 Electrical Wall Outlet Replacement, Wall Outlet: paso 1, imagen 2 de 2
    • Turn off electrical power from the breaker by switching off the breaker that is connected to the designated area.

    • Check power by plugging in rechargeable device and check if charging. If not charging, power to the wall is off.

  2. Electrical Wall Outlet Replacement: paso 2, imagen 1 de 1
    • Remove the screw from the outlet plate using a flathead screwdriver.

  3. Electrical Wall Outlet Replacement: paso 3, imagen 1 de 1
    • Remove plate from outlet using a Phillips screwdriver.

  4. Electrical Wall Outlet Replacement: paso 4, imagen 1 de 1
    • Remove screws from outlet that are connected to the wall using a Phillips screwdriver.

  5. Electrical Wall Outlet Replacement: paso 5, imagen 1 de 1
    • Remove wires from outlet by gently pulling them out of the outlet and wall.

  6. Electrical Wall Outlet Replacement: paso 6, imagen 1 de 2 Electrical Wall Outlet Replacement: paso 6, imagen 2 de 2
    • Connect wires to new outlet being sure to connected them to their designated port. They are labeled on the back of the outlet with: neutral, ground and hot.

    • Insert wire into the designated port and tighten with Phillips Screwdriver.

    • Neutral Wire- White

    • Ground Wire- Copper

    • Hot Wire- Black

  7. Electrical Wall Outlet Replacement: paso 7, imagen 1 de 3 Electrical Wall Outlet Replacement: paso 7, imagen 2 de 3 Electrical Wall Outlet Replacement: paso 7, imagen 3 de 3
    • Reassemble the outlet as it was removed.

Conclusión

To reassemble your device, follow these instructions in reverse order.

5 personas más completaron esta guía.

Equipo

Texas Tech, Team 22-4, Rauch Spring 2016 Miembro de Texas Tech, Team 22-4, Rauch Spring 2016

TTU-RAUCH-S16S22G4

2 Miembros

1 Guía escrita

0 comentarios

Agregar Comentario

Ver Estadísticas:

Ultimas 24 horas: 0

Ultimos 7 días: 0

Ultimos 30 días: 1

Todo El Tiempo: 1,209