Introducción
Replacing the front or back cameras may be necessary if one or both stop working, work poorly, or become very damaged. This guide details how to remove both of them, and the user can choose whether to remove one or both, as removing one does not effect the other. This guide is on the longer side, though it is not overly difficult.
Qué necesitas
-
-
Power down your device.
-
Place the small suction cup on a corner of the screen and lightly pull up to expose a seam between the screen and case.
-
-
-
Remove the battery (secured by six screws and a white wire connector) by following the removal portion of this battery replacement guide.
-
-
-
-
Orient your device so that the lock and volume buttons and the attached components are on the top left.
-
-
-
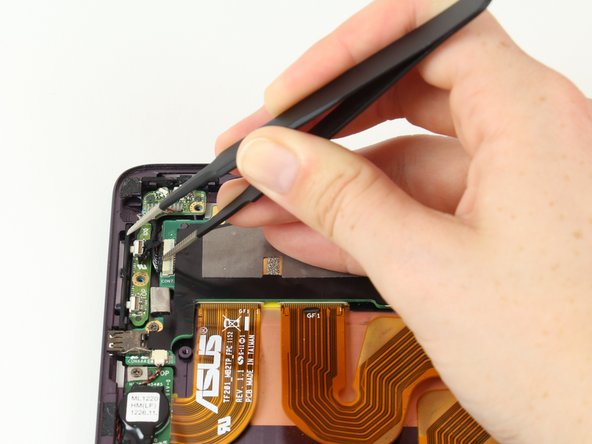
Use tweezers to pull back the strip of black tape covering the connection between the electronic portion of the lock and volume buttons and the motherboard.
-
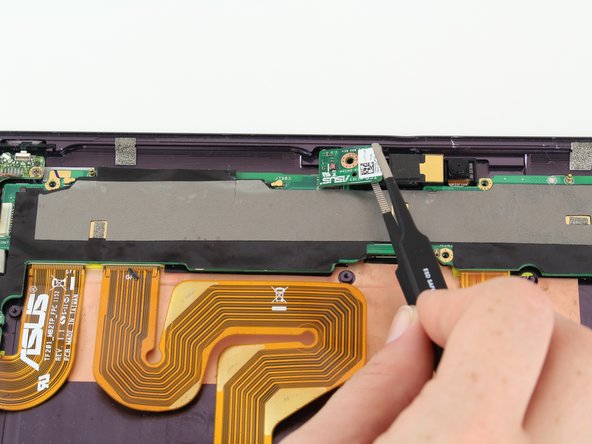
Push the black part out of the white part of the connection using tweezers.
-
-
-
With a Phillips #00 screwdriver, remove the one 3.8 mm screw in the LED chip. The LED chip is a small green chip (about 1 square centimeter) located at the top center of the device.
-
Gently remove the chip with a pair of precision tweezers by grabbing the chip from one side, being careful not to pinch on a black piece of hardware on the chip.
-
-
-
Using a Phillips #00 screwdriver, remove the six 2.5mm screws and set them aside.
-
-
-
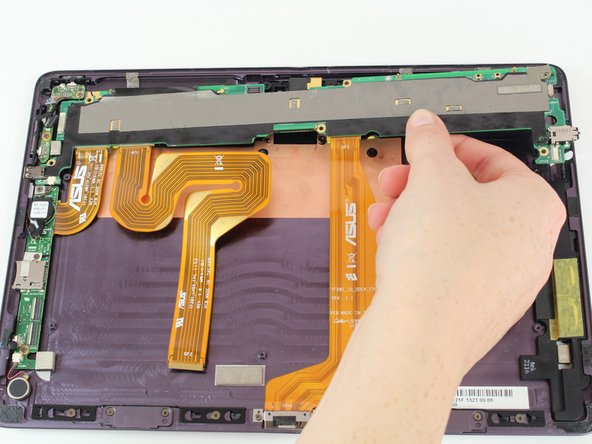
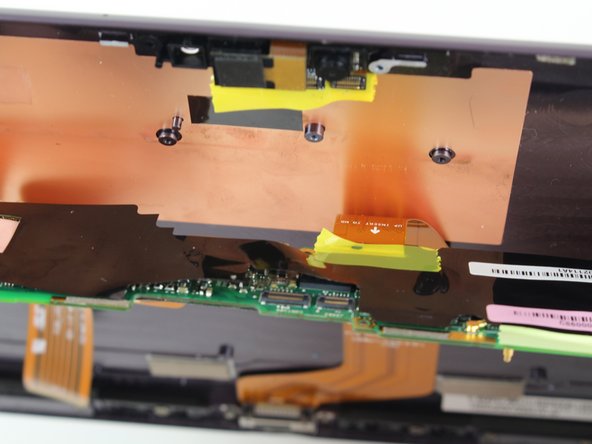
The motherboard will still be attached to the device by ribbon cables and tape located near the cameras. Gently pull the tape off the back of the mother board to release it.
-
Ignore the ribbon cables still attached to the mother board. Fold the mother board down towards the bottom of the device.
-


To reassemble your device, follow these instructions in reverse order.
To reassemble your device, follow these instructions in reverse order.
Equipo

Cal Poly, Team 10-1, Livingston SU 2016 Miembro de Cal Poly, Team 10-1, Livingston SU 2016
CPSU-LIVINGSTON-SU16S10G1
1 Miembro
6 Guías creadas