Saltar al contenido principal

Dynex DX-WBRDVD1 Cleaning The Optical Lens

Qué necesitas

  1. Dynex DX-WBRDVD1 Cleaning The Optical Lens, Top Cover: paso 1, imagen 1 de 2 Dynex DX-WBRDVD1 Cleaning The Optical Lens, Top Cover: paso 1, imagen 2 de 2
    • Remove the four 5mm Phillips #1 screws that connect the black outer shell to the silver back of the device.

  2. Dynex DX-WBRDVD1 Cleaning The Optical Lens: paso 2, imagen 1 de 1
    • Remove the two 5mm screws on the left and right side panels.

    • There is one screw on each side that secures the cover to the body of the device.

  3. Dynex DX-WBRDVD1 Cleaning The Optical Lens: paso 3, imagen 1 de 1
    • Lift the black cover to a 45 degree angle from the rear of the device and pull the cover away entirely.

    • Check that the power cord is not preventing the device from opening or closing.

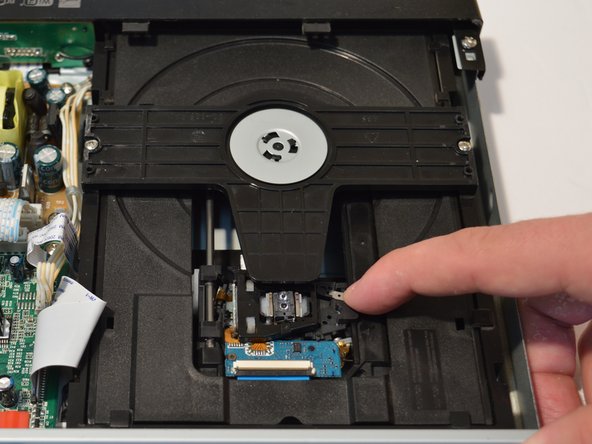
  4. Dynex DX-WBRDVD1 Cleaning The Optical Lens, Dynex DX-WBRDVD1 Cleaning The Optical Lens: paso 4, imagen 1 de 2 Dynex DX-WBRDVD1 Cleaning The Optical Lens, Dynex DX-WBRDVD1 Cleaning The Optical Lens: paso 4, imagen 2 de 2
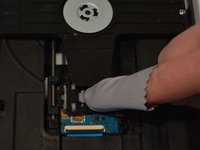
    • To access the optical lens, pull back the optical drive as shown in the pictures located on the two metal rails.

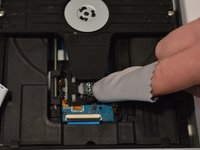
  5. Dynex DX-WBRDVD1 Cleaning The Optical Lens: paso 5, imagen 1 de 2 Dynex DX-WBRDVD1 Cleaning The Optical Lens: paso 5, imagen 2 de 2
    Herramienta utilizada en este paso:
    Microfiber Cleaning Cloths
    $3.99
    Comprar
Conclusión

To reassemble your device, follow these instructions in reverse order.

3 personas más completaron esta guía.

0 comentarios

Agregar Comentario

Ver Estadísticas:

Ultimas 24 horas: 0

Ultimos 7 días: 2

Ultimos 30 días: 3

Todo El Tiempo: 585