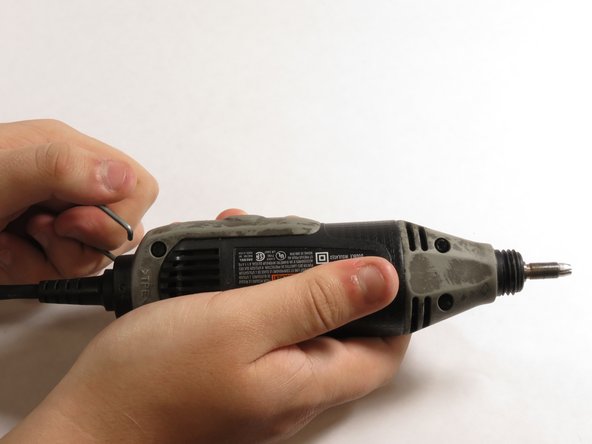
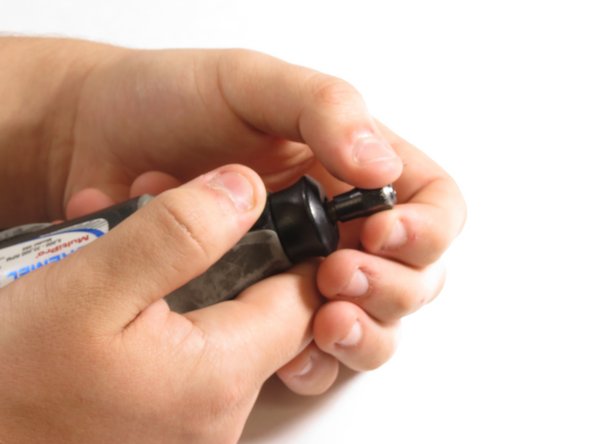
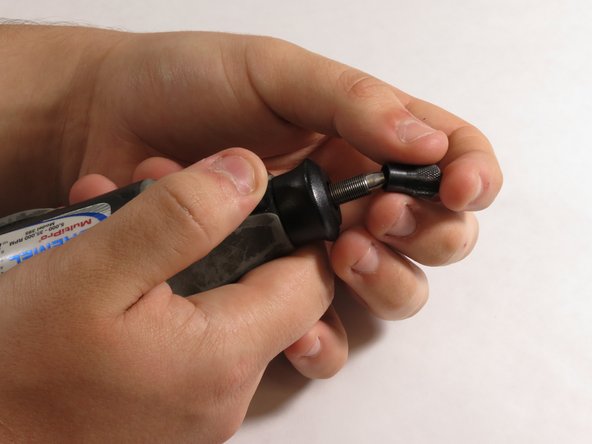
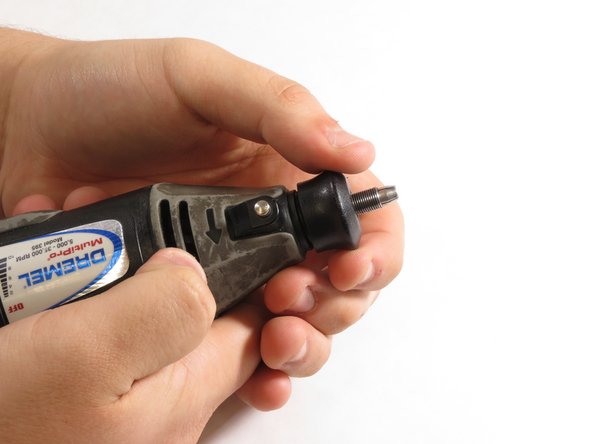
Saltar al contenido principal

Dremel MultiPro 395 Casing Replacement

Qué necesitas

  1. Dremel MultiPro 395 Casing Replacement, Casing: paso 1, imagen 1 de 2 Dremel MultiPro 395 Casing Replacement, Casing: paso 1, imagen 2 de 2
    Herramienta utilizada en este paso:
    Flathead 3/32" or 2.5 mm Screwdriver
    $5.49
    Comprar
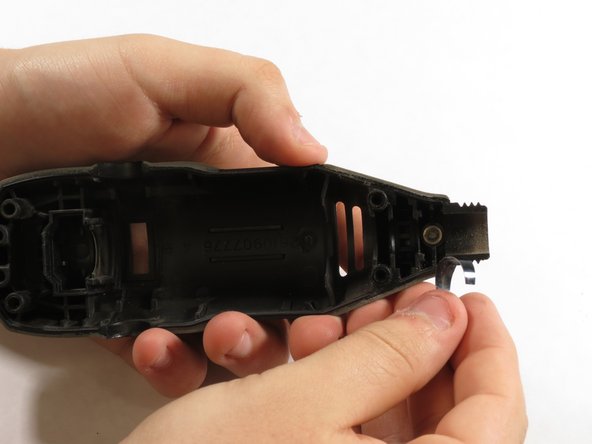
    • Remove the blue caps located on either side of the MultiPro, using a 3 mm flathead screwdriver.

  2. Dremel MultiPro 395 Casing Replacement: paso 2, imagen 1 de 2 Dremel MultiPro 395 Casing Replacement: paso 2, imagen 2 de 2
    • Carefully remove the carbon brushes attached at the end of the springs by gently pulling on the springs using your hands.

  3. Dremel MultiPro 395 Casing Replacement: paso 3, imagen 1 de 2 Dremel MultiPro 395 Casing Replacement: paso 3, imagen 2 de 2
    • Pull one side of the hanger up and then pull away from the Multipro until the other side can be pulled out.

  4. Dremel MultiPro 395 Casing Replacement: paso 4, imagen 1 de 3 Dremel MultiPro 395 Casing Replacement: paso 4, imagen 2 de 3 Dremel MultiPro 395 Casing Replacement: paso 4, imagen 3 de 3
    • Remove the 4 screws located on the bottom of the Multipro with a T15 screwdriver.

  5. Dremel MultiPro 395 Casing Replacement: paso 5, imagen 1 de 3 Dremel MultiPro 395 Casing Replacement: paso 5, imagen 2 de 3 Dremel MultiPro 395 Casing Replacement: paso 5, imagen 3 de 3
    • Hold down the collet lock, remove the chuck cap from the top of the Multipro by screwing counterclockwise.

  6. Dremel MultiPro 395 Casing Replacement: paso 6, imagen 1 de 3 Dremel MultiPro 395 Casing Replacement: paso 6, imagen 2 de 3 Dremel MultiPro 395 Casing Replacement: paso 6, imagen 3 de 3
    • Remove the black housing cap from the Multipro located directly below the chuck cap.

  7. Dremel MultiPro 395 Casing Replacement: paso 7, imagen 1 de 3 Dremel MultiPro 395 Casing Replacement: paso 7, imagen 2 de 3 Dremel MultiPro 395 Casing Replacement: paso 7, imagen 3 de 3
    • Pull the bottom side of the casing up to remove it.

  8. Dremel MultiPro 395 Casing Replacement: paso 8, imagen 1 de 3 Dremel MultiPro 395 Casing Replacement: paso 8, imagen 2 de 3 Dremel MultiPro 395 Casing Replacement: paso 8, imagen 3 de 3
    • Gently lift the motor shaft out of the Multipro.

  9. Dremel MultiPro 395 Casing Replacement: paso 9, imagen 1 de 3 Dremel MultiPro 395 Casing Replacement: paso 9, imagen 2 de 3 Dremel MultiPro 395 Casing Replacement: paso 9, imagen 3 de 3
    • Pull the lock pin and its casing out of the other side of the Multipro case.

Conclusión

To reassemble your device, follow these instructions in reverse order.

2 personas más completaron esta guía.

Un comentario

A link to parts is always nice,

bari - Contestar

Agregar Comentario

Ver Estadísticas:

Ultimas 24 horas: 0

Ultimos 7 días: 4

Ultimos 30 días: 16

Todo El Tiempo: 2,123