Saltar al contenido principal

Dremel 4000 Back Case Replacement

Sólo Prerrequisito
Esta guía solo debería usarse como prerrequisito para otras guías. Por tanto, estará incompleta.

Qué necesitas

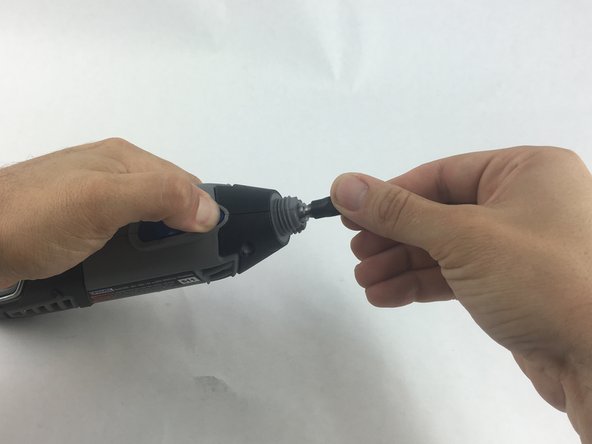
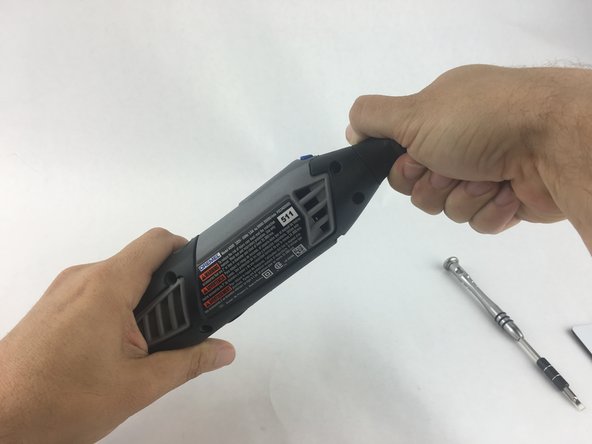
  1. Dremel 4000 Back Case Replacement, Back Case: paso 1, imagen 1 de 2 Dremel 4000 Back Case Replacement, Back Case: paso 1, imagen 2 de 2
    • Start by removing the housing cap by unscrewing it.

    • Next, unscrew the now exposed collet nut while holding down the shaft lock button.

    • To remove the collet nut, you may need to use the small open-end wrench provided with the Dremel.

  2. Dremel 4000 Back Case Replacement: paso 2, imagen 1 de 1
    • Using your hands, carefully remove hanger from casing.

  3. Dremel 4000 Back Case Replacement: paso 3, imagen 1 de 2 Dremel 4000 Back Case Replacement: paso 3, imagen 2 de 2
    • Remove the brush caps (one on each side) by using a flathead screwdriver bit.

    • The brush caps are spring loaded.

  4. Dremel 4000 Back Case Replacement: paso 4, imagen 1 de 1
    • Using the Torx 15 screwdriver tip, remove the 5 screws (12.5 mm) that hold the casing together.

  5. Dremel 4000 Back Case Replacement: paso 5, imagen 1 de 1
    • Use a plastic opening tool to gently wedge apart the hard plastic threads.

  6. Dremel 4000 Back Case Replacement: paso 6, imagen 1 de 1
    • Use your hands to carefully remove the back casing so that none of the components fall out.

Conclusión

To reassemble your device, follow these instructions in reverse order.

2 personas más completaron esta guía.
John Cobb

Miembro Desde 01/20/16

1,689 Reputación

4 Guías creadas

Equipo

USF Tampa, Team 15-4, Remmell Spring 2016 Miembro de USF Tampa, Team 15-4, Remmell Spring 2016

USFT-REMMELL-S16S15G4

4 Miembros

13 Guías creadas

0 comentarios

Agregar Comentario

Ver Estadísticas:

Ultimas 24 horas: 0

Ultimos 7 días: 1

Ultimos 30 días: 7

Todo El Tiempo: 1,657