Saltar al contenido principal

Dog Bed Cushion Repair

Qué necesitas

  1. Dog Bed Cushion Repair, Dog Bed Cushion Repair: paso 1, imagen 1 de 3 Dog Bed Cushion Repair, Dog Bed Cushion Repair: paso 1, imagen 2 de 3 Dog Bed Cushion Repair, Dog Bed Cushion Repair: paso 1, imagen 3 de 3
    • Fill the tear/hole with new stuffing until your desired thickness is achieved.

  2. Dog Bed Cushion Repair: paso 2, imagen 1 de 3 Dog Bed Cushion Repair: paso 2, imagen 2 de 3 Dog Bed Cushion Repair: paso 2, imagen 3 de 3
    • Using the needle and thread, loosely stitch the hole or tear shut.

    • Do not worry if it's messy, a new layer of fabric will cover it later.

  3. Dog Bed Cushion Repair: paso 3, imagen 1 de 2 Dog Bed Cushion Repair: paso 3, imagen 2 de 2
    • Lay the new piece of fabric flat on the table and set the dog bed on top of the fabric.

    • Using a pair of fabric scissors, cut the fabric around the shape of the dog bed.

  4. Dog Bed Cushion Repair: paso 4, imagen 1 de 3 Dog Bed Cushion Repair: paso 4, imagen 2 de 3 Dog Bed Cushion Repair: paso 4, imagen 3 de 3
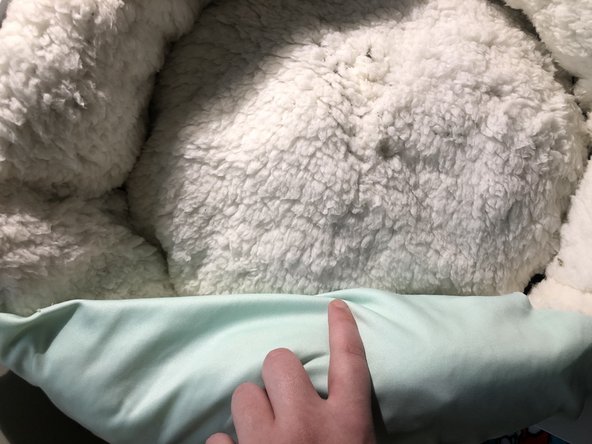
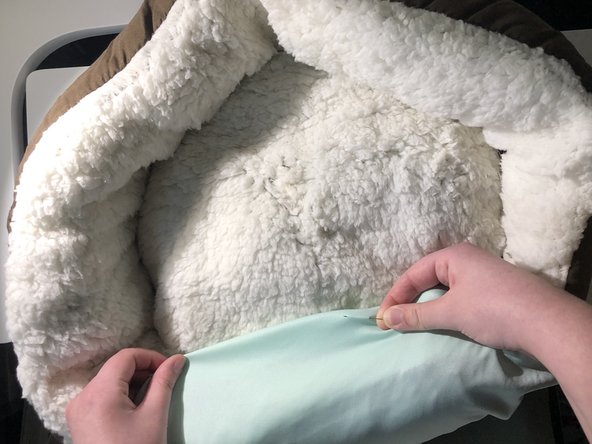
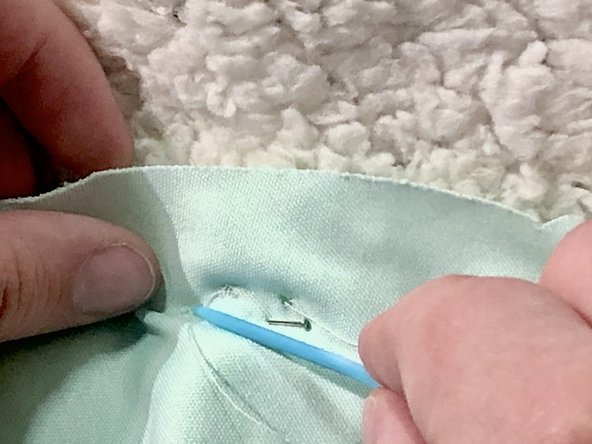
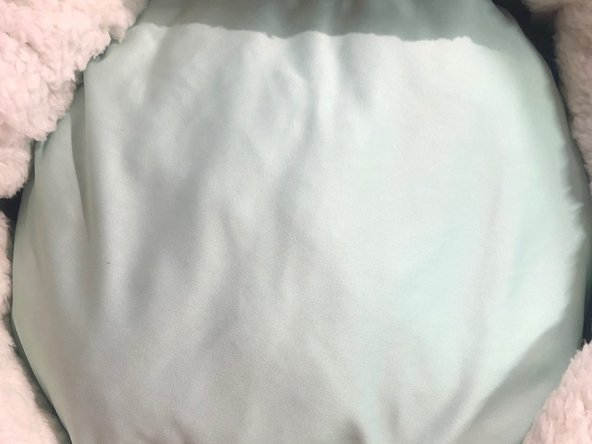
    • Remove the fabric from under the dog bed and place it down with the wrong side (the side which should not be seen) facing the dog bed.

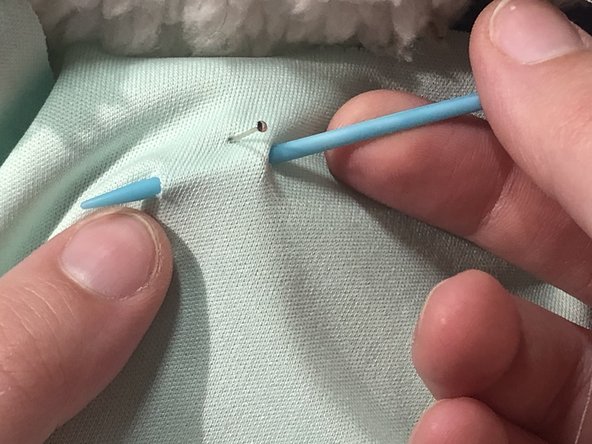
    • Make sure that the the fabric covers the entire side of the dog bed cushion. Then, take a pin and fasten one corner of the fabric to the dog bed.

  5. Dog Bed Cushion Repair: paso 5, imagen 1 de 3 Dog Bed Cushion Repair: paso 5, imagen 2 de 3 Dog Bed Cushion Repair: paso 5, imagen 3 de 3
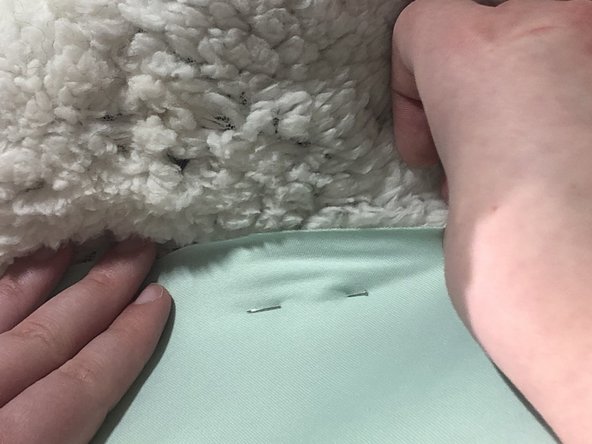
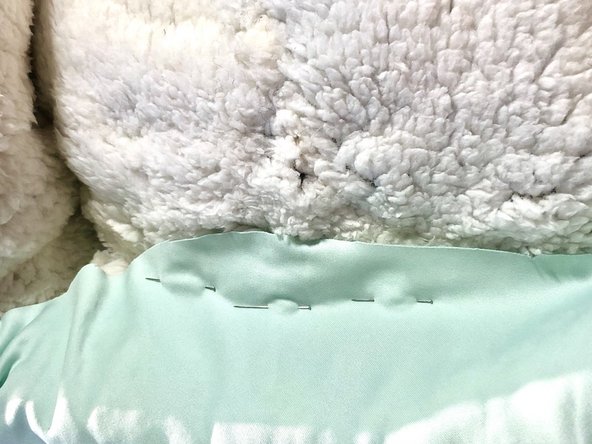
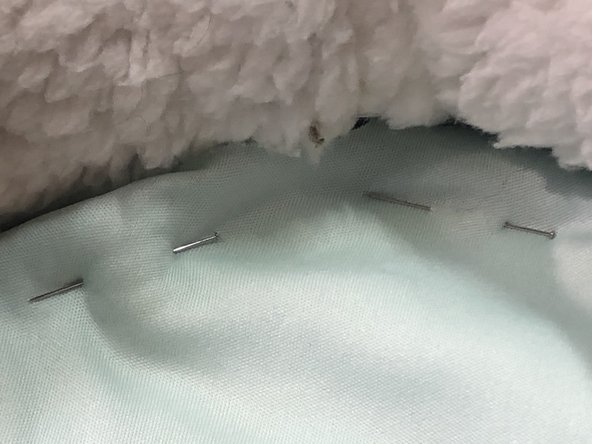
    • Now that the fabric has been pinned in one corner, finish pinning the same side of the fabric straight down the one side of the dog bed.

  6. Dog Bed Cushion Repair: paso 6, imagen 1 de 2 Dog Bed Cushion Repair: paso 6, imagen 2 de 2
    • By hand, stitch down the entire length of the fabric that has been pinned to the bed. Try to keep the stitches the same size and with even placement. The goal is to keep the stitches looking as neat as possible.

  7. Dog Bed Cushion Repair: paso 7, imagen 1 de 2 Dog Bed Cushion Repair: paso 7, imagen 2 de 2
    • Stop sewing and fold the fabric over the rest of the dog bed, covering the entire cushion.

    • Tuck any excess fabric around the edges of the cushion until it is neatly underneath.

  8. Dog Bed Cushion Repair: paso 8, imagen 1 de 3 Dog Bed Cushion Repair: paso 8, imagen 2 de 3 Dog Bed Cushion Repair: paso 8, imagen 3 de 3
    • Pin the fabric down alongside the entire diameter of the bed, following the same procedure as steps 5 and 6. Continue stitching alongside the entire bed, starting where left off.

  9. Dog Bed Cushion Repair: paso 9, imagen 1 de 1
    • The bed's new stuffing and cover should prove both durable and comfortable.

    • Place in a room of your choice for your pet to enjoy.

Conclusión

To reassemble your device, follow these instructions in reverse order.

Kristen Nasta

Miembro Desde 03/29/21

169 Reputación

1 Guía escrita

Equipo

Marist, Team S1-G1, Chaterdon Spring 2021 Miembro de Marist, Team S1-G1, Chaterdon Spring 2021

MARS-CHATERDON-S21S1G1

2 Miembros

2 Guías creadas

0 comentarios

Agregar Comentario

Ver Estadísticas:

Ultimas 24 horas: 0

Ultimos 7 días: 23

Ultimos 30 días: 79

Todo El Tiempo: 4,613