Esta versión puede contener ediciones incorrectas. Cambie a la última instantánea verificada.
Qué necesitas
-
Este paso está sin traducir. Ayuda a traducirlo
-
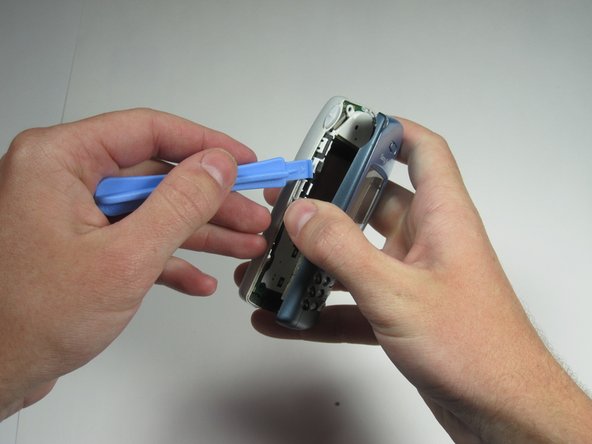
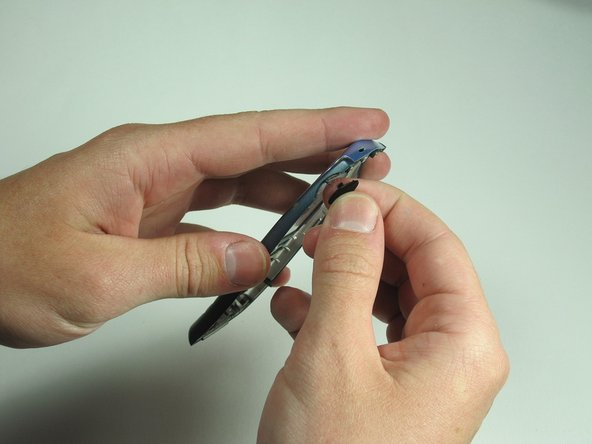
Remove the plastic cover from the back. Pry it off from the top first with a thin plastic shim, then remove it from the two bottom clips.
-
-
Este paso está sin traducir. Ayuda a traducirlo
-
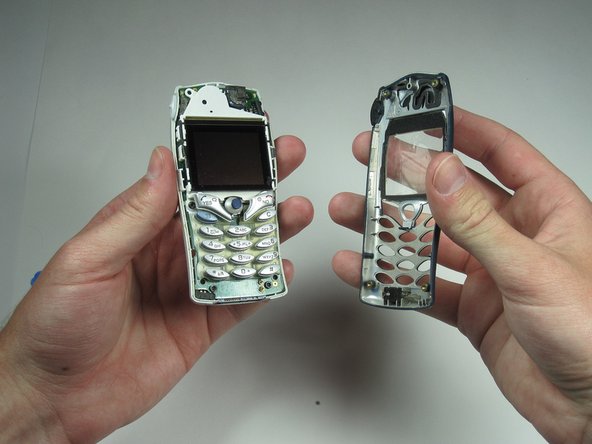
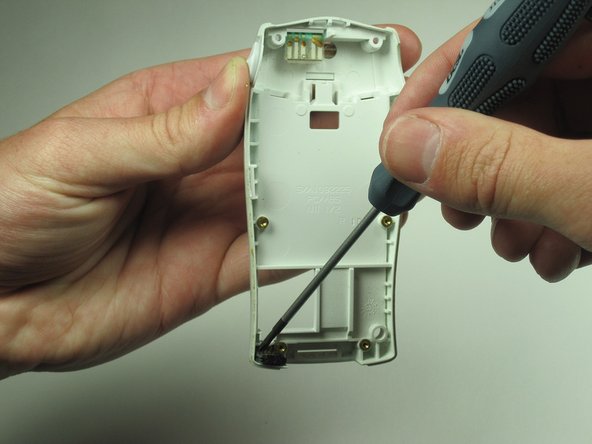
After removing the screws, the two halves will separate. If not, then pry them gently apart.
-
-
-
Este paso está sin traducir. Ayuda a traducirlo
-
Gently pull off the infra red window and the vibra motor.
-
-
Este paso está sin traducir. Ayuda a traducirlo
-
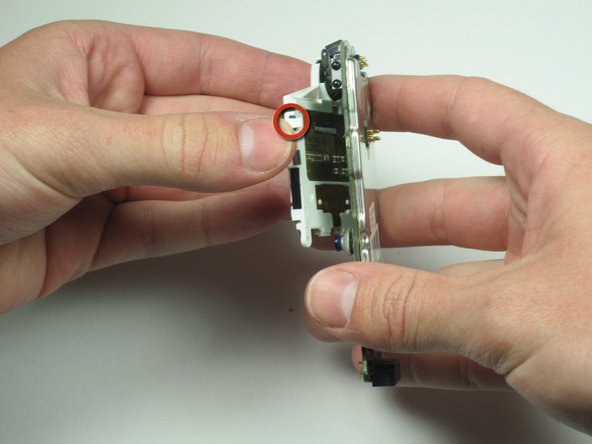
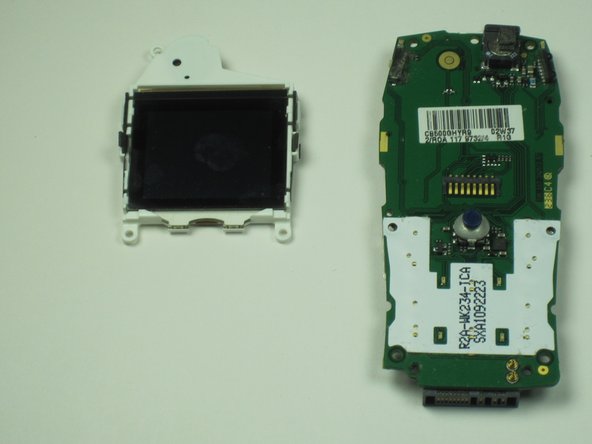
Remove the circuit board and screen from the device.
-
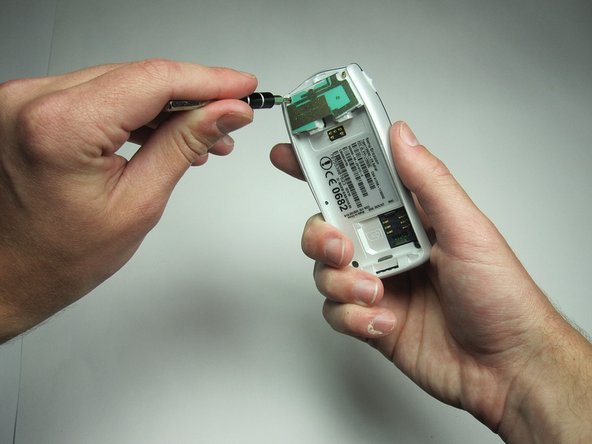
Use your T6 to remove the 4 screws holding the cover on.
-
-
Este paso está sin traducir. Ayuda a traducirlo
-
Lever out the microphone using a small screwdriver or any similar tool.
-
-
Este paso está sin traducir. Ayuda a traducirlo
-
Carefully remove the plastic clips holding the screen on the board.
-
-
Este paso está sin traducir. Ayuda a traducirlo
-
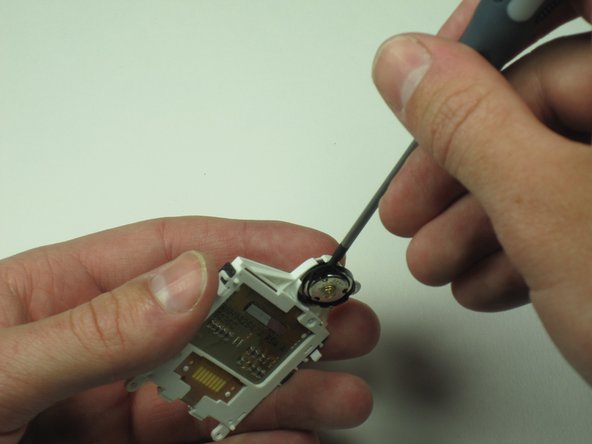
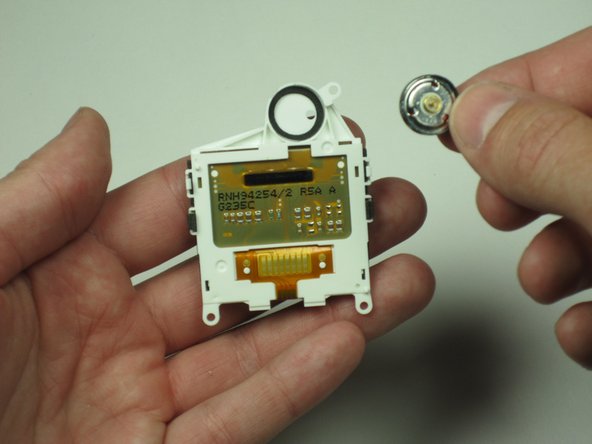
Remove the speaker located in the screen housing just above the screen.
-
Gently pry it out with a small screwdriver or similar tool.
-
-
Este paso está sin traducir. Ayuda a traducirlo
-
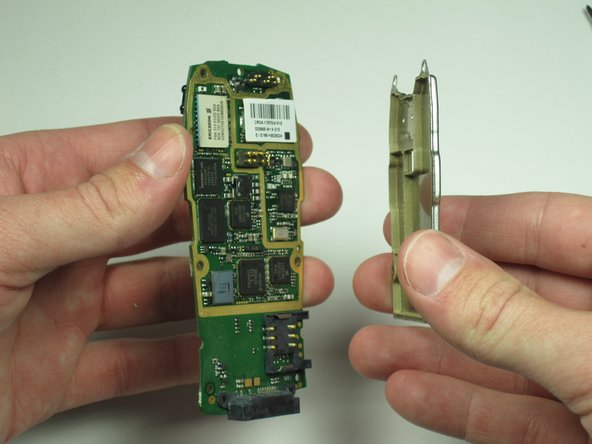
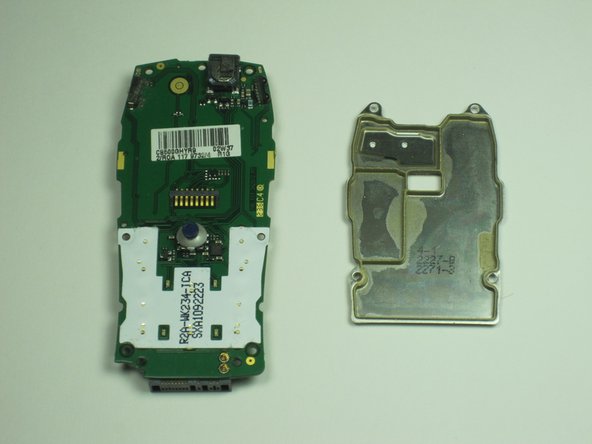
Remove the plate from the circuit board protecting the more delicate processing parts.
-
-
Este paso está sin traducir. Ayuda a traducirlo
-
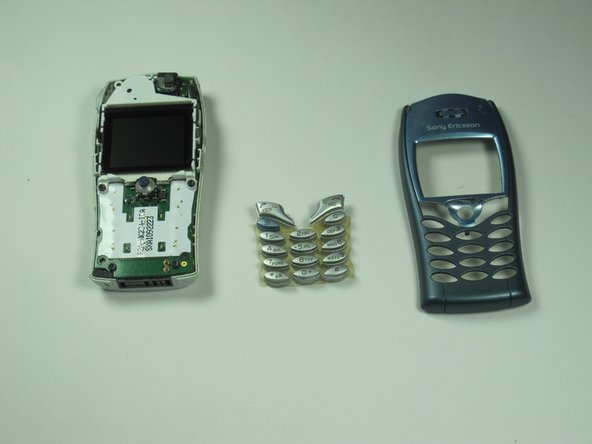
Congratulations, you have successfully disassembled your Sony Ericsson T68i!
-


Cancelar: No complete esta guía.
6 personas más completaron esta guía.
Equipo

Cal Poly, Team 26-34, Regan Spring 2010 Miembro de Cal Poly, Team 26-34, Regan Spring 2010
CPSU-REGAN-S10S26G34
4 Miembros
13 Guías creadas