Saltar al contenido principal

Esta versión puede contener ediciones incorrectas. Cambie a la última instantánea verificada.

Qué necesitas

  1. Este paso está sin traducir. Ayuda a traducirlo

    : paso 1, imagen 1 de 2 : paso 1, imagen 2 de 2
    • Push open the latch and remove the battery.

  2. Este paso está sin traducir. Ayuda a traducirlo

    : paso 2, imagen 1 de 2 : paso 2, imagen 2 de 2
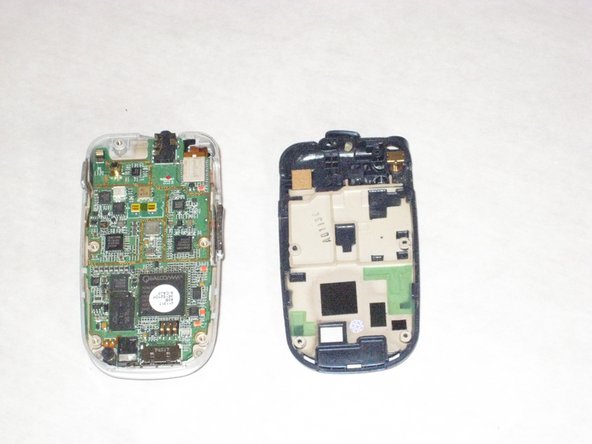
    • Twist off the antenna.

    • Pop off the transparent cylinder.

  3. Este paso está sin traducir. Ayuda a traducirlo

    : paso 3, imagen 1 de 1
    • Remove the five screws as shown.

  4. Este paso está sin traducir. Ayuda a traducirlo

    : paso 4, imagen 1 de 1
    • Carefully pry the back plate off.

  5. Este paso está sin traducir. Ayuda a traducirlo

    : paso 5, imagen 1 de 2 : paso 5, imagen 2 de 2
    • Carefully detach golden screen connector.

  6. Este paso está sin traducir. Ayuda a traducirlo

    : paso 6, imagen 1 de 2 : paso 6, imagen 2 de 2
    • Pop out the logic board with spudger.

    • Caution: Do not touch with bare hands, use tweezers or wash hands before contact.

  7. Este paso está sin traducir. Ayuda a traducirlo

    : paso 7, imagen 1 de 2 : paso 7, imagen 2 de 2
    • Place the logic board on a clean tray.

  8. Este paso está sin traducir. Ayuda a traducirlo

    : paso 8, imagen 1 de 1
    • Peel off the keyboard.

Linea de Meta

David

Miembro Desde 04/19/10

25 Reputación

6 Guías creadas

Equipo

Cal Poly, Team 10-43, Garner Spring 2010 Miembro de Cal Poly, Team 10-43, Garner Spring 2010

CPSU-GARNER-S10S10G43

5 Miembros

12 Guías creadas

0 comentarios

Agregar Comentario

Ver Estadísticas:

Ultimas 24 horas: 1

Ultimos 7 días: 7

Ultimos 30 días: 8

Todo El Tiempo: 1,134