Saltar al contenido principal

Disassembling Samsung Refrigerator RF4287HA** Door

Qué necesitas

  1. Disassembling Samsung Refrigerator RF4287HA** Door, Remove Cap Top: paso 1, imagen 1 de 1
    • With the door open, use a flathead screwdriver to remove the "Cap Top Table"

    • Be gentle and take care not to scratch or damage the plastic parts.

  2. Disassembling Samsung Refrigerator RF4287HA** Door, Door Disassembly: paso 2, imagen 1 de 1
    • Remove the 3 screws from the top that hold down the "Top Table"

    • Remove the Top Table

  3. Disassembling Samsung Refrigerator RF4287HA** Door, Left Door Hinge Disconnect: paso 3, imagen 1 de 3 Disassembling Samsung Refrigerator RF4287HA** Door, Left Door Hinge Disconnect: paso 3, imagen 2 de 3 Disassembling Samsung Refrigerator RF4287HA** Door, Left Door Hinge Disconnect: paso 3, imagen 3 de 3
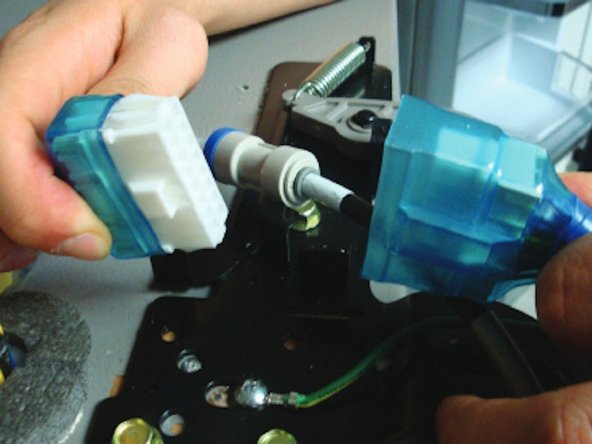
    • Disconnect the electrical connector located above the upper left door hinge.

    • To disconnect the connector, press the raised end of the white part while pulling out.

    • Make sure to unplug the appliance before disconnecting anything.

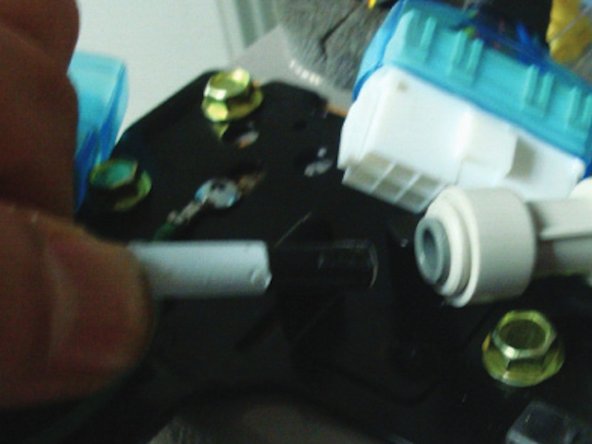
    • Disconnect the water tube by pulling the tube fitting out away from the white plastic connector.

  4. Disassembling Samsung Refrigerator RF4287HA** Door, Left Door Hinge Disconnect (Continued): paso 4, imagen 1 de 1
    • Using a Philips Head Screwdriver, remove the grounding screws.

    • Use a 10mm Socket Wrench to remove the 3 hex bolts.

  5. Disassembling Samsung Refrigerator RF4287HA** Door, Right Door Hinge: paso 5, imagen 1 de 1
    • Disconnect the LED Housing using a Philips Head Screwdriver

    • Remove the ground screws using a Philips Head Screwdriver

    • Remove the 3 HEX bolts using a 10mm socket wrench.

  6. Disassembling Samsung Refrigerator RF4287HA** Door, Door Removal: paso 6, imagen 1 de 2 Disassembling Samsung Refrigerator RF4287HA** Door, Door Removal: paso 6, imagen 2 de 2
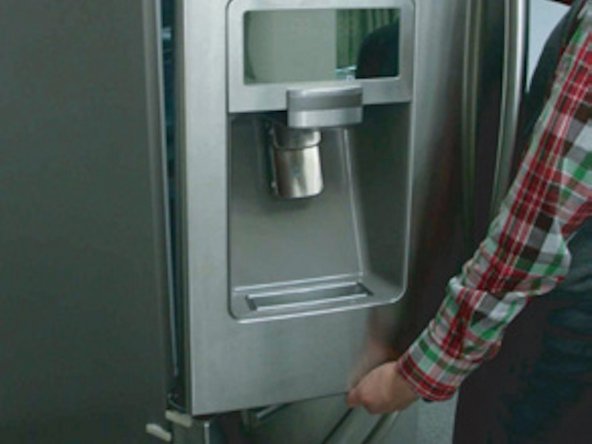
    • Remove the lower left and right door hinges using a Philips Head Screwdriver. Use a 10mm wrench to remove the 2 flathead screws.

    • To remove the door, lift it straight up.

Conclusión

To reassemble your device, follow these instructions in reverse order.

Matt Zieminski

Miembro Desde 02/23/15

38,249 Reputación

13 Guías creadas

Equipo

iFixit Miembro de iFixit

Staff

136 Miembros

17,430 Guías creadas

0 comentarios

Agregar Comentario

Ver Estadísticas:

Ultimas 24 horas: 1

Ultimos 7 días: 3

Ultimos 30 días: 15

Todo El Tiempo: 48