Introducción
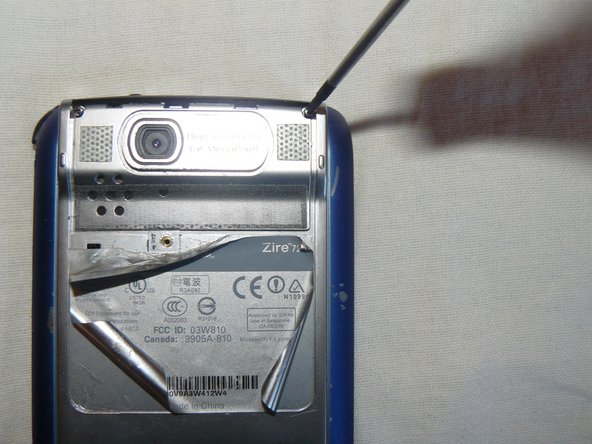
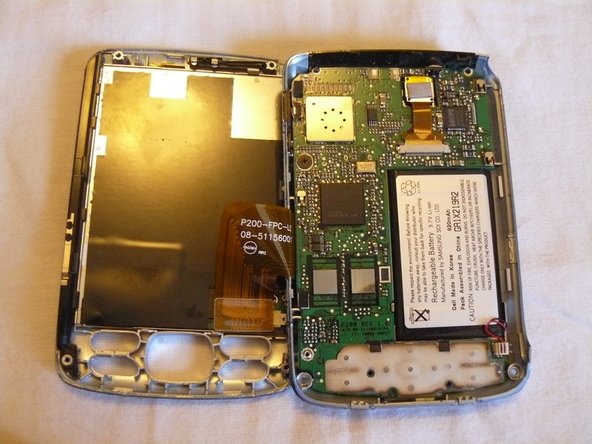
A step by step guide for taking apart the Palm Zire 72v1. You will need this guide if you are planning to replace any of the internal components.
Qué necesitas


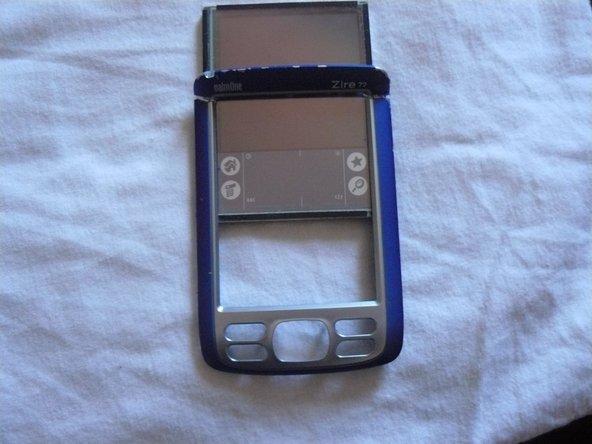
Casi Terminas!
To reassemble your device, follow these instructions in reverse order.
Conclusión
To reassemble your device, follow these instructions in reverse order.
Equipo

University of Maine, Team 1-29, Diaz Fall 2011 Miembro de University of Maine, Team 1-29, Diaz Fall 2011
UMAINE-DIAZ-F11S1G29
2 Miembros
1 Guía escrita