Introducción
This guide will be helpful if you need to replace any part of the camera that does not have a specific repair guide. To complete this guide, you will need to desolder wires from the motherboard and circuit boards. Learn more about soldering here.
Qué necesitas
-
-
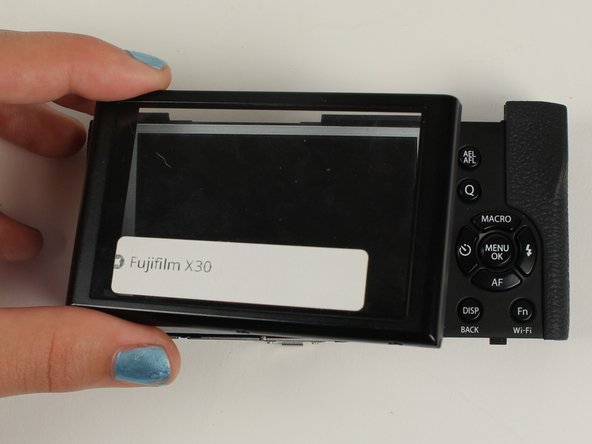
Turn the camera upside down.
-
Place your thumb on the switch, and slide it towards the center of the camera.
-
-
-
Begin by removing the outside screws using a Phillips #000 Screwdriver:
-
Remove the three 3.6 mm silver screws located on the bottom of the camera.
-
Remove all four of the 4.7 mm screws from the sides of the camera.
-
-
-
-
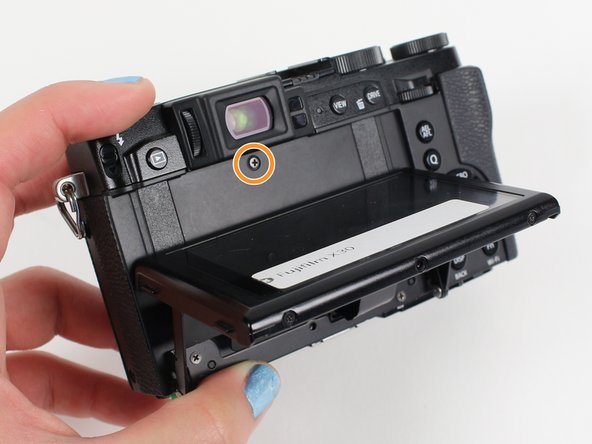
Remove all screws listed below using a Phillips #000 screwdriver:
-
Remove the two 3.4 mm screws at the bottom of the silver plate.
-
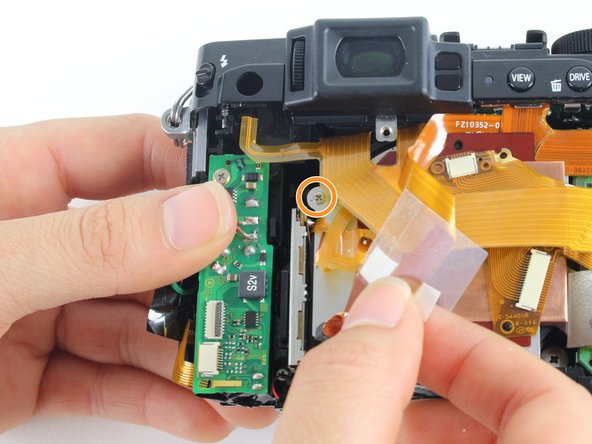
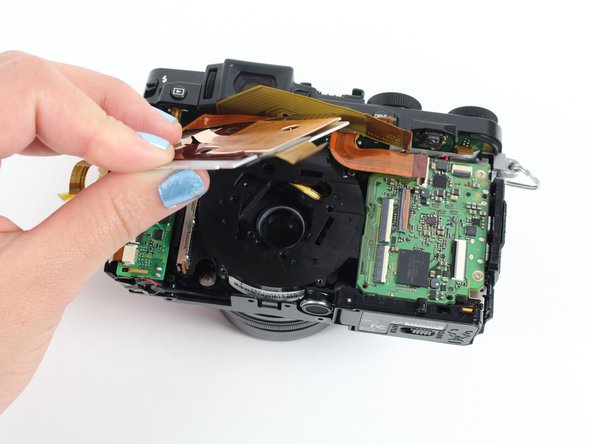
Hold back the clear strip to reveal a 2.8 mm screw on the left of the silver plate and remove it.
-
Peel back the copper plate.
-
-
-
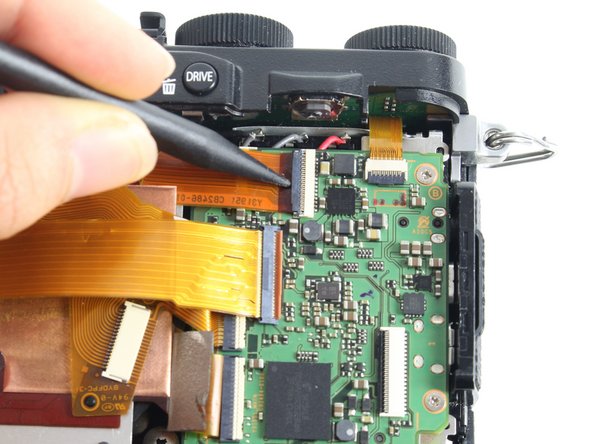
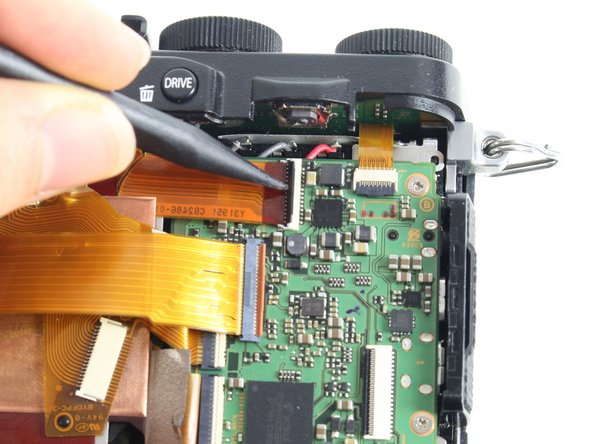
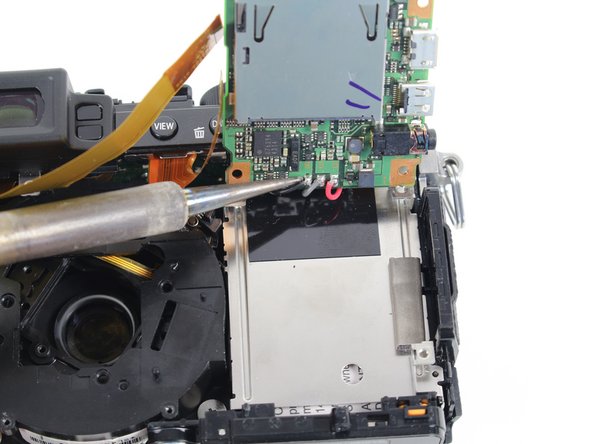
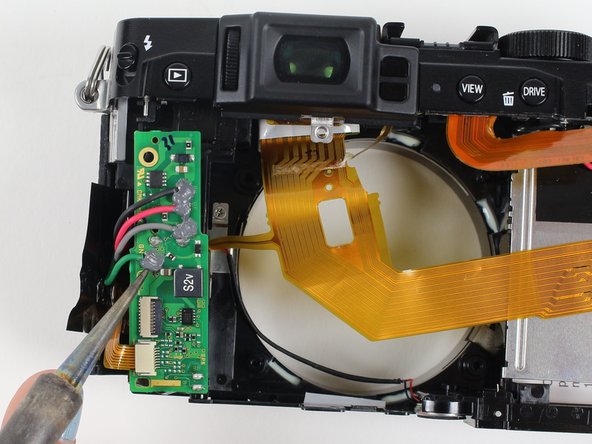
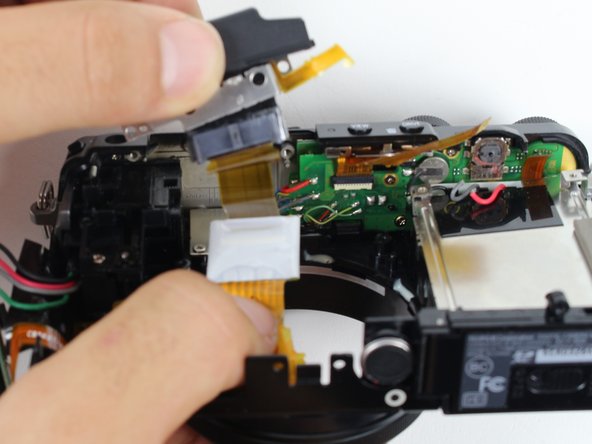
Tilt up the motherboard to locate the black, grey, and red wires.
-
Desolder these wires in order to completely remove the motherboard.
If you want to remove baterry holder case you'll have to unscrew it from the body through the hole you see on the plate. There's another hole under the black tape. Use it to reach another screw. You can then get the case out and work easily for soldering.
-
-
-
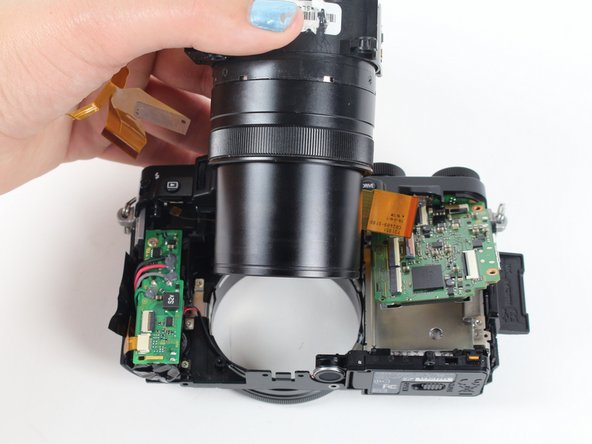
Remove the four 4.4 mm silver screws at the corners of the lens using a Phillips #000 screwdriver.
-


To reassemble your device, follow these instructions in reverse order.
To reassemble your device, follow these instructions in reverse order.
Cancelar: No complete esta guía.
9 personas más completaron esta guía.

Equipo

Cal Poly, Team 70-3, Forte Winter 2016 Miembro de Cal Poly, Team 70-3, Forte Winter 2016
CPSU-FORTE-W16S70G3
5 Miembros
4 Guías creadas
2 comentarios
the big question is how to repair the common stuck open flash?