Saltar al contenido principal

Disassembling Epson PPC650 Replacing Flash

Qué necesitas

  1. Disassembling Epson PPC650 Replacing Flash, Case: paso 1, imagen 1 de 3 Disassembling Epson PPC650 Replacing Flash, Case: paso 1, imagen 2 de 3 Disassembling Epson PPC650 Replacing Flash, Case: paso 1, imagen 3 de 3
    • Make sure the camera is turned off here.

    • Remove batteries from the battery compartment located on the bottom of the camera

    • Remove SD card for the card reader compartment located on the flat side (left side) of the camera

  2. Disassembling Epson PPC650 Replacing Flash: paso 2, imagen 1 de 1
    • Remove 2 screws on the rounded side of the camera wisdom here.

  3. Disassembling Epson PPC650 Replacing Flash: paso 3, imagen 1 de 2 Disassembling Epson PPC650 Replacing Flash: paso 3, imagen 2 de 2
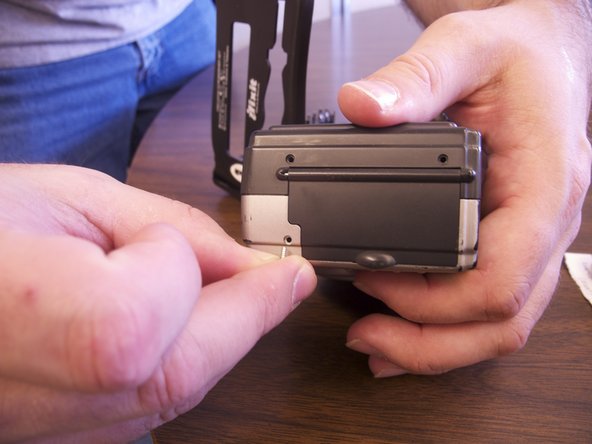
    • Remove 3 screws on the flat side of the camera

    • All silver screws go into the side of the camera that is silver

    • All black screws go into the side of the camera that is black

  4. Disassembling Epson PPC650 Replacing Flash: paso 4, imagen 1 de 1
    • Remove 4 screws from the bottom of the camera

    • All silver screws go into the side of the camera that is silver

    • All black screws go into the side of the camera that is black

  5. Disassembling Epson PPC650 Replacing Flash: paso 5, imagen 1 de 3 Disassembling Epson PPC650 Replacing Flash: paso 5, imagen 2 de 3 Disassembling Epson PPC650 Replacing Flash: paso 5, imagen 3 de 3
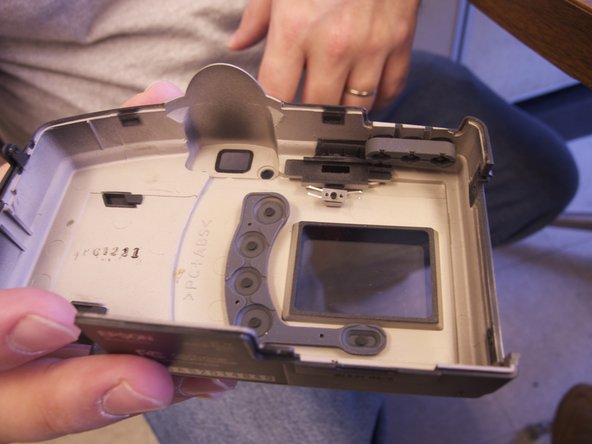
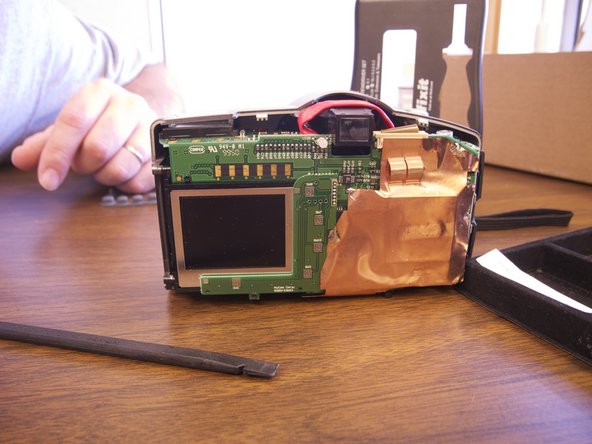
    • Separate the front and back pieces of the cameras plastic casing using a spudgerm here.

    • WARNING: When pulling the front plastic casing, be careful of the wire that are connected to the aperture control

    • Use minimal force so that the plastic casing does not break

    • When separating the small silver sliding indicator for view/off/playback may fall out

    • The plastic viewing window located on the top of the camera may also become lose and fall out

  6. Disassembling Epson PPC650 Replacing Flash, Disassembling Epson PPC650 Replacing Flash: paso 6, imagen 1 de 3 Disassembling Epson PPC650 Replacing Flash, Disassembling Epson PPC650 Replacing Flash: paso 6, imagen 2 de 3 Disassembling Epson PPC650 Replacing Flash, Disassembling Epson PPC650 Replacing Flash: paso 6, imagen 3 de 3
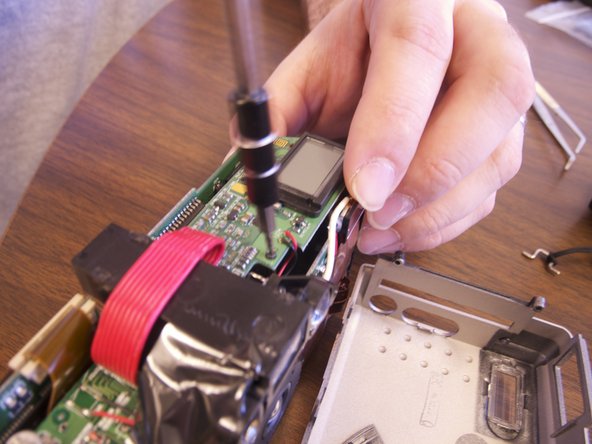
    • Optional: Remove two black screws from top of camera on the flash side for more working space.

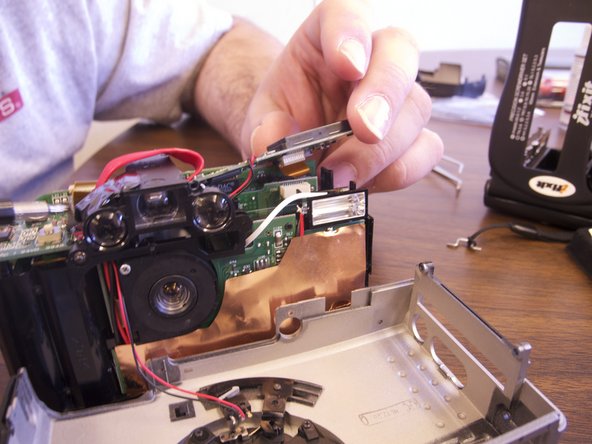
  7. Disassembling Epson PPC650 Replacing Flash: paso 7, imagen 1 de 1
    • Remove clear rubber band holding flash in line with wiring.

    • Cut white wire, red wire, and black wire connecting flash element to circuit board by unsoldering ends

    • Connect new flash by soldering copper ends to their respective ends to new flash element.

Conclusión

To reassemble your device, follow these instructions in reverse order.

Xan Danes

Miembro Desde 02/14/13

122 Reputación

1 Guía escrita

Equipo

Ohio State, Team 1-5, Buehl Spring 2013 Miembro de Ohio State, Team 1-5, Buehl Spring 2013

OSU-BUEHL-S13S1G5

4 Miembros

6 Guías creadas

0 comentarios

Agregar Comentario

Ver Estadísticas:

Ultimas 24 horas: 0

Ultimos 7 días: 0

Ultimos 30 días: 0

Todo El Tiempo: 272