Introducción
If you are evaluating a hard drive, this guide will show you how to do basic tests to detect common problems. While these tests are not perfect, most issues get detected.
Common drive problems include:
- High hours (Wear and tear)
- Reallocated sectors
- Pending reallocated sectors
- Hidden problems
Why should used hard drives be checked?
Most failures are sudden and without warning. If these problems are caught early, the drive can be replaced before it fails. SMART plays a major role in this since the data can be used to do this.
Note: Some hard drives have known problems (Ex: Seagate 7.01/7200.11), while others fail due to lower quality standards (Ex: WD Blue/Green).
Guide notes
- While Parted Magic can be redistributed legally per the GPL, I will not point to these downloads.
- These tests are not 100% accurate. Some problems can (and do) slip past these tests.
A word on drive remapping
Qué necesitas
-
-
If the hard drive is not installed in a PC, a USB drive adapter can be used.
-
If the hard drive is not installed and you do not have a USB adapter, it can be plugged into a motherboard.
-
-
-
Boot your system into a live Ubuntu session. Locate the Disks application and select the hard disk you want to test.
-
From the drop-down menu, select SMART Data and Self Tests. This will pull up the SMART data.
-
Locate the following SMART attributes: Power On Hours and Power Cycle Count.
-
-
-
Locate the following SMART attributes: Reallocated sector count; Current pending sector count.
-
To run a SMART Extended Self-Test, left click Start Self-Test. Select Extended from the drop-down menu.
-
-
-
-
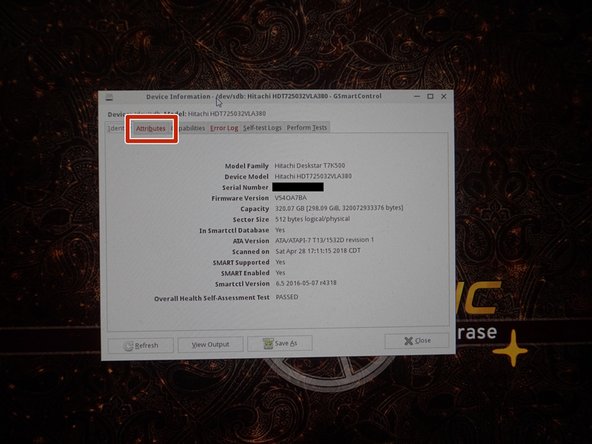
Select Disks from the desktop to open GSmartControl.
-
Select the hard disk you want to test. Click Attributes to read the SMART data.
-
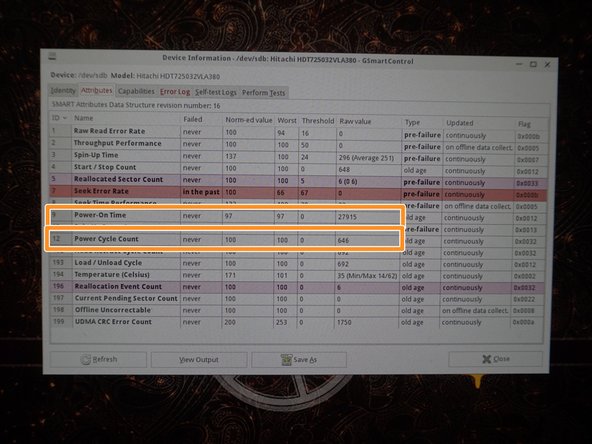
Locate the following attributes: Power On Time and Power Cycle Count.
-
-
-
In the Attributes tab, locate the following SMART attributes: Reallocated Sector Count; Reallocation Event Count; Current Pending Sector Count.
-
To test the drive, select Perform Tests. Click Test type: and select Extended Self-Test.
-
-
-
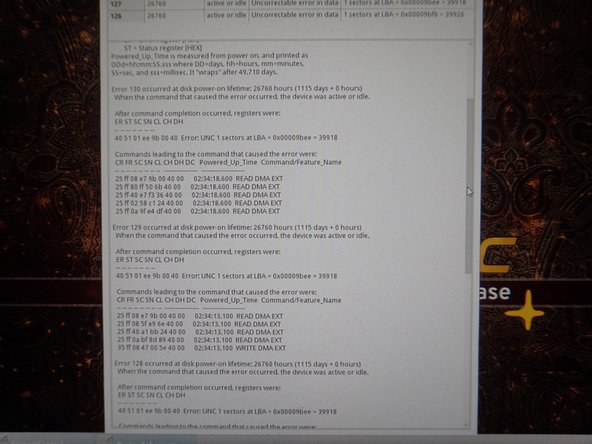
Check the error log for drive errors. To do this, click the Error log tab.
-
In the Error log, review the available errors. Read these logs if any are found.
-
-
-
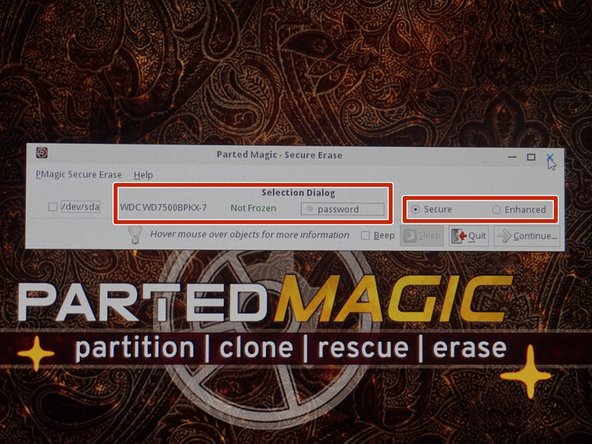
If your drive has ATA Secure Erase implementation problems, choose External. Use ATA Secure Erase on newer drives if possible. Only use Secure Erase on SSD's.
-
Drives without ATA Secure Erase will need to be erased externally. Select a tool in External. For security, select Nwipe with DoD Short. This will erase the drive 3 times and blank it.
-


Cancelar: No complete esta guía.
Una persona más ha completado esta guía.

Equipo
