Saltar al contenido principal

Desk Drawer Hanging File Brace Bar Repair

Qué necesitas

  1. Desk Drawer Hanging File Brace Bar Repair, Desk Drawer Hanging File Brace Bar Repair: paso 1, imagen 1 de 1
    • Remove all content from the drawer. (If possible, remove the drawer from the desk for better accessibility).

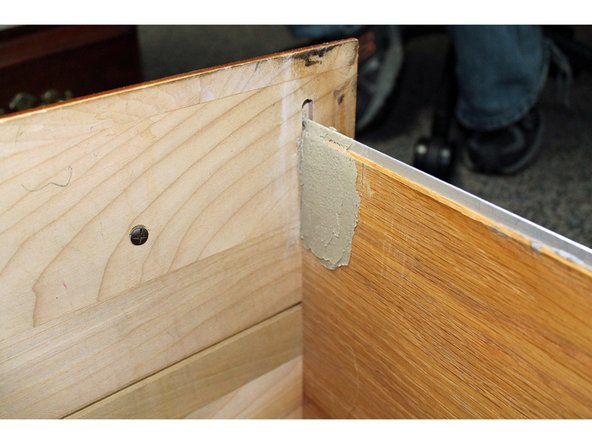
    • Using the pencil, mark reference points where the brace bar is located at the top of the drawer.

  2. Desk Drawer Hanging File Brace Bar Repair: paso 2, imagen 1 de 1
    • Use the sandpaper and the wood file to sand the area until it is completely smooth to the touch.

    • This process needs to be done on both sides of the drawer where the brace bar was located.

  3. Desk Drawer Hanging File Brace Bar Repair: paso 3, imagen 1 de 2 Desk Drawer Hanging File Brace Bar Repair: paso 3, imagen 2 de 2
    • Apply the wood putty to the freshly sanded corners. Smooth the wood putty evenly, applying moderate pressure to ensure stable reinforcement.

  4. Desk Drawer Hanging File Brace Bar Repair: paso 4, imagen 1 de 1
    • Wait until the putty has almost completely dried (approximately 30 minutes), at which point use the reference points and replace the brace bar, sliding in from the top of the drawer.

  5. Desk Drawer Hanging File Brace Bar Repair: paso 5, imagen 1 de 1
    • Reinforce the brace bar once you have properly placed it in the drawer front with wood putty to ensure stability.

  6. Desk Drawer Hanging File Brace Bar Repair: paso 6, imagen 1 de 1
    • Replace the hanging files and enjoy your newly secured hanging file drawer.

Conclusión

From this procedure you will have a stronger, reinforced hanging file brace bar.

Una persona más ha completado esta guía.

Abbe Robb

Miembro Desde 09/13/15

173 Reputación

1 Guía escrita

Equipo

0 comentarios

Agregar Comentario

Ver Estadísticas:

Ultimas 24 horas: 0

Ultimos 7 días: 0

Ultimos 30 días: 11

Todo El Tiempo: 1,394