Saltar al contenido principal

Dell XPS M140 CPU Heatsink Replacement

Qué necesitas

  1. Dell XPS M140 CPU Heatsink Replacement, Battery: paso 1, imagen 1 de 1
    • The first step is to turn over the laptop

  2. Dell XPS M140 CPU Heatsink Replacement: paso 2, imagen 1 de 1
    • Locate the slide lock for the battery.

  3. Dell XPS M140 CPU Heatsink Replacement: paso 3, imagen 1 de 2 Dell XPS M140 CPU Heatsink Replacement: paso 3, imagen 2 de 2
    • Slide the lock and pull out the battery.

  4. Dell XPS M140 CPU Heatsink Replacement, CPU Heatsink: paso 4, imagen 1 de 1
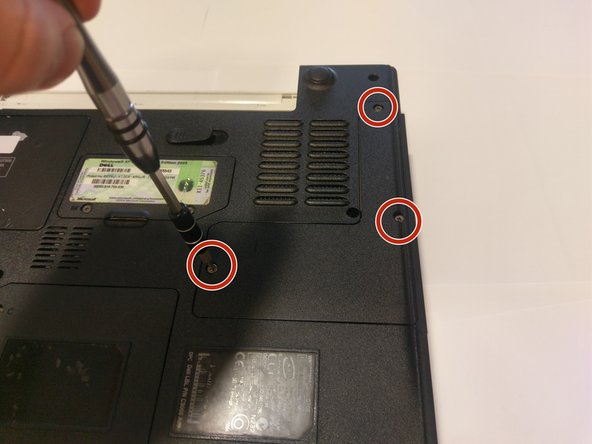
    • Locate cooling module cover on the underside of the laptop

  5. Dell XPS M140 CPU Heatsink Replacement: paso 5, imagen 1 de 1
    • Unscrew all screws that hold the cooling module cover in place

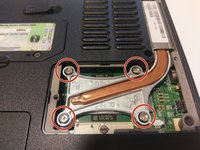
  6. Dell XPS M140 CPU Heatsink Replacement: paso 6, imagen 1 de 2 Dell XPS M140 CPU Heatsink Replacement: paso 6, imagen 2 de 2
    • Unscrew the screws holding the metal bracket in place

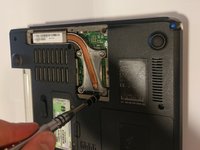
  7. Dell XPS M140 CPU Heatsink Replacement: paso 7, imagen 1 de 1
    • Carefully remove the bracket and the module it is attached to.

  8. Dell XPS M140 CPU Heatsink Replacement: paso 8, imagen 1 de 1
    • The inside should like this after it is removed

Conclusión

To reassemble your device, follow these instructions in reverse order.

Una persona más ha completado esta guía.

Brian Dougenik

Miembro Desde 03/20/17

322 Reputación

2 Guías creadas

Equipo

0 comentarios

Agregar Comentario

Ver Estadísticas:

Ultimas 24 horas: 0

Ultimos 7 días: 0

Ultimos 30 días: 1

Todo El Tiempo: 235