Esta versión puede contener ediciones incorrectas. Cambie a la última instantánea verificada.
Qué necesitas
-
Este paso está sin traducir. Ayuda a traducirlo
-
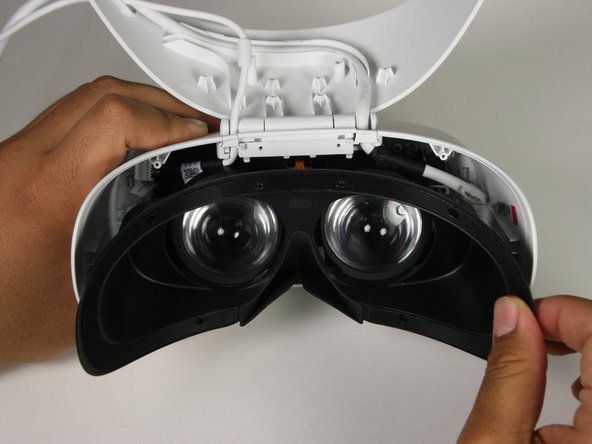
Remove the black foam padding by peeling away slowly.
-
Remove the front and back padding from the headset by peeling away slowly.
-
-
Este paso está sin traducir. Ayuda a traducirlo
-
Remove the six 5.5mm PH000 screws from the cover by rotating counter-clockwise.
-
-
-
Este paso está sin traducir. Ayuda a traducirlo
-
Remove the cover using one of the plastic opening tools, and then carefully pull it from the casing.
-
-
Este paso está sin traducir. Ayuda a traducirlo
-
Remove the six 5.5mm PH000 screws from the cover by rotating counter-clockwise.
-
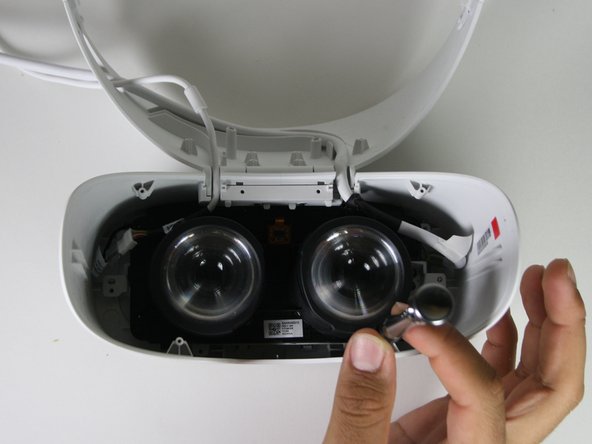
Carefully remove the lens and motherboard assembly from the white casing.
-


