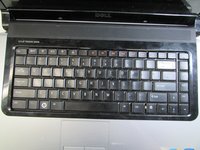
Saltar al contenido principal

Dell Studio 1558 Keyboard Replacement

Qué necesitas

  1. Dell Studio 1558 Keyboard Replacement, Battery: paso 1, imagen 1 de 2 Dell Studio 1558 Keyboard Replacement, Battery: paso 1, imagen 2 de 2
    • To begin, flip over the laptop.

  2. Dell Studio 1558 Keyboard Replacement: paso 2, imagen 1 de 1
    • Next, slide the slider to the right and hold it in place.

  3. Dell Studio 1558 Keyboard Replacement: paso 3, imagen 1 de 2 Dell Studio 1558 Keyboard Replacement: paso 3, imagen 2 de 2
    • While holding down the slider, gently remove the battery.

  4. Dell Studio 1558 Keyboard Replacement: paso 4, imagen 1 de 1
    • The battery has been successfully removed.

  5. Dell Studio 1558 Keyboard Replacement, Keyboard: paso 5, imagen 1 de 3 Dell Studio 1558 Keyboard Replacement, Keyboard: paso 5, imagen 2 de 3 Dell Studio 1558 Keyboard Replacement, Keyboard: paso 5, imagen 3 de 3
    • Make sure the battery is properly removed. If not, you could experience shocks.

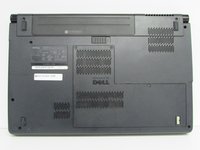
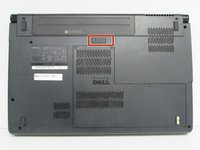
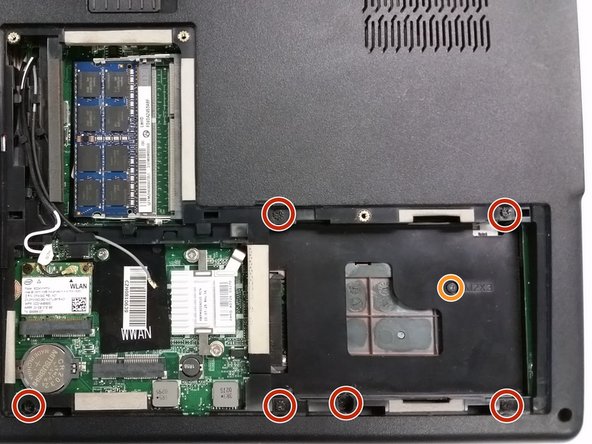
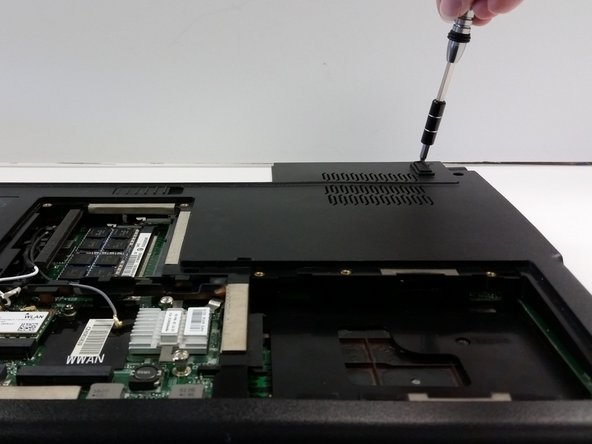
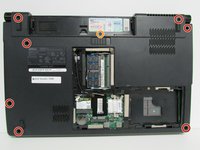
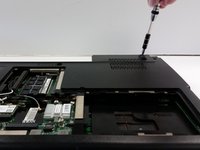
    • Unscrew the three screws (Phillips #0) on the back panel to reveal the innards underneath the panel. It is helpful to keep these screws in the holes of the back panel.

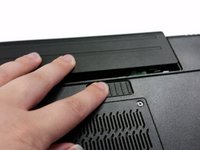
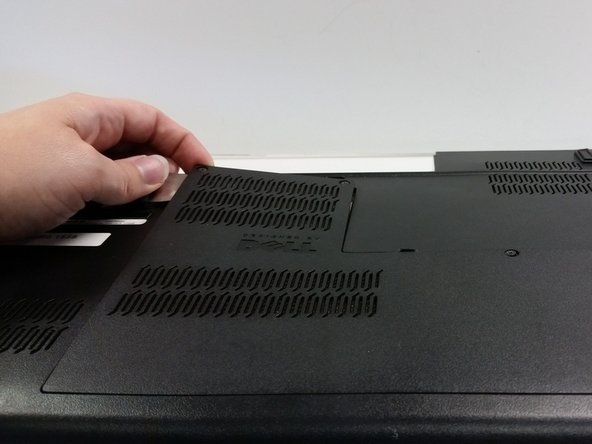
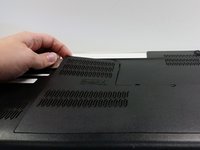
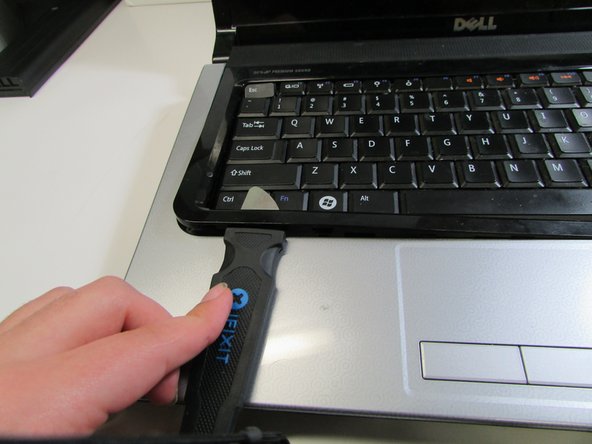
    • Pry the back panel off and set aside.

    • A little bit of force may be necessary in removing the panel as there are some minor plastic clips holding the panel in place in addition to the screws.

  6. Dell Studio 1558 Keyboard Replacement: paso 6, imagen 1 de 2 Dell Studio 1558 Keyboard Replacement: paso 6, imagen 2 de 2
    • Remove the visible screws with a Phillips #0 screwdriver.

    • Note that there are a couple different types of screws, so you might want to organize them, unless you love confusion.

    • There are six regular screws.

    • There is one screw marked M 2X3 .

  7. Dell Studio 1558 Keyboard Replacement: paso 7, imagen 1 de 2 Dell Studio 1558 Keyboard Replacement: paso 7, imagen 2 de 2
    • Remove the screws from the laptop's base.

    • There are seven regular screws.

    • There is one M2X3 screw that is where the battery was located.

  8. Dell Studio 1558 Keyboard Replacement: paso 8, imagen 1 de 3 Dell Studio 1558 Keyboard Replacement: paso 8, imagen 2 de 3 Dell Studio 1558 Keyboard Replacement: paso 8, imagen 3 de 3
    • Now flip the laptop over and open it up.

    • Insert a pry tool under the black plastic guard around the edge of the keyboard and pry the guard up. Plastic snaps are holding the guard in place.

    • You can also do this with your hands once you have enough pried up, but keep in mind that the plastic is thin and capable of breaking if bent too far.

    • Place the keyboard guard in a safe location out of harm's way.

  9. Dell Studio 1558 Keyboard Replacement: paso 9, imagen 1 de 3 Dell Studio 1558 Keyboard Replacement: paso 9, imagen 2 de 3 Dell Studio 1558 Keyboard Replacement: paso 9, imagen 3 de 3
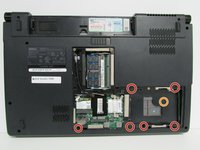
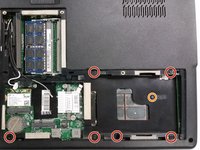
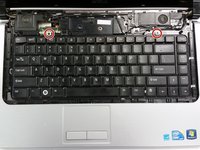
    • Use the Phillips screwdriver to remove the two screws that attach the keyboard to the casing.

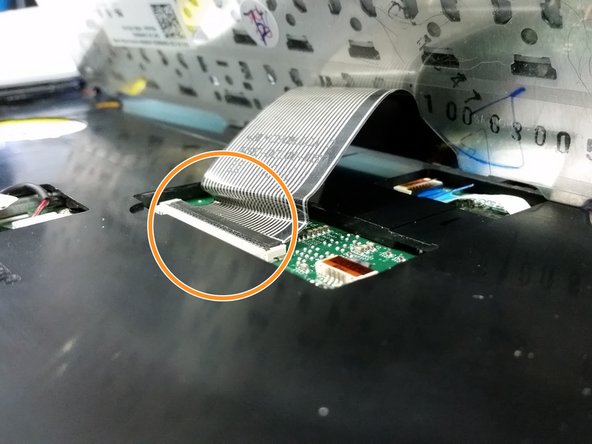
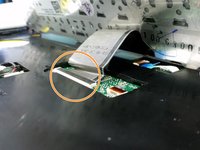
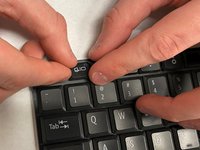
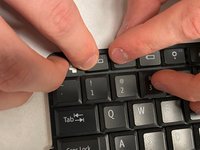
    • Once the screws are out, gently tip the keyboard up to view the ribbon cable beneath.

    • A ribbon cable connects the keyboard to the motherboard. Be gentle removing the keyboard as to not damage the ribbon cable beneath.

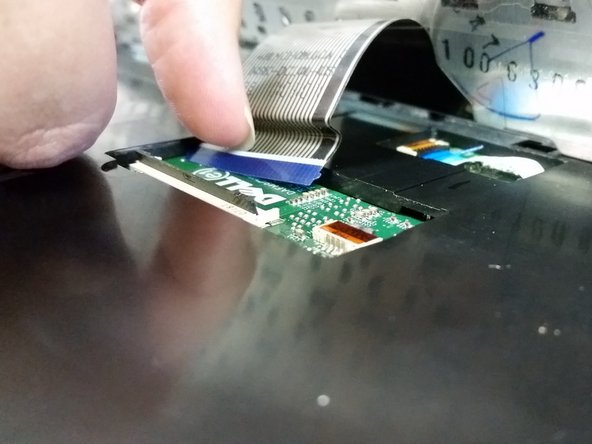
    • Carefully unlatch and remove the ribbon cable from the motherboard by lifting up the black tab (with a spudger or finger) and slipping the cable out.

    • Put the keyboard off to the side. Make sure it is in a secure location.

  10. Dell Studio 1558 Keyboard Replacement: paso 10, imagen 1 de 3 Dell Studio 1558 Keyboard Replacement: paso 10, imagen 2 de 3 Dell Studio 1558 Keyboard Replacement: paso 10, imagen 3 de 3
    • If a key has fallen off, align it over the spot where it was located.

    • Once aligned, the key can be pressed back into place.

Conclusión

To reassemble your device, follow these instructions in reverse order. Take care when placing the parts back in to avoid damaging any of the components.

Nic Birky

Miembro Desde 04/12/22

133 Reputación

2 Guías creadas

Equipo

IUPUI, Team 4-4, Beck Spring 2022 Miembro de IUPUI, Team 4-4, Beck Spring 2022

IUPUI-BECK-S22S4G4

4 Miembros

4 Guías creadas

0 comentarios

Agregar Comentario

Ver Estadísticas:

Ultimas 24 horas: 0

Ultimos 7 días: 1

Ultimos 30 días: 9

Todo El Tiempo: 224