Qué necesitas
-
-
This guide shows you how to remove the battery, the mainboard and then the keyboard. This has not been written by a professional and is not officially supported by DELL so be careful and use your own judgement to assess risk.
-
-
-
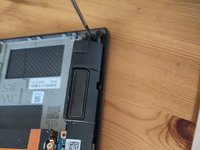
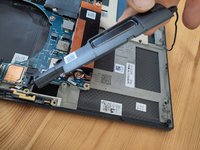
Start by unscrewing the 8 screws from the back cover with a torx T5 screwdriver. You can then remove the back cover. It is quite hard to pry it open, even after removing all the screws to this works best with a prying tool.
-
-
-
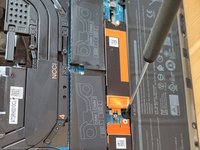
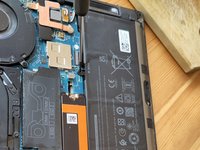
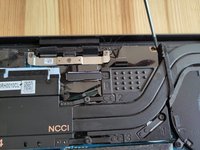
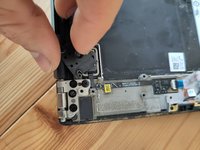
Once you have removed the cover, you can remove the battery. In order to do that, unscrew the 7 screws that keep the battery in place. Then carefully unplug the connector above the "BATTERY" label on the main board. This connector is shown with the screwdriver on the photo but a screwdriver is not the best tool to unplug it.
-
-
-
-
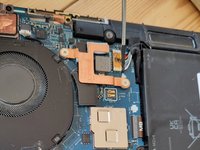
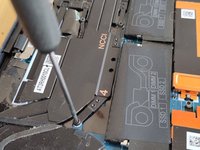
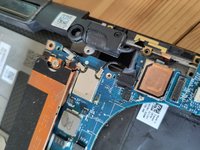
Unscrew the 4 screws labelled from 1 to 4 then you can remove the small cover labelled NCCI
-
-
-
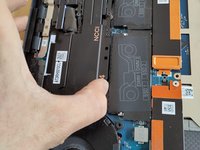
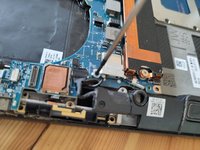
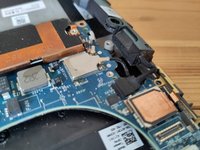
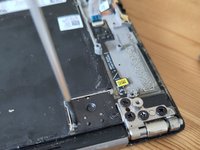
Unscrew the screw holding the metalic cover, remove the metalic cover and then unpin the two pins showed in the photos.
-
-
-
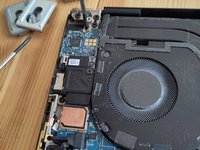
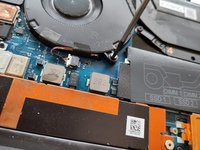
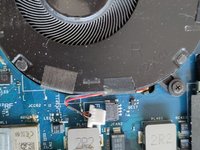
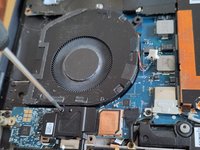
Remove the screw holding the fan, the screw holding a cover over the fan and the connector with the FAN label below the connector (it's underneath so you only see the label once you remove the connector).
-
-
-
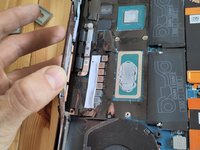
Unscrew the large screw shown the photo so that this part is now free to move, it will be helpful to be able to move the main board are they are attached together
-
-
-
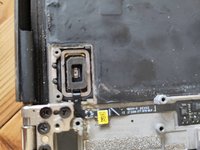
To expose the back of the power button, remove the two screws and then slide it back. It needs to be slided because it is below small pins on its two corners where there is no screw. Note that these two screws are smaller than the other ones so don't mix them!
-


To reassemble your device, follow these instructions in reverse order.
To reassemble your device, follow these instructions in reverse order.
Cancelar: No complete esta guía.
Una persona más ha completado esta guía.
