Introducción
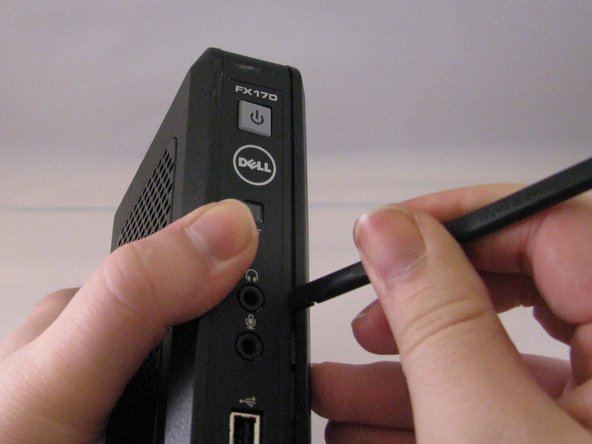
This guide was created for people who may need to replace the RAM for the Dell Optiplex FX 170. Someone may need to replace this component if it isn't working properly or has failed. This is an easy fix with no hazards. One should be familiar with electro-static discharge.
Qué necesitas
-
-
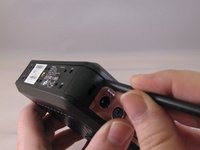
With the base stand facing upwards, unscrew the 6mm Phillips #2 screw.
-
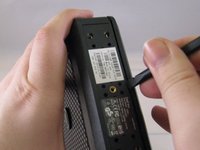
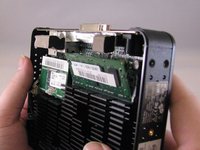
Pull the base stand straight up from the device.
-
-
-
-
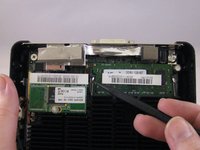
Using fingers, push the clips on either side of the RAM. The RAM will pop up at a 45 degree angle when both clips are disengaged.
-


To reassemble your device, follow these instructions in reverse order.
To reassemble your device, follow these instructions in reverse order.
Cancelar: No complete esta guía.
2 personas más completaron esta guía.

Equipo

Eastern Washington University, Team 1-4, Carnegie Winter 2015 Miembro de Eastern Washington University, Team 1-4, Carnegie Winter 2015
EWU-CARNEGIE-W15S1G4
3 Miembros
13 Guías creadas