Esta versión puede contener ediciones incorrectas. Cambie a la última instantánea verificada.
Qué necesitas
-
-
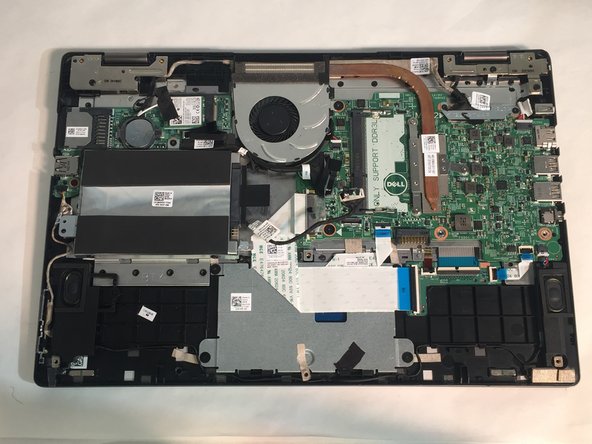
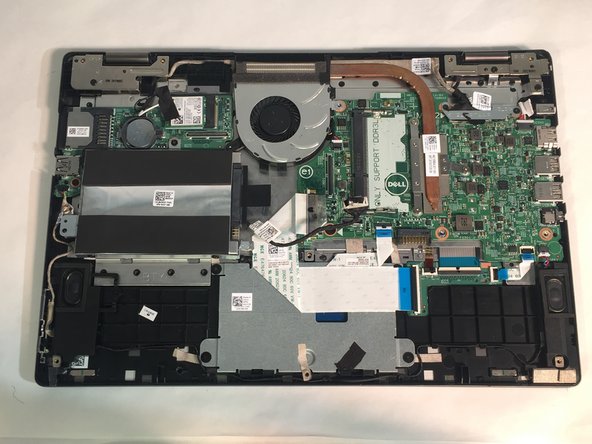
Quite los tornillos que aseguran la cubierta de la base a la base de la computadora.
-
-
-
Usando un spudger de plástico (herramienta de apertura de plástico), saca la cubierta de la base de la computadora.
-
-
Este paso está sin traducir. Ayuda a traducirlo
-
Remove the two M2 3mm screws attaching the battery using the Phillips #1 screwdriver.
-
Remove the battery.
-
-
-
Este paso está sin traducir. Ayuda a traducirlo
-
Pry open the two clips.
-
Gently lift the RAM stick and pull it out of the motherboard.
-
-
Este paso está sin traducir. Ayuda a traducirlo
-
Unplug the daughterboard cable in two places, then remove the daughterboard.
-
Unplug the fan cable.
-
-
Este paso está sin traducir. Ayuda a traducirlo
-
Remove two 3mm screws from the cooling fan using the Phillips #1 screwdriver.
-
Remove the cooling fan from the laptop.
-
-
Este paso está sin traducir. Ayuda a traducirlo
-
Remove three 2mm screws from the heat sink using a Phillips #0 screwdriver.
-
Remove the heat sink.
-
-
Este paso está sin traducir. Ayuda a traducirlo
-
Remove the screws from the LCD cable bracket.
-
Remove the LCD cable bracket.
-
-
Este paso está sin traducir. Ayuda a traducirlo
-
Unscrew 2 M2.5 7mm screws, using the Phillips 1 screwdriver, on the right screen hinge.
-
Unscrew 1 M2.5 7mm screw, using the Phillips 1 screwdriver, on the left screen hinge.
-
-
Este paso está sin traducir. Ayuda a traducirlo
-
Carefully undo the tape
-
Unplug the two black and white wire leads
-
-
Este paso está sin traducir. Ayuda a traducirlo
-
Remove the tape outlined in red.
-
Adjust the screen so that the laptop is open flat against the surface.
-
Remove the LCD display screen by pulling it gently away from the back.
-
2 comentarios
Wow. Thank you so much. I will do this when I get my replacement screen.
Finally tried this and noticed you left out the most difficult part which is the part of putting on the actually replacing the screen. This is only for removal of the screen. And the instructions are definitely not the same backwards. You left out the part with the cable/wires closing with the hinges being the most difficult part. I actually forced the cable too much stripped the cable that goes around the new screen. Have to order new cable now ugh


