Esta versión puede contener ediciones incorrectas. Cambie a la última instantánea verificada.
Qué necesitas
-
Este paso está sin traducir. Ayuda a traducirlo
-
Using tweezers, remove the circular stickers that are covering the two screws near the middle of the back cover. Stick them to the laptop next to the screws.
-
-
Este paso está sin traducir. Ayuda a traducirlo
-
Using a Phillips #0 screwdriver, loosen all seven 2.5mm screws on the back cover of the device.
-
-
-
Este paso está sin traducir. Ayuda a traducirlo
-
Using a plastic opening tool, begin to separate the back cover from the body of the computer.
-
-
Este paso está sin traducir. Ayuda a traducirlo
-
Using your hands, pull the back cover fully off of the body of the computer.
-
-
Este paso está sin traducir. Ayuda a traducirlo
-
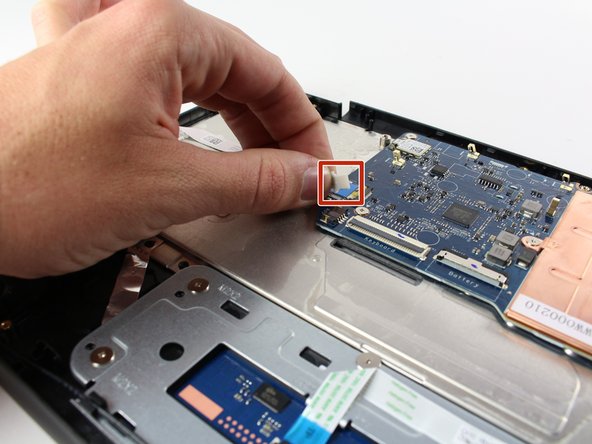
Locate and gently pull the wire harness (small plastic box with wires leading to black audio speakers) directly out of the connector on the motherboard.
-
-
Este paso está sin traducir. Ayuda a traducirlo
-
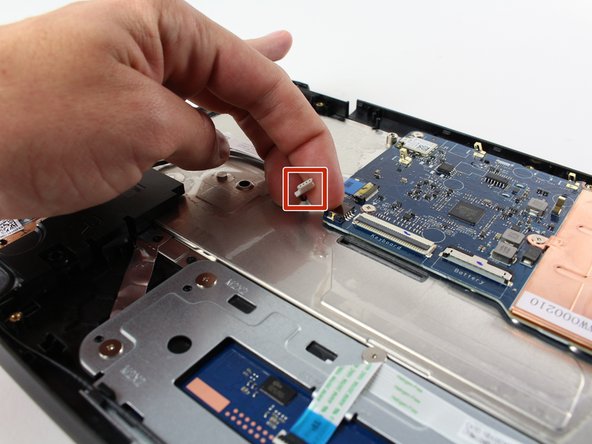
Remove any existing tape attached to the audio wire you unplugged in the previous step.
-
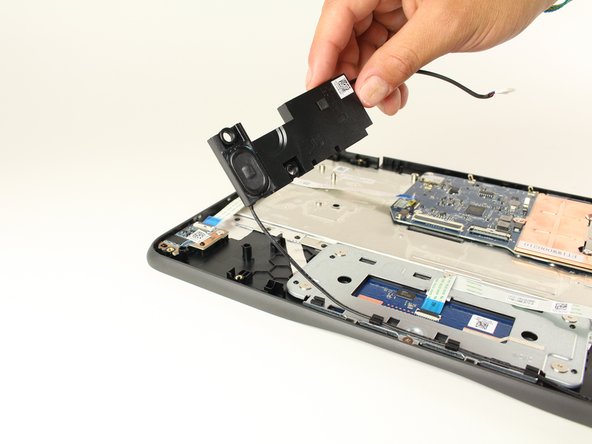
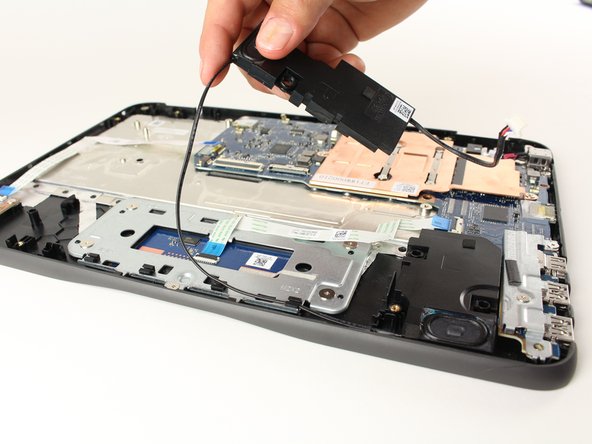
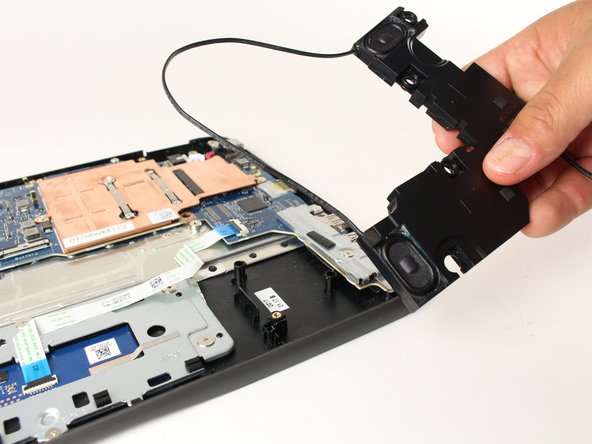
Gently lift and remove speakers.
-


Cancelar: No complete esta guía.
3 personas más completaron esta guía.
Equipo

Cal Poly, Team S22-G1, Livingston Spring 2017 Miembro de Cal Poly, Team S22-G1, Livingston Spring 2017
CPSU-LIVINGSTON-S17S22G1
4 Miembros
8 Guías creadas