Introducción
This guide will instruct you on how to remove the motherboard of your laptop. This is a rather involved process and may require some significant time to accomplish. The motherboard is located below the battery and is connected to nearly everything so take care that it is completed disconnected by following this step by step guide.
Qué necesitas
-
-
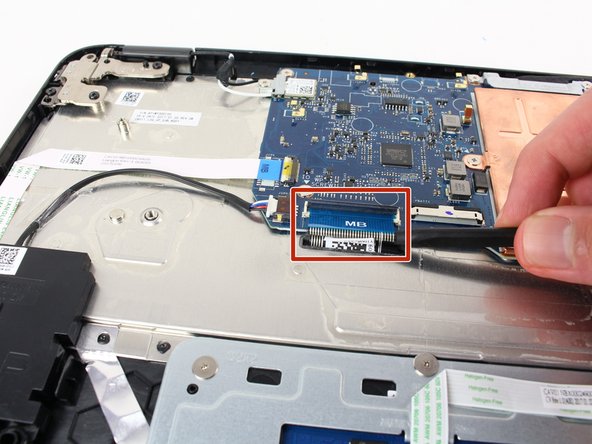
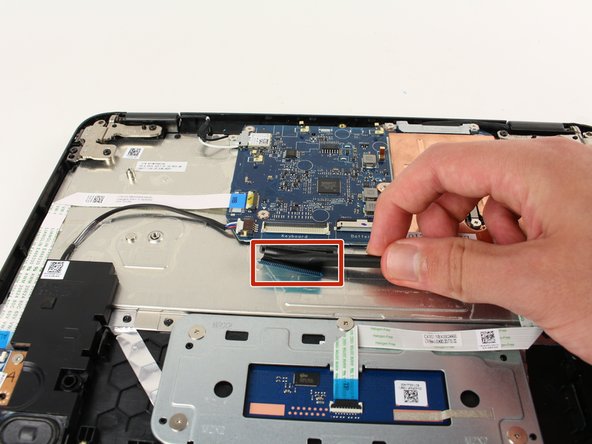
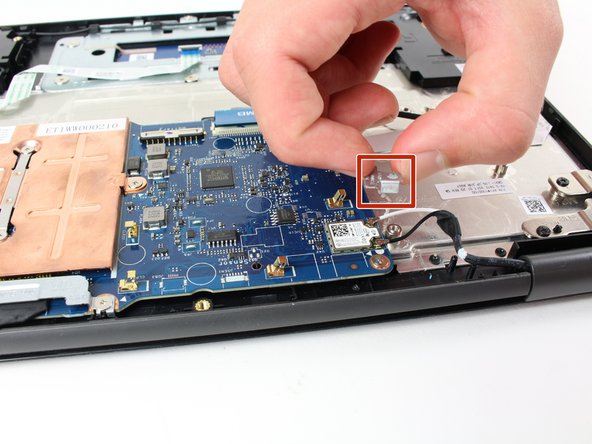
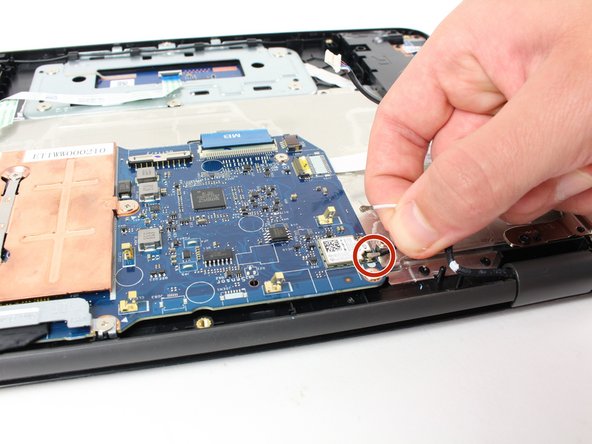
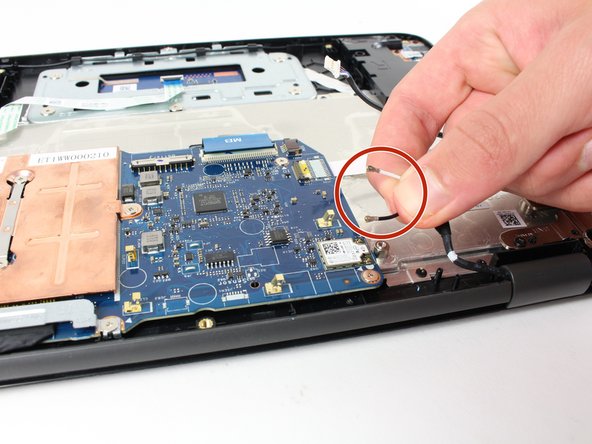
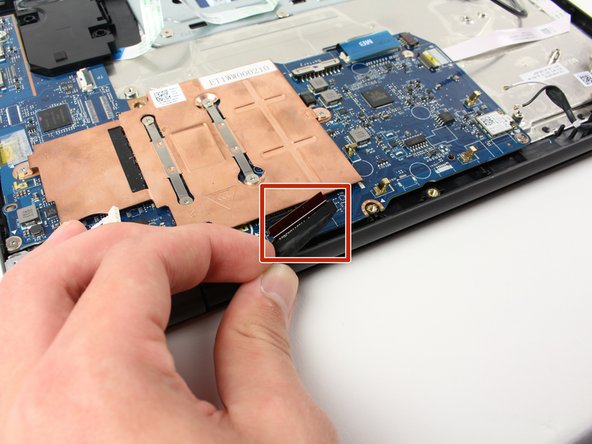
Unplug the battery from the motherboard by gently pulling the black cable header from the motherboard towards the battery.
-
-
-
-
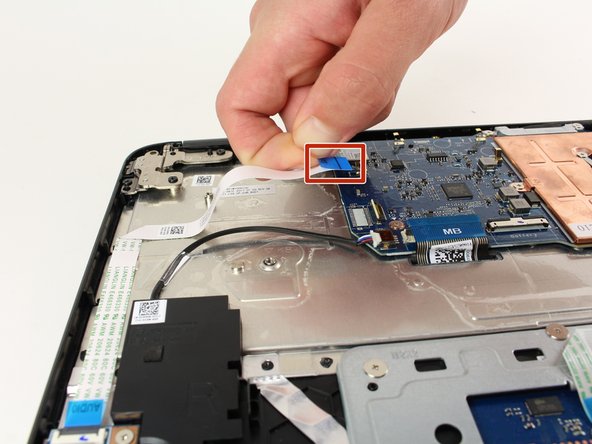
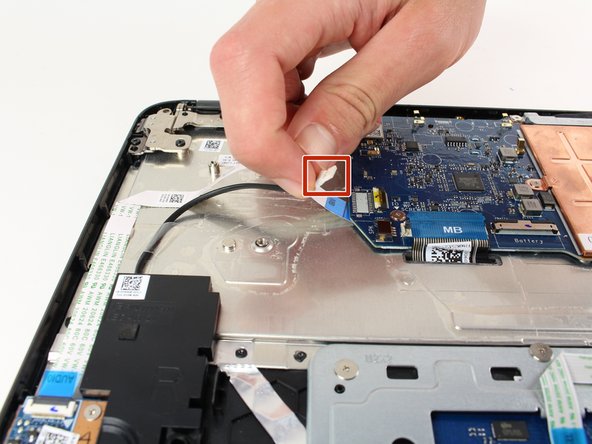
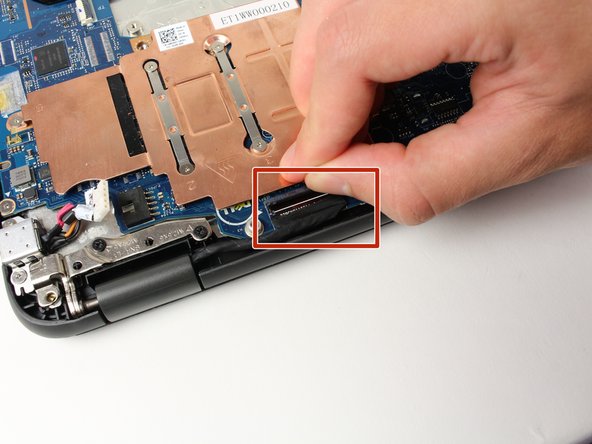
Lift the black clasp and gently pull on blue ribbon until it completely disconnects from the motherboard.
-


To reassemble your device, follow these instructions in reverse order.
To reassemble your device, follow these instructions in reverse order.
Cancelar: No complete esta guía.
2 personas más completaron esta guía.
Equipo

Cal Poly, Team S22-G1, Livingston Spring 2017 Miembro de Cal Poly, Team S22-G1, Livingston Spring 2017
CPSU-LIVINGSTON-S17S22G1
4 Miembros
8 Guías creadas
2 comentarios
Dell Chromebook 11 3180 3189 uses a very special power jack connector, the power jack is soldering to a iron cover, people have to replace the whole part when the jack is broken/burnt, this is the correct part: https://www.dcincable.com/xnj46-0xnj46-c..., remember not to move the laptop while charging the battery, a good habit can make the laptop working longer.
On the dell 3180 non Chromebook variant You don't have to remove the hole motherboard just finesse it out and replace the part.