Esta guía ha sufrido modificaciones. Revisa la última versión sin revisar.
Introducción
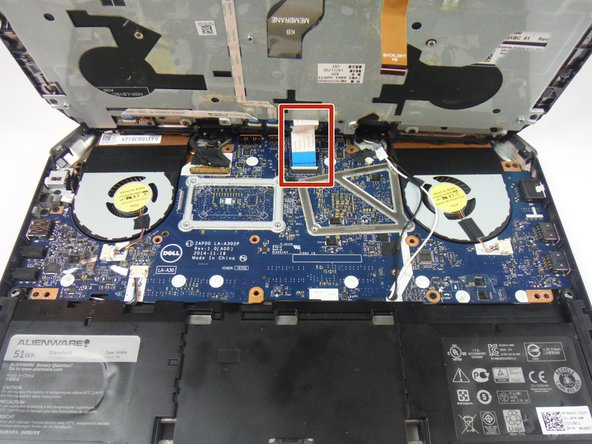
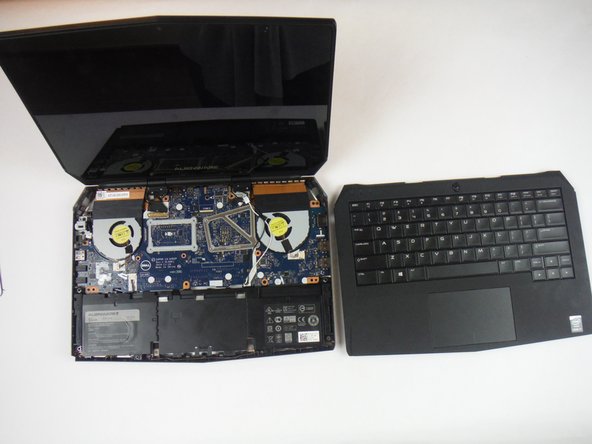
This guide will show the user how to replace a broken touch pad that is not functioning properly on a Dell Alienware 13 laptop.
Qué necesitas


Casi Terminas!
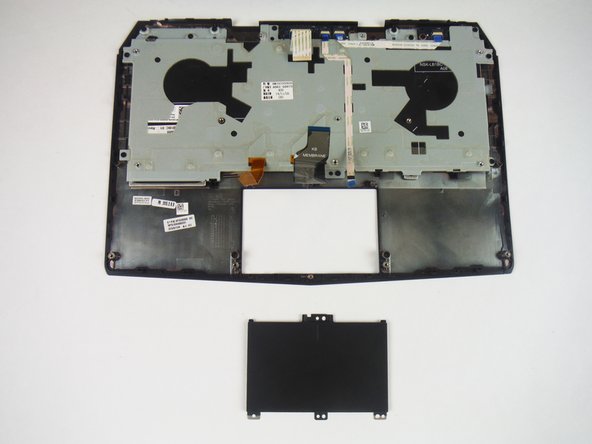
To reassemble your device, follow these instructions in reverse order.
Conclusión
To reassemble your device, follow these instructions in reverse order.

Equipo

USF Tampa, Team 14-2, Eyestone Fall 2016 Miembro de USF Tampa, Team 14-2, Eyestone Fall 2016
USFT-EYESTONE-F16S14G2
3 Miembros
7 Guías creadas