Saltar al contenido principal

DeWalt DWD112 Chuck Replacement

Qué necesitas

  1. DeWalt DWD112 Chuck Replacement, Chuck: paso 1, imagen 1 de 1
    • Remove seven TR20 Torx Security screws from the side of the drill.

  2. DeWalt DWD112 Chuck Replacement: paso 2, imagen 1 de 1
    • Remove the top cover to reveal the inside of the drill.

    • Set the top cover of the drill aside.

  3. DeWalt DWD112 Chuck Replacement: paso 3, imagen 1 de 3 DeWalt DWD112 Chuck Replacement: paso 3, imagen 2 de 3 DeWalt DWD112 Chuck Replacement: paso 3, imagen 3 de 3
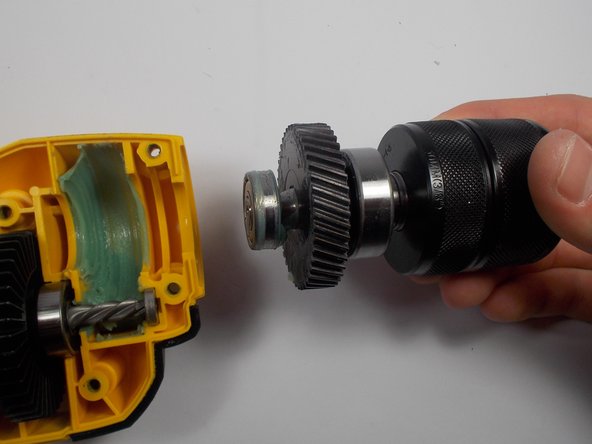
    • Take note of the gears meshed together.

    • Grab the metal chuck by the rotating spindle as if you are to tighten in a drill bit.

    • Remove the chuck assembly from the drill.

Conclusión

To reassemble your device, follow these instructions in reverse order.

Una persona más ha completado esta guía.

Joe Echelmeier

Miembro Desde 03/09/16

298 Reputación

2 Guías creadas

Equipo

Un comentario

Or actually read the manual, and find you can use an allen wrench with no dissasembly at all.

Ian Stirling - Contestar

Agregar Comentario

Ver Estadísticas:

Ultimas 24 horas: 1

Ultimos 7 días: 4

Ultimos 30 días: 26

Todo El Tiempo: 2,736