Saltar al contenido principal

DKnight MagicBox II Front Panel Assembly Replacement

Qué necesitas

  1. DKnight MagicBox II Front Panel Assembly Replacement, Front Panel Assembly: paso 1, imagen 1 de 2 DKnight MagicBox II Front Panel Assembly Replacement, Front Panel Assembly: paso 1, imagen 2 de 2
    • Using Blue Plastic opening tool pry the top rubber cover, then using the same tool remove the bottom panel

  2. DKnight MagicBox II Front Panel Assembly Replacement: paso 2, imagen 1 de 3 DKnight MagicBox II Front Panel Assembly Replacement: paso 2, imagen 2 de 3 DKnight MagicBox II Front Panel Assembly Replacement: paso 2, imagen 3 de 3
    • There are four prongs on the grill in the corners, closest to the power button switch. Use the plastic opening tool to release all four prongs from the panel, and then slide the plastic opening tool along the edge of the grill to allow it to easily slide off.

  3. DKnight MagicBox II Front Panel Assembly Replacement: paso 3, imagen 1 de 2 DKnight MagicBox II Front Panel Assembly Replacement: paso 3, imagen 2 de 2
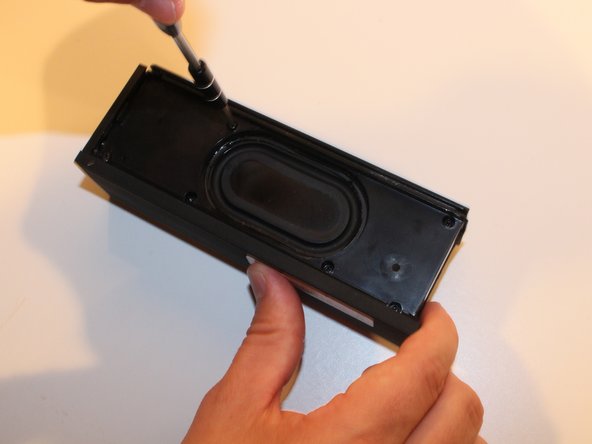
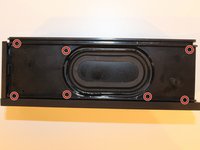
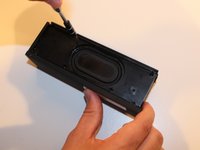
    • On the back panel (Opposite to the side containing the two speakers), Use the Philips head PH1 to remove all 7 screws (Screws: Head PH1 , Length 7cm).

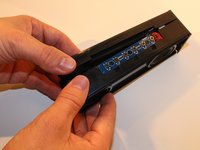
  4. DKnight MagicBox II Front Panel Assembly Replacement: paso 4, imagen 1 de 2 DKnight MagicBox II Front Panel Assembly Replacement: paso 4, imagen 2 de 2
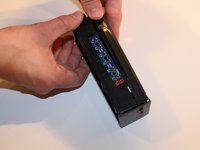
    • Pull apart the two faces to separate the back panel from the front face plate.

Conclusión

To reassemble your device, follow these instructions in reverse order.

2 personas más completaron esta guía.

Anthony

Miembro Desde 02/04/16

695 Reputación

3 Guías creadas

Equipo

USF Tampa, Team 17-1, Blackwell Winter 2016 Miembro de USF Tampa, Team 17-1, Blackwell Winter 2016

USFT-BLACKWELL-W16S17G1

4 Miembros

3 Guías creadas

0 comentarios

Agregar Comentario

Ver Estadísticas:

Ultimas 24 horas: 0

Ultimos 7 días: 1

Ultimos 30 días: 4

Todo El Tiempo: 1,498