Introducción
This guide will instruct you on how to properly disassemble your Cuisinart-140BK toaster. It will also help your properly replace the knobs on your toaster, while further preventing any damage to the device.
Qué necesitas
-
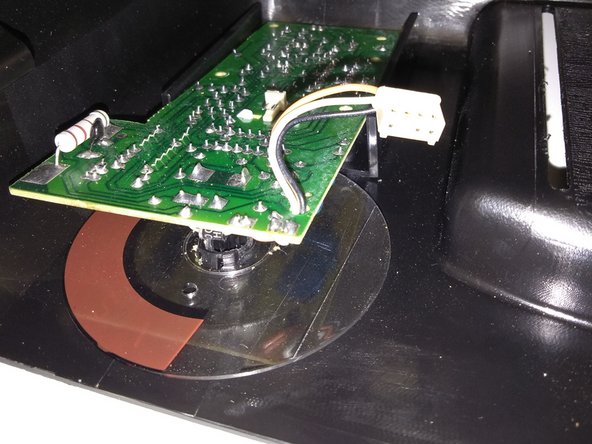
Paso 1 Circuit Board
Aviso: los pasos 1-6 provienen de una guía que está marcada como "En progreso".
-


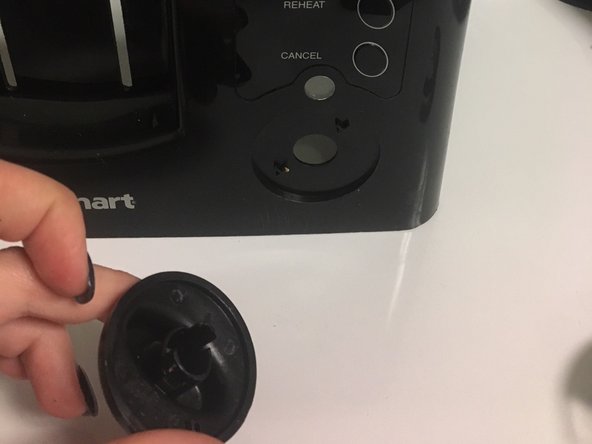


Casi Terminas!
To reassemble your device, follow these instructions in reverse order.
Conclusión
To reassemble your device, follow these instructions in reverse order.
Equipo

University of North Texas, Team S7-G3, Thomas Fall 2017 Miembro de University of North Texas, Team S7-G3, Thomas Fall 2017
UNT-THOMAS-F17S7G3
3 Miembros
3 Guías creadas