Introducción
Broken screen, cracked screen, no screen? No problem! If you own a Nikon Coolpix digital camera and are experiencing a screen cover problem, this guide will surely help.
Qué necesitas
-
-
First make sure the camera is powered off.
-
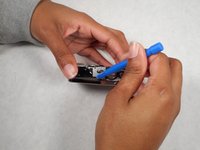
Use the Hex and PH000 tool to remove the 2 mm screw from the left side of the camera.
-
-
-
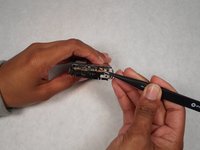
Next, remove the 2 mm screw from the right side of the camera
-
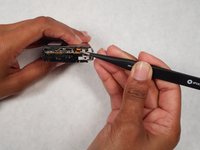
Remove the 3mm screw from the bottom of the camera.
-
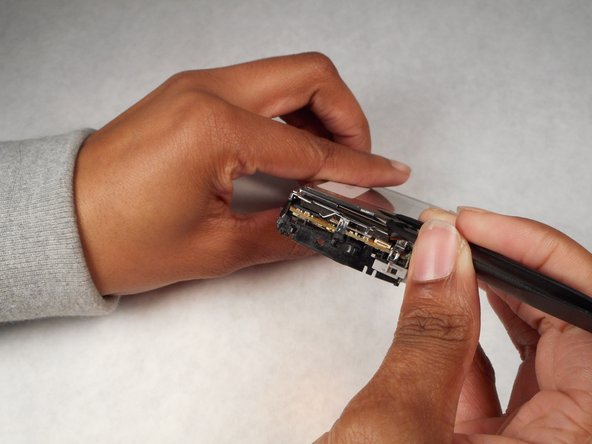
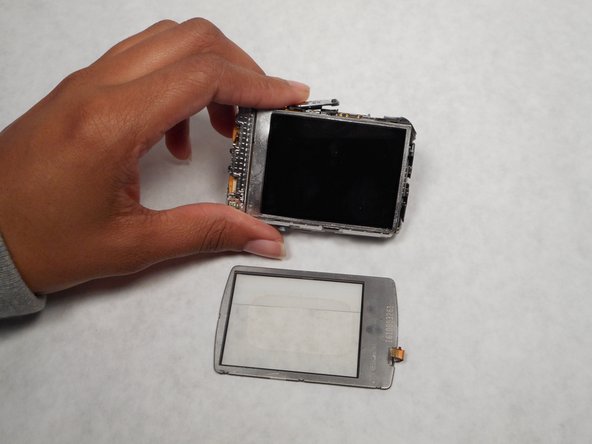
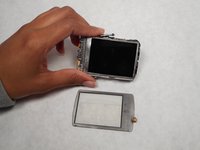
Once you have the 2mm and 3mm screws out, gently pull the sides up with the smallest plastic opening tool. This will reveal the inside of the camera.
-
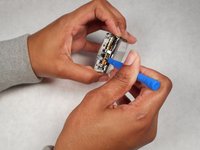
Be sure to remove the battery before continuing your repair.
-
-


To reassemble your device, follow these instructions in reverse order.
To reassemble your device, follow these instructions in reverse order.
Cancelar: No complete esta guía.
Una persona más ha completado esta guía.
Equipo

Sam Houston State, Team 2-3, Blackburne Fall 2015 Miembro de Sam Houston State, Team 2-3, Blackburne Fall 2015
SHSU-BLACKBURNE-F15S2G3
4 Miembros
9 Guías creadas