Saltar al contenido principal

Concept2 Rowing Machine Chain Replacement

Qué necesitas

  1. Concept2 Rowing Machine Chain Replacement, Chain: paso 1, imagen 1 de 1
    • Separate the front end of your rower from the seat portion by lifting up the handle in the center.

    • Set aside the seat portion of your rower.

  2. Concept2 Rowing Machine Chain Replacement: paso 2, imagen 1 de 1
    • Turn the front portion of your rower upside down so that the protective covering is facing upwards.

    • Gently slide the protective covering out through the end next to the feet straps.

    • Assistance may be necessary to rotate this portion of the rowing machine. The average weight and size of the fan may be difficult to move alone.

  3. Concept2 Rowing Machine Chain Replacement: paso 3, imagen 1 de 3 Concept2 Rowing Machine Chain Replacement: paso 3, imagen 2 de 3 Concept2 Rowing Machine Chain Replacement: paso 3, imagen 3 de 3
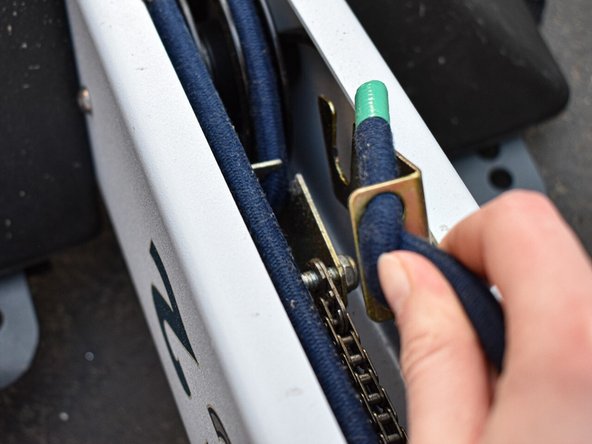
    • Unhook the S.C.A.M. clip from the axel at the end of the rower near the foot straps. This clip is attached to the pulley that runs through the body of the machine.

  4. Concept2 Rowing Machine Chain Replacement: paso 4, imagen 1 de 2 Concept2 Rowing Machine Chain Replacement: paso 4, imagen 2 de 2
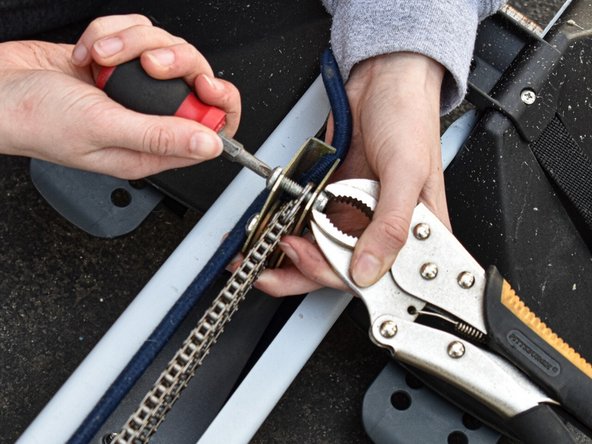
    • Using an adjustable wrench and Phillips #00 screwdriver, unscrew the top 31.75 mm (1-1/4") Phillips pan head screw from the metal component at the end of your machine near the foot straps.

  5. Concept2 Rowing Machine Chain Replacement: paso 5, imagen 1 de 3 Concept2 Rowing Machine Chain Replacement: paso 5, imagen 2 de 3 Concept2 Rowing Machine Chain Replacement: paso 5, imagen 3 de 3
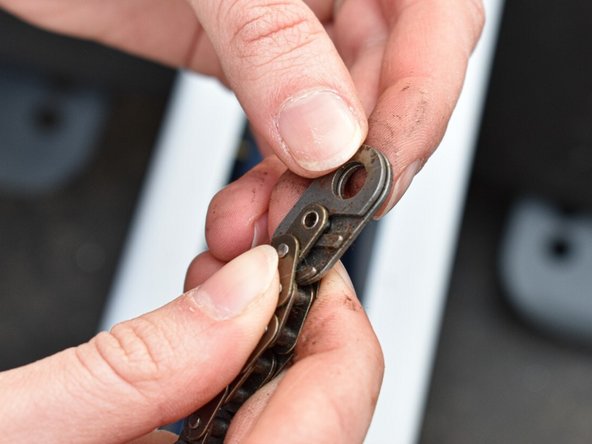
    • Remove the two opposing clips from the end of the chain.

    • Note the orientation of these clips for reassembly later on.

  6. Concept2 Rowing Machine Chain Replacement: paso 6, imagen 1 de 1
    • At this point, the chain can be easily removed from the rowing machine.

  7. Concept2 Rowing Machine Chain Replacement: paso 7, imagen 1 de 2 Concept2 Rowing Machine Chain Replacement: paso 7, imagen 2 de 2
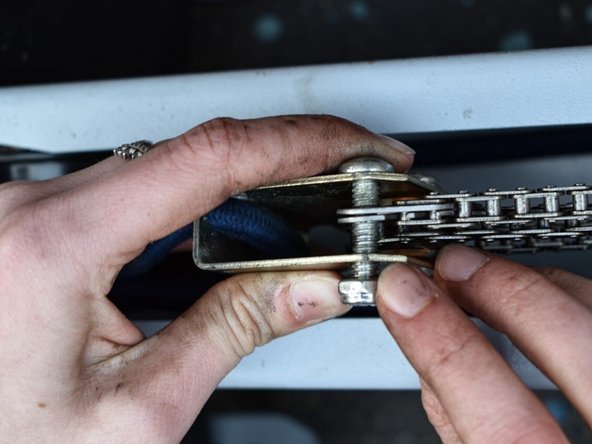
    • Use an adjustable wrench to remove nuts from the U-bolt.

    • Remove the U-bolt from the chain.

    • The following steps detail the reassembly of your rowing machine.

  8. Concept2 Rowing Machine Chain Replacement: paso 8, imagen 1 de 1
    • Slide the U-bolt through the end of the new chain and reattach to the handle using an adjustable wrench.

  9. Concept2 Rowing Machine Chain Replacement: paso 9, imagen 1 de 3 Concept2 Rowing Machine Chain Replacement: paso 9, imagen 2 de 3 Concept2 Rowing Machine Chain Replacement: paso 9, imagen 3 de 3
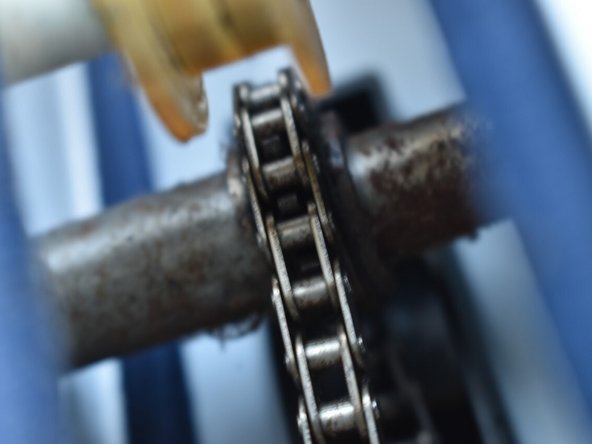
    • Begin to guide the end of the chain opposite the handle back through the rowing machine.

    • Make sure to properly line up the chain with any gears or pulleys inside the machine. These images illustrate key points where the chain should be placed.

  10. Concept2 Rowing Machine Chain Replacement: paso 10, imagen 1 de 3 Concept2 Rowing Machine Chain Replacement: paso 10, imagen 2 de 3 Concept2 Rowing Machine Chain Replacement: paso 10, imagen 3 de 3
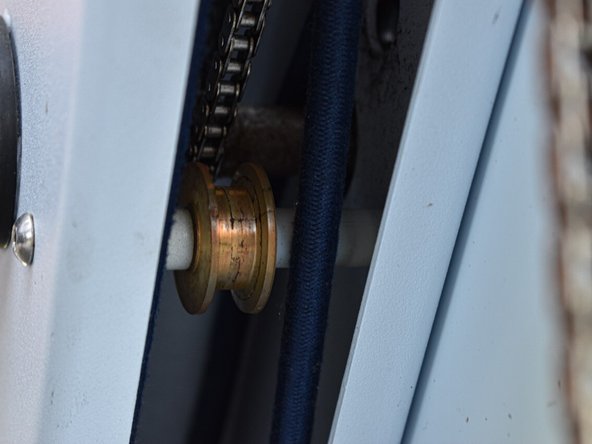
    • Guide the new chain around the metal bore at the end near the foot straps.

    • Reattach the two clips from step 5 to the end of your chain and secure back to the metal box component.

  11. Concept2 Rowing Machine Chain Replacement: paso 11, imagen 1 de 1
    • Slide the protective covering through the end of the rowing machine near the foot straps.

  12. Concept2 Rowing Machine Chain Replacement: paso 12, imagen 1 de 1
    • Congratulations! You have successfully replaced the chain on your Concept2 rowing machine.

Conclusión

To reassemble your device, follow these instructions in reverse order.

Mariana Hebert

Miembro Desde 03/23/21

205 Reputación

1 Guía escrita

Equipo

0 comentarios

Agregar Comentario

Ver Estadísticas:

Ultimas 24 horas: 1

Ultimos 7 días: 7

Ultimos 30 días: 28

Todo El Tiempo: 2,152