Esta versión puede contener ediciones incorrectas. Cambie a la última instantánea verificada.
Qué necesitas
-
Este paso está sin traducir. Ayuda a traducirlo
-
Open the tray by pressing the eject button
-
Remove the DVD tray faceplate by pushing the faceplate up off of the tray.
-
-
Este paso está sin traducir. Ayuda a traducirlo
-
Press the eject button to insert the tray
-
After the tray is closed unplug DVD player
-
-
Este paso está sin traducir. Ayuda a traducirlo
-
There are six symmetrically placed tabs holding in the front faceplate. Unhook these six tabs to loosen the faceplate.
-
-
-
Este paso está sin traducir. Ayuda a traducirlo
-
Pull off front faceplate. This may take a couple of tries to get all six tabs unhooked simultaneously.
-
-
Este paso está sin traducir. Ayuda a traducirlo
-
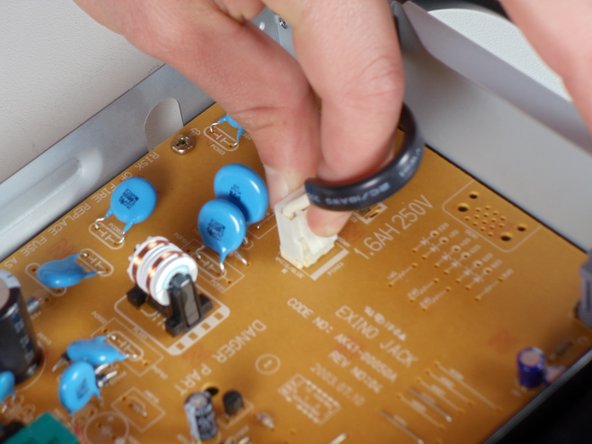
Locate the white clip that attaches the cord to the motherboard
-
Grasp clip and squeeze to release
-
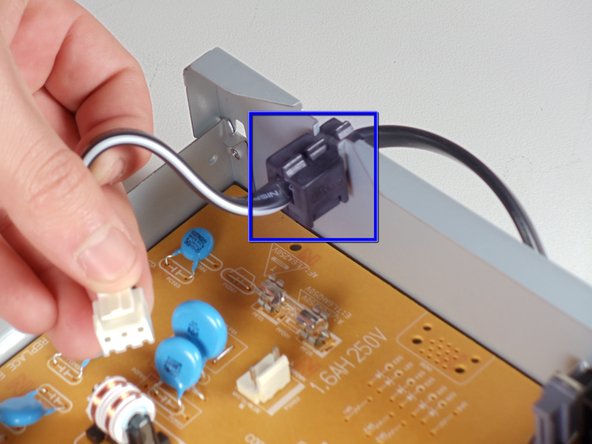
Lift up and remove power cord
-
Slide cord mount from outer case
-
-
Este paso está sin traducir. Ayuda a traducirlo
-
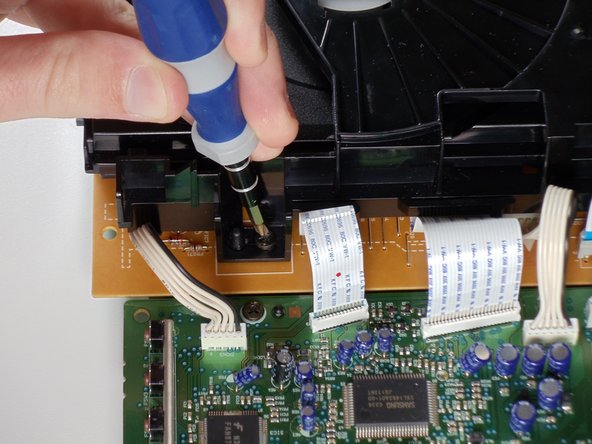
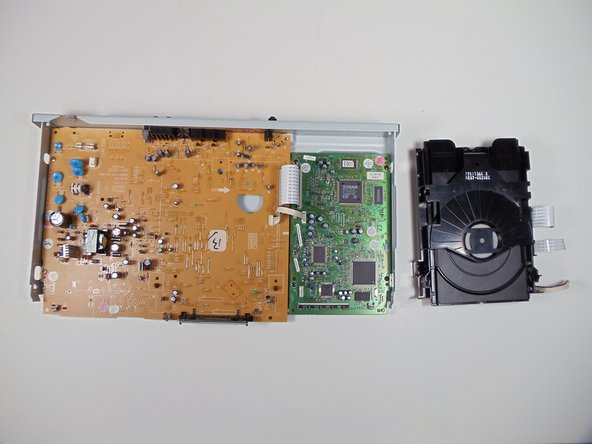
Remove the power cord and first two ribbons by pulling them directly out of their sockets.
-
-
Este paso está sin traducir. Ayuda a traducirlo
-
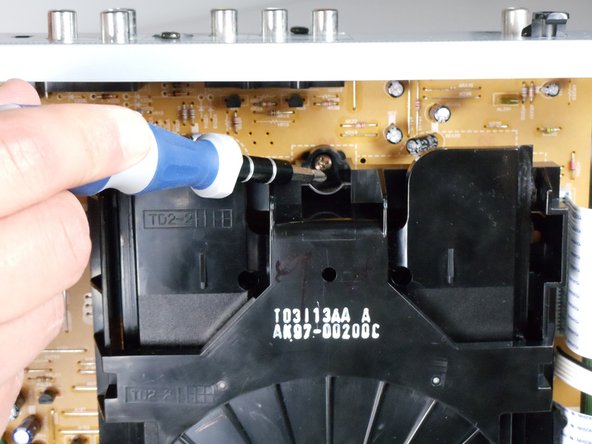
Spin small gear shown right to begin opening the tray. There should be relatively little resistance in the gear.
-
-
Este paso está sin traducir. Ayuda a traducirlo
-
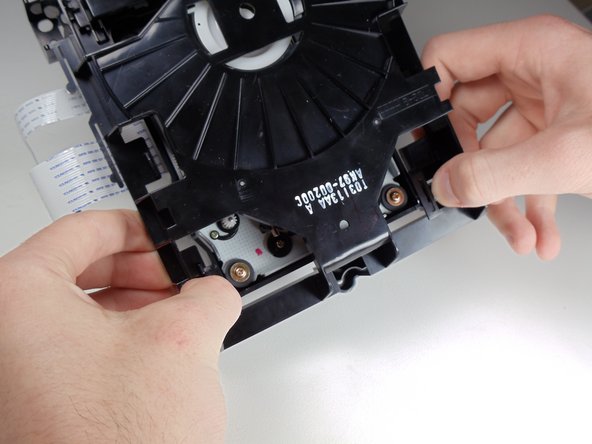
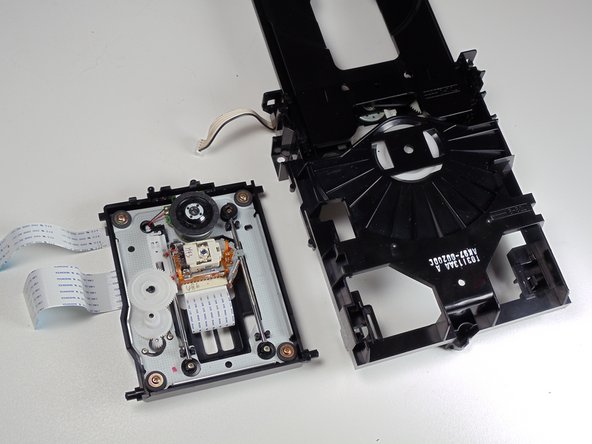
Use your fingers to pull the shown tabs towards the sides of the tray, releasing the internal tray that contains the laser.
-


Cancelar: No complete esta guía.
14 personas más completaron esta guía.
Equipo

Cal Poly, Team 3-30, Regan Winter 2011 Miembro de Cal Poly, Team 3-30, Regan Winter 2011
CPSU-REGAN-W11S3G30
4 Miembros
8 Guías creadas
4 comentarios
Thank you Mitchell for your clear, concise directions and photos. I was able to dismantle my Samsung DVD-VCR player Model DVD-V2000. It recently quit playing DVD’s, showing a “No Disc” message. It will play CD’s just fine. I cleaned the laser and reinstalled but still no DVD, just CD’s will play. I like the machine and may look into a replacement DVD assembly if I can find one for a reasonable price. Otherwise I’ll upgrade to a new combo unit with the latest bells and whistles. Best wishes, Bill
I successfully fixed the "No Disc" issue on a DVD/VCR model DVD-V5000. Your guide helped and it was basically the same process. I used a foam tip (well a makeup applicator to be more precise) instead of a cotton tip, because it is less likely to leave anything behind like cotton strands. All works now, thanks!
Hello Mitchell,
Can I use this procedure to clean the laser of a Samsung D530 dvd player?…..mine also does it’s own thing and generally doesn’t respond to command same as the other users .
Thank you
Brian
Hello Mitchell, i tried this procedure on an LG 8600c DVD player, basically same procedure and managed to get to lens cleaned it and reassembled everything but now DVD tray doesn’t want to come out and obviously I get the NO DISK message as I cannot load and DVDs. Can you help please ?