Saltar al contenido principal

Ceiva LF2003 Internal Plastic Screen Frame Replacement

Qué necesitas

  1. Ceiva LF2003 Internal Plastic Screen Frame Replacement, Exterior Frame and Matting: paso 1, imagen 1 de 1
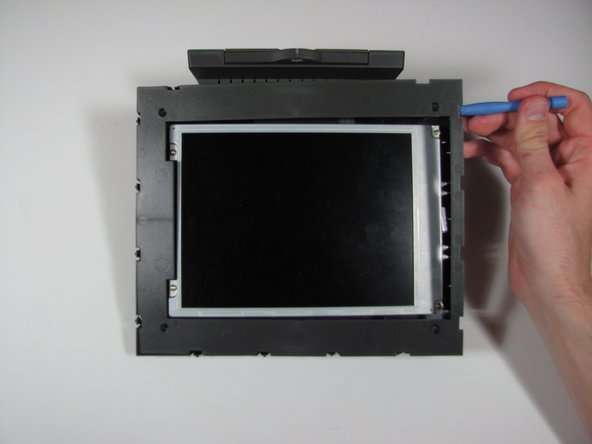
    • Lay the device on its back, and rotate so the base is facing away from you.

  2. Ceiva LF2003 Internal Plastic Screen Frame Replacement: paso 2, imagen 1 de 1
    • Grip the frame with your fingers under the edge of the frame, and thumbs pushing down on the front of the device.

  3. Ceiva LF2003 Internal Plastic Screen Frame Replacement: paso 3, imagen 1 de 1
    • Lift up the frame with your fingers and push down the rest of the device with your thumbs.

  4. Ceiva LF2003 Internal Plastic Screen Frame Replacement: paso 4, imagen 1 de 1
    • Remove the frame and matte from the device.

  5. Ceiva LF2003 Internal Plastic Screen Frame Replacement, Internal Plastic Screen Frame: paso 5, imagen 1 de 1
    • Remove the four 7mm Torx T6 screws.

  6. Ceiva LF2003 Internal Plastic Screen Frame Replacement: paso 6, imagen 1 de 2 Ceiva LF2003 Internal Plastic Screen Frame Replacement: paso 6, imagen 2 de 2
    • Using the plastic opening tool or your fingers, lift up the frame from any edge.

    • Remove the frame from the device.

Conclusión

To reassemble your device, follow these instructions in reverse order.

Una persona más ha completado esta guía.

Casey Glasgow

Miembro Desde 01/26/14

510 Reputación

5 Guías creadas

Equipo

Cal Poly, Team 9-25, Maness Winter 2014 Miembro de Cal Poly, Team 9-25, Maness Winter 2014

CPSU-MANESS-W14S9G25

4 Miembros

5 Guías creadas

0 comentarios

Agregar Comentario

Ver Estadísticas:

Ultimas 24 horas: 0

Ultimos 7 días: 1

Ultimos 30 días: 1

Todo El Tiempo: 87