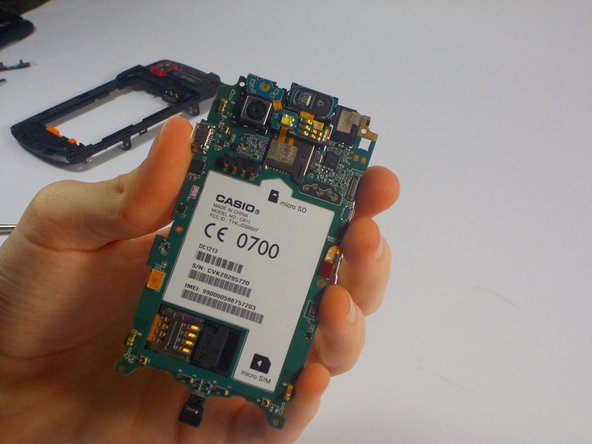
Saltar al contenido principal

Casio G’zOne Commando 4G LTE Headphone Jack Replacement

Qué necesitas

  1. Casio G’zOne Commando 4G LTE Headphone Jack Replacement, Motherboard: paso 1, imagen 1 de 1
    • First, you are going to want to take out the two front screws from the device.

    • The screws are 4mm in length and require a Y0 bit to remove

  2. Casio G’zOne Commando 4G LTE Headphone Jack Replacement: paso 2, imagen 1 de 1
    • Using the same screw head, remove the back four screws from the device.

  3. Casio G’zOne Commando 4G LTE Headphone Jack Replacement: paso 3, imagen 1 de 2 Casio G’zOne Commando 4G LTE Headphone Jack Replacement: paso 3, imagen 2 de 2
    • You should have taken out six screws (two from the front, four from the back). Once you do this, you will have to separate the front and back casing of the phone using a spudger or pry tool.

  4. Casio G’zOne Commando 4G LTE Headphone Jack Replacement: paso 4, imagen 1 de 1
    • Now, you have six more screws to unscrew (three on each side). They are all the same size but smaller than the first six we took off.

    • These screws are 4mm in length and require a PH00 tip to remove.

  5. Casio G’zOne Commando 4G LTE Headphone Jack Replacement: paso 5, imagen 1 de 1
    • Once you unscrew all six screws, you can easily separate the plastic shell with your hands.

  6. Casio G’zOne Commando 4G LTE Headphone Jack Replacement: paso 6, imagen 1 de 2 Casio G’zOne Commando 4G LTE Headphone Jack Replacement: paso 6, imagen 2 de 2
    • Again, there are six more (and even smaller) screws to take out. Additionally, you have to disconnect a small wire plugged into the motherboard.

    • These screws are 2mm in length and require a PH000 tip to remove.

  7. Casio G’zOne Commando 4G LTE Headphone Jack Replacement: paso 7, imagen 1 de 2 Casio G’zOne Commando 4G LTE Headphone Jack Replacement: paso 7, imagen 2 de 2
    • After removing the screws carefully separate the motherboard from the shell with the spudger.

  8. Casio G’zOne Commando 4G LTE Headphone Jack Replacement, Headphone Jack: paso 8, imagen 1 de 1
    • In order to remove the audio port remove the two screws located on either side of the Audio receiver using the philips head J000 tip.

  9. Casio G’zOne Commando 4G LTE Headphone Jack Replacement: paso 9, imagen 1 de 1
    • After removing the screws, carefully remove the audio port from the mother board.

Conclusión

To reassemble your device, follow these instructions in reverse order.

2 personas más completaron esta guía.

Keith Hickey

Miembro Desde 10/29/15

428 Reputación

3 Guías creadas

Equipo

UMass Dartmouth, Team 1-9, Miles Fall 2015 Miembro de UMass Dartmouth, Team 1-9, Miles Fall 2015

UMASSD-MILES-F15S1G9

3 Miembros

10 Guías creadas

Un comentario

How do you view this? It says follow the steps below but it won't let you go below.

Harold Keith - Contestar

Agregar Comentario

Ver Estadísticas:

Ultimas 24 horas: 0

Ultimos 7 días: 0

Ultimos 30 días: 2

Todo El Tiempo: 295