Introducción
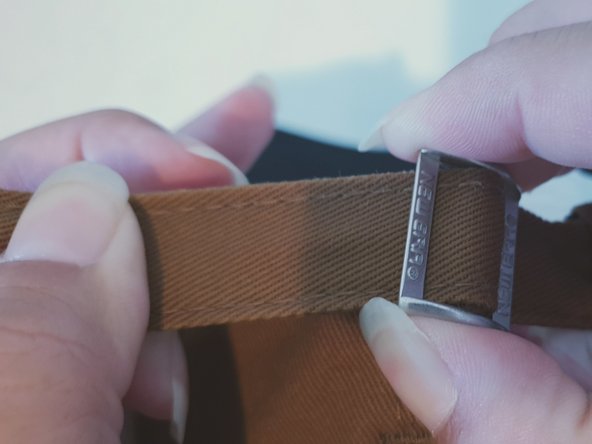
This guide will assist in removing wrinkles and creases from caps. Due to the shape of a cap, it is impossible to use an iron to remove wrinkles and creases that may form due to how it has been stored after a long period of time.
The restoration is quick, easy and affordable using few household items.
Many caps are made with different materials, therefore, some items noted in this guide may be optional.
- Bowl/Pot - Can be used to provided extra pressure to the plastic bags while holding the bags in place.
- Hairspray - The hairspray can be used on any area of the cap, it is used to help hold some of the firmer parts of the cap in place and resume its shape. Examples of common caps that will benefit from this is baseball caps and snap backs.
Qué necesitas
To reassemble your device, follow these instructions in reverse order.
To reassemble your device, follow these instructions in reverse order.
Cancelar: No complete esta guía.
2 personas más completaron esta guía.


