Introducción
The image sensor is what actually captures the image when you take a picture. If damaged, the sensor can cause blurred, distorted, or even black pictures to be taken.
Qué necesitas
-
-
-
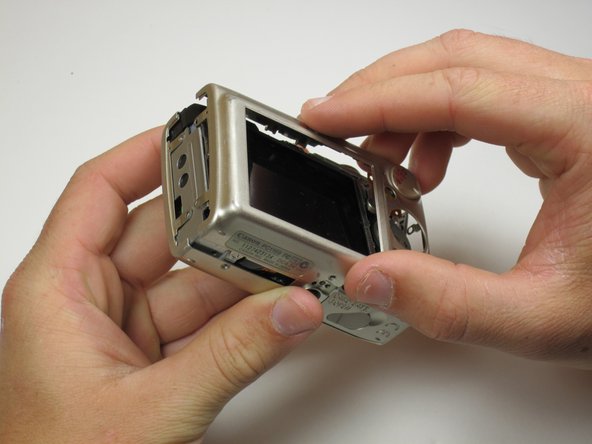
Peel the navigation buttons from the button panel and set them aside.
-
To free the LCD display, remove the 2.9 mm screw in the top left corner.
-
Rotate the screen clockwise until it lifts away from the camera.
-
-
-
Now the photo sensor is exposed. In order to remove the ribbon cable from its port, first flip up the blue locking mechanism.
-
After the cable is unlocked, it easily pulls free.
-
-
-
In order to remove the photo sensor, you will have to cut through glue and remove screws.
-
Use a knife to carefully slice through the glue at the tree points indicated. Try not to cut through anything but the glue to avoid damage.
-
Now remove the three .15 inch screws holding the photo sensor to the camera frame.
-


To reassemble your device, follow these instructions in reverse order.
To reassemble your device, follow these instructions in reverse order.
Cancelar: No complete esta guía.
3 personas más completaron esta guía.
Equipo

Cal Poly, Team 18-23, Garner Spring 2011 Miembro de Cal Poly, Team 18-23, Garner Spring 2011
CPSU-GARNER-S11S18G23
5 Miembros
7 Guías creadas